Overview
The Clinical (CLN) workspace is the electronic file folder for the collection of electronic medical records and tracking of all animal interactions for a given animal/cage. As information is entered, data and details are populated on the Clinical workspace. The Clinical provides a central place
- Where all the Animal Events (AEVs) for a given animal/cage can be viewed and printed
- To schedule and record various interactions/events with an animal/cage
- To store and maintain a list of problems by Veterinary Staff
- To store and maintain non-animal event documents.
Notes on Barcodes
Per business process, the CLN number should be written on the physical Cage Card. Over time this CLN # should remain static, while the underlying barcode could change. Thus, it is possible that different barcode numbers may be identified on various Animal Events contained in the Clinical.
Navigation
- Individuals who have the ATR/EMR Staff role for Veterinary staff (Technicians, Residents, Faculty), Viewer, Husbandry staff, and EMR Training Core staff can view a Clinical.
- A Clinical can be accessed from the ATR/EMR Staff home workspace or the EMR Training Core home workspace, on Open CLNs and All CLNs tabs, or from wherever there is a CLN ID link.
Tip You may need to scroll down to see all the activities and buttons, and scroll right to see all the tabs and fields on your screen.
Note Tabs, activities, and buttons that display depend on your Role and the State of the Clinical.
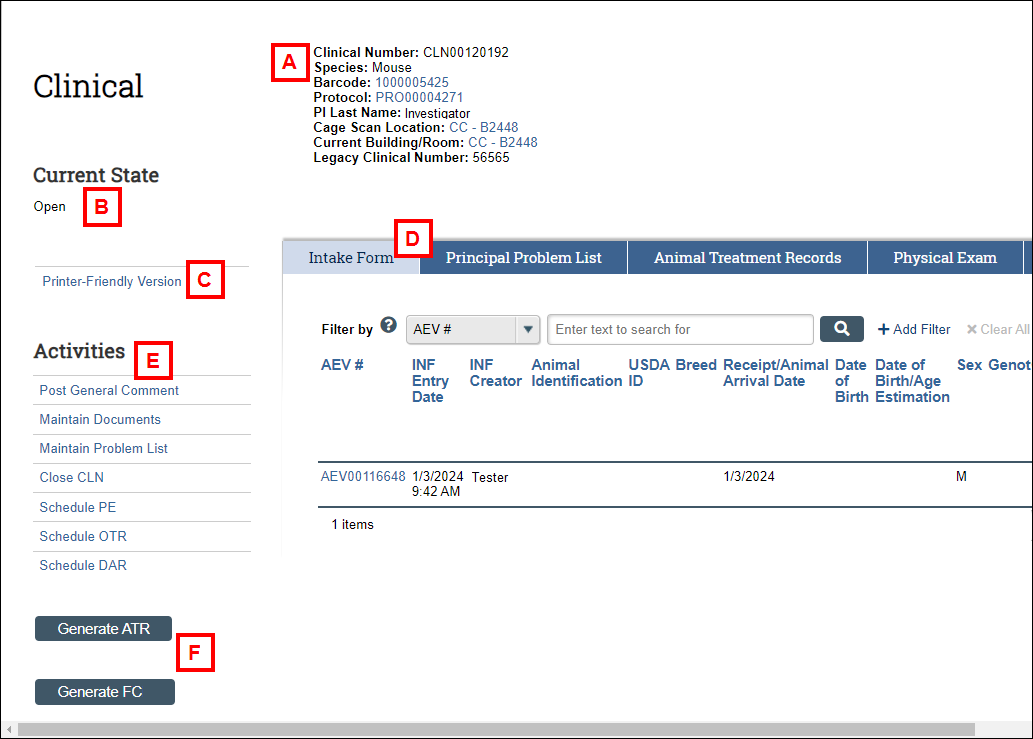
Clinical Workspace

| Letter | Section/Field |
|---|---|
| A | High level details about the Clinical “folder”, including the CLN number, Species, Barcode, link to Protocol, PI, Cage Location, etc. |
| B | Current State – Status of the Clinical record. |
| C | Printer-Friendly Version – Opens a worksheet with headings and data in a single document. See Printer-Friendly Version for more information. |
| D |
Tabs – Tabs organize the Clinical information into pages.
|
| E |
Activities – Use the Activities menu to update or schedule clinical-related information.
|
| F |
Buttons – Use buttons to record animal events related to the Clinical.
|
Printer-Friendly Version
The Printer-Friendly Version option opens all the Clinical information and data in a single document that is formatted for printing.
Step-by-Step Process
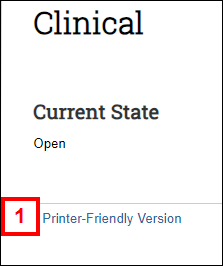
- Click Printer-Friendly Version.

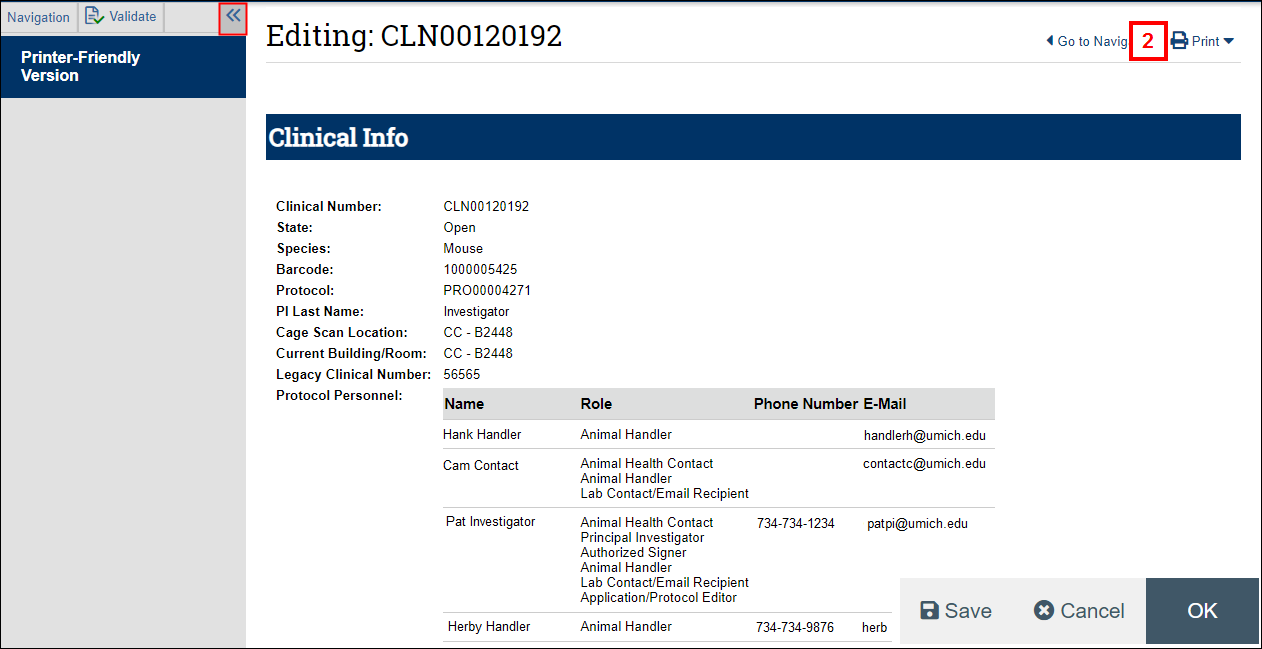
- Click print Print down, then select This page.
Note Click << to collapse the side Navigation menu to get a wider view of the page.

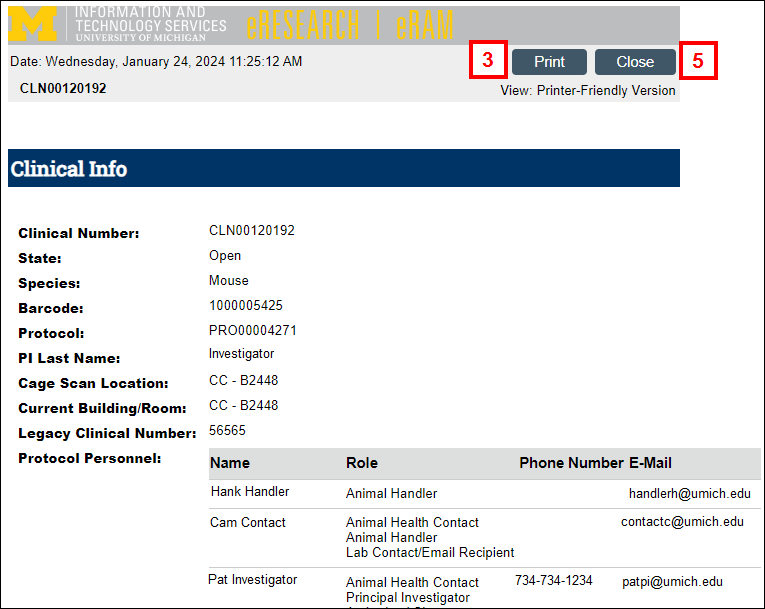
A printable version of the Clinical opens in a new browser tab. - Click Print.

- Follow the prompts to print the page or save as a PDF.
- Click Close.
- Click OK or Cancel to exit and return to the Clinical workspace.
