Table of Contents
- Single Recipient
- Single Recipient - Fields Not Yet Added
- Multiple Recipients
- Authentication and Recipient Settings
- Signing FDA-Regulated Documents
- Creating a Free SignNow Account for Signing
- Select the document sent for signature.
- Click More then Move.
- Select team to move to under Shared documents.
Single Recipient
The following steps are taken if signature fields are already added to the document as detailed in Uploading and Preparing a Document. See the next section if fields have not yet been added to the document.
- Locate your document or template.
- Click Invite to Sign.

- The Send Invite for <your document name> opens. Enter the E-mail address for the recipient and anyone needing to be CC'd.
NOTE: CC recipients will only receive an email notification that the document was sent for signing, they will not receive a document link or an attachment. This process is defined by U-M security settings.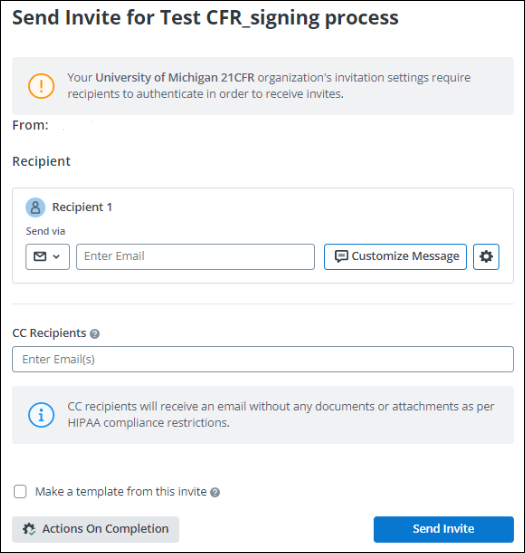
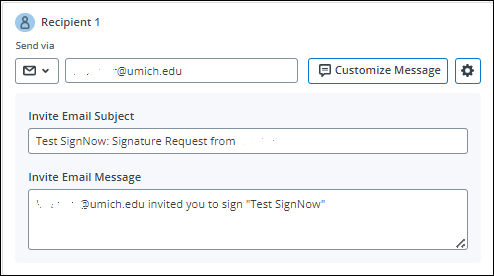
- Click the Customize Message button.
- Update the Invite Email Subject and Invite Email Message boxes as desired. NOTE: If you choose not to customize the Subject and Message, SignNow will send the invitation with the subject and message seen below.
- Click Send Invite.
NOTES:
- We suggest entering instructions in the Message box to let the recipient know they will be prompted to login/create an account for authentication purposes.
- If there are multiple recipients, you can type the message once (and change the subject if you like) and select Apply Email to All Roles to update these for each recipient.
Setting and Sending a Password
Option 1 - Create Your Own Password
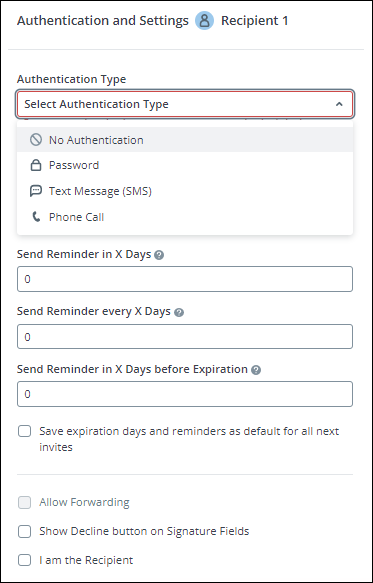
- To create your own password, click the down arrow in the Authentication Type box.
- Select Password.
- Enter the desired password.
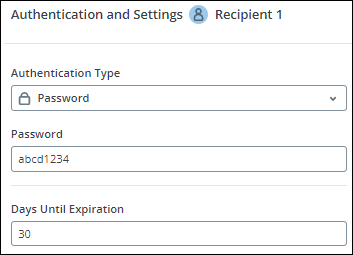
- Click Send Invite.
Note: If setting a Password - you will need to notify the recipient of the password via Text Message or Phone - do not send passwords via email. - The recipient will receive an email and after they click Open Document, they will be prompted to enter the Document Password.

Option 2 - Send Password via Text Message
- To send a password via text message, click the down arrow in the Authentication Type box.
- Select Text Message (SMS).
- Enter the recipient's phone number.
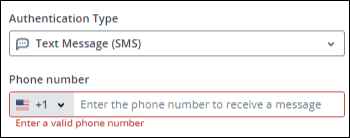
- Click Send Invite.
- The recipient will receive an email and after they click Open Document, they will be prompted to request a Password.
- The recipient will receive a text message with a password from SignNow to enter, which will open the document.
Option 3 - Send Password via Phone Call
- To send a password via phone call, click the down arrow in the Authentication Type box.
- Select Phone Call.
- Enter the recipient's phone number.
- Click Send Invite.
- The recipient will receive an email and after they click Open Document, they will be asked to request a Password.
- The recipient will receive a phone call with a password from SignNow to enter, which will open the document.
Single Recipient – Fields Not Yet Added
The following steps are taken if signature fields have not been added to the document.
- Locate your document or template
- Click Prepare and Send.

- The Add Recipients window opens.
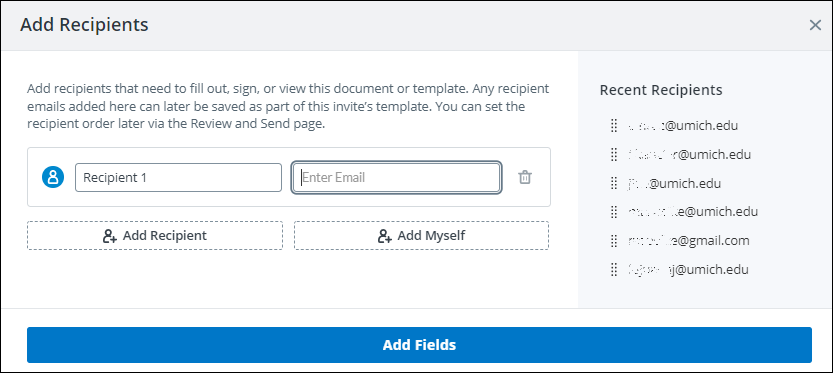
- Click Add Fields.
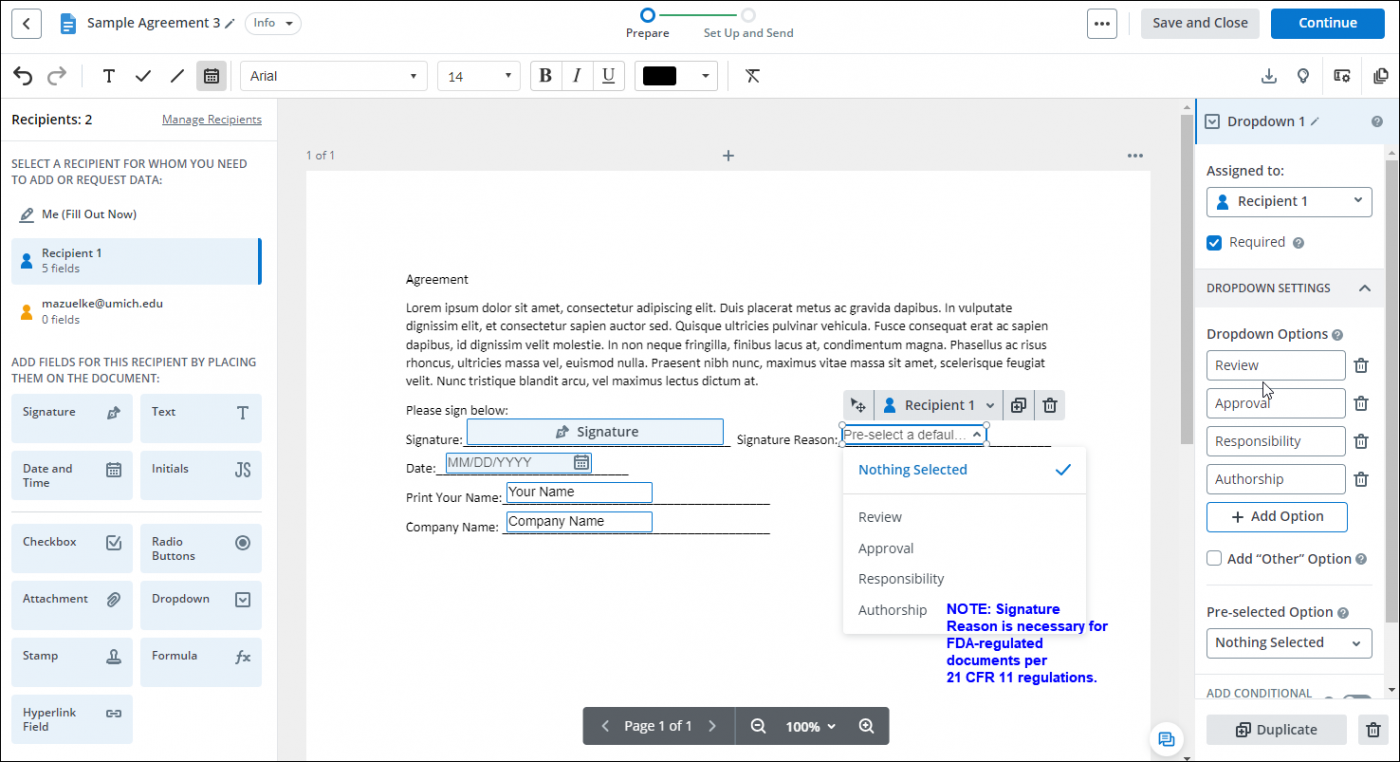
- The document opens. In the left navigation column, drag and drop the desired fields such as Signature Field, Signature Reason Field, and/or Date/Time Field onto the document.
NOTES:
Refer to Uploading and Preparing a Document for more details on adding fields.
- The user may require the signer to complete the "Signature Reason" field (if this is not well documented within the context of the document being signed).
Note: When adding fields to a document, use the same Label on fields that will require the same input. For example, if there are several places on your form or document that require the recipient’s company name, label each text field Company Name. After the recipient completes the first Company Name field, their response will be auto-filled into the remaining Company Name fields as they click on these fields in the document.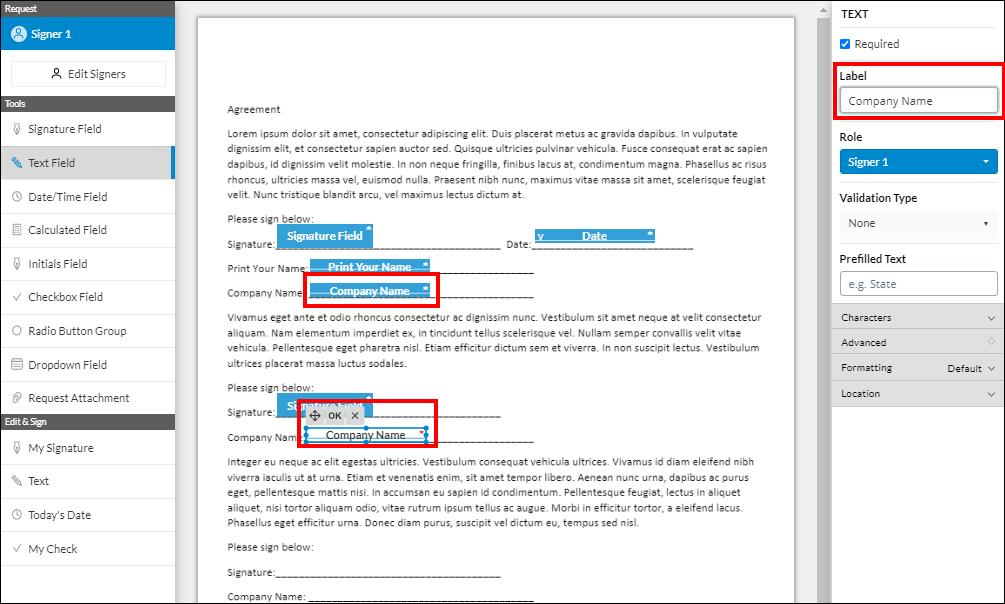
- Click Save and Invite.
- Return to step 4 in the Single Recipient instructions above to complete process.
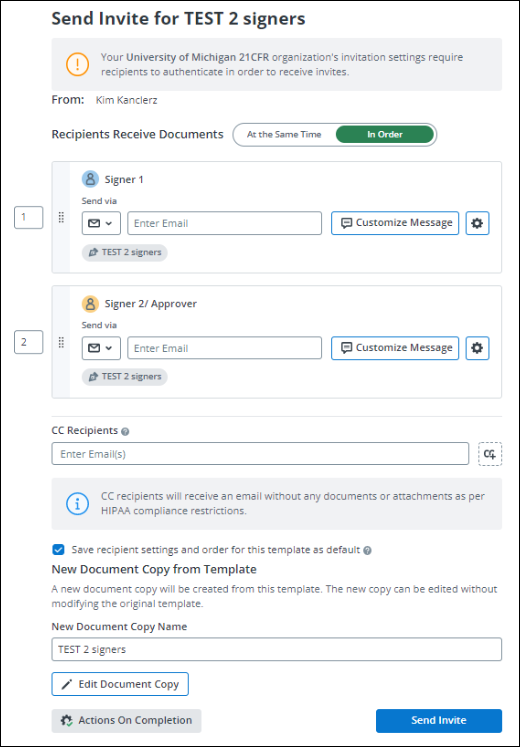
Multiple Recipients
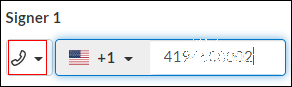
When a Role is created for a signature it is displayed on the Invite to Sign window. In this example the Role Names are Signer 1, Signer 2, and Signer 3. These roles were created during the Uploading and Preparing a Document steps.
- Locate and open the document.
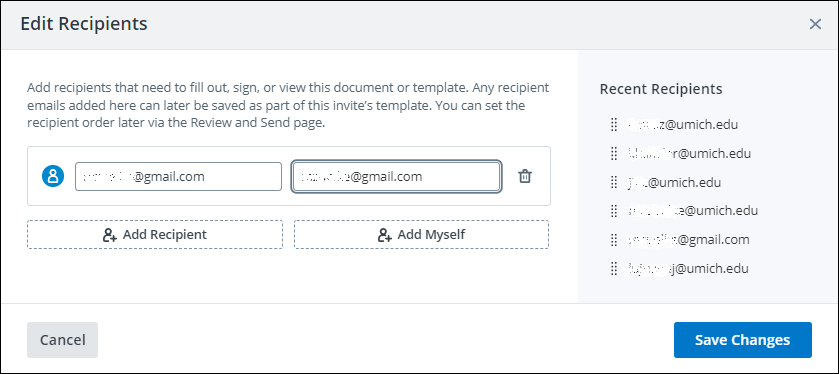
- Click the Edit Recipients button found in the left navigation column of the document.

- The Edit Recipients window opens. Click in the Recipient field to change to the actual name of the recipient as seen in this example.
- Click Save Changes..
- Save and Close the document.
- Click Invite to Sign.

- The Send Invite for <<document name>> window opens.
- Follow steps 4-7 in the Single Recipient section to continue sending invitations to sign.
NOTE: You can choose how Recipients Receive Documents. The toggle button is above the recipient list.
- Select At the Same Time to have the document sent to all recipients at once.
- Select In Order for the document to go to one recipient at a time. The request for signature email will go to Signer 1, once signed an email will go to Signer 2 and so on.
Authentication and Recipient Settings
- Locate your document or template.
- Click Invite to Sign.
- The Send Invite for <your document name> opens.
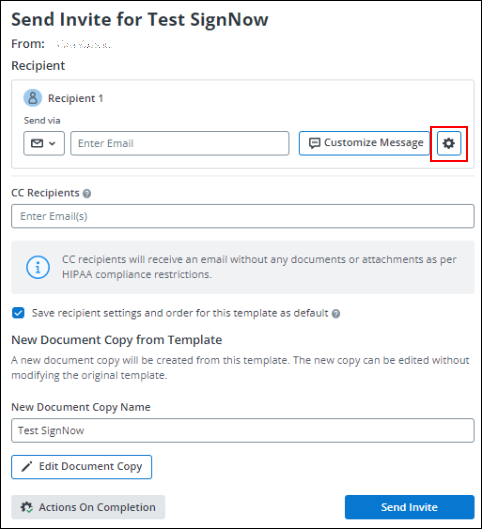
- Select the Settings button next to Customize Message.
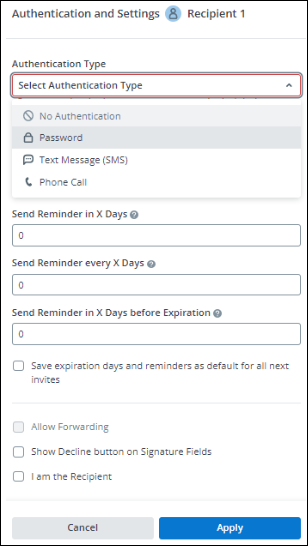
- The Authentication and Settings windows opens.
- Here you can:
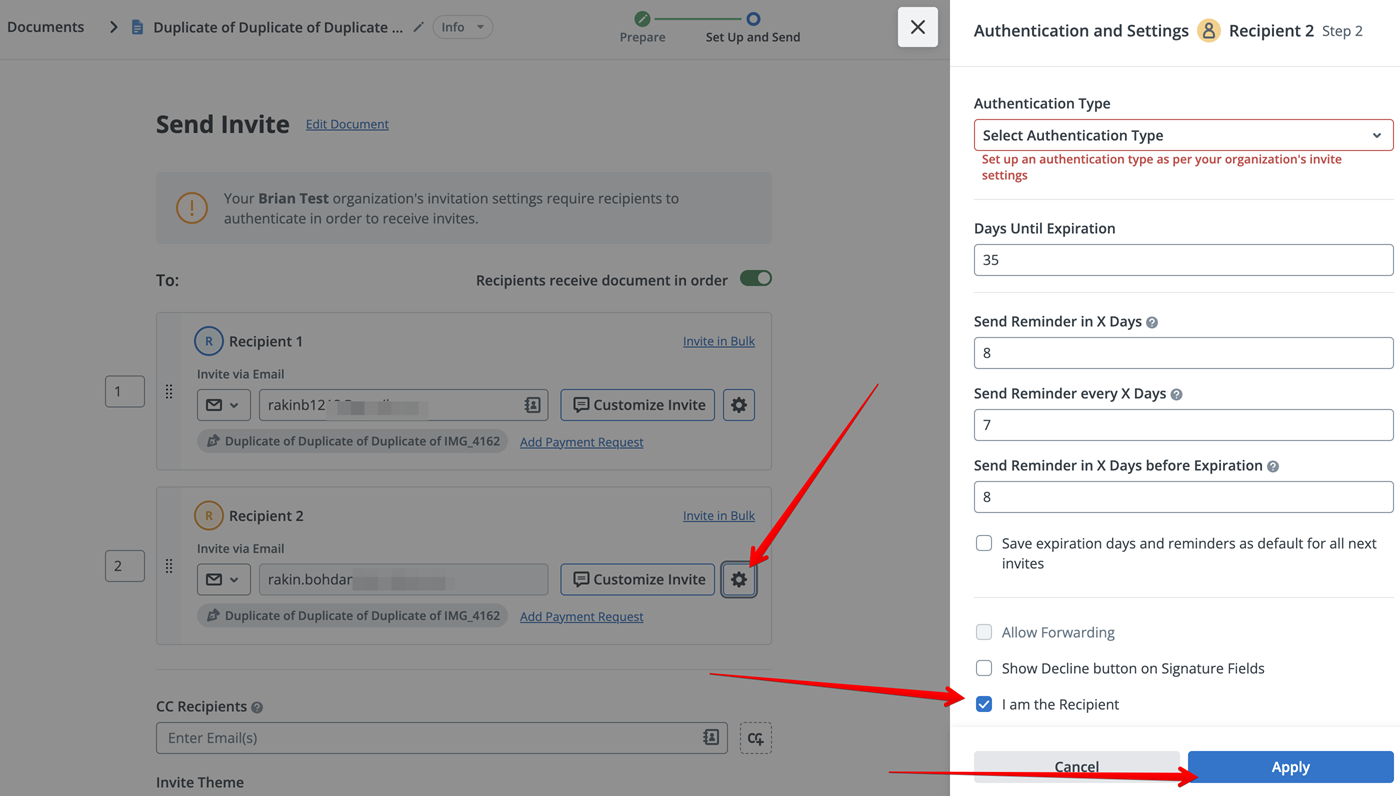
- Select an Authentication Type.
- Allow the recipient to forward the document
- Set an expiration date on the document
- Set a Reminder for the recipient
- Display the option, Decline to Sign to the signer
- Select I am the Recipient
- Note: If the person sending the document is also signing it, they should add themselves as the last recipient. To ensure they receive the password, they must check the box next to "I am the recipient" when selecting Text Message (SMS) or Phone Call as the authentication method.
Signing FDA-Regulated Documents
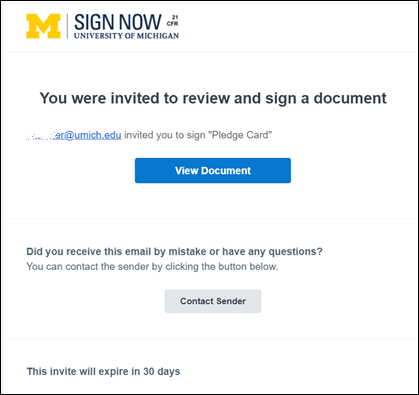
- The recipient receives an email and selects the View Document button.
The dialog box that displays next is dependent on which password option was selected by the sender.
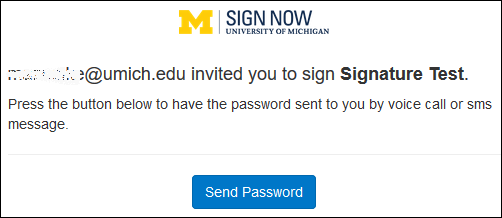
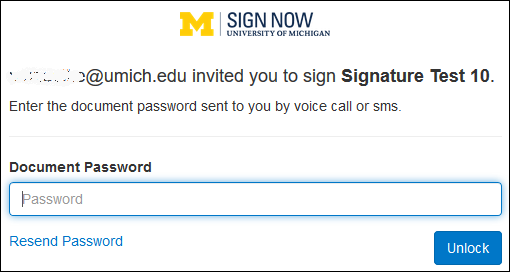
Signing with a phone call or text message: the recipient will see this box and will click Send Password to initiate a text message or phone call. Password provided to recipient: enter the password that was provided to you by the individual that sent you the document, then click Unlock. 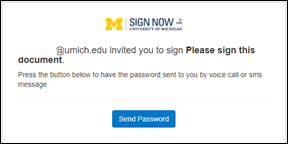
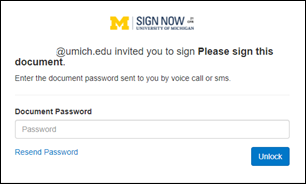
After the password is received via text message or phone call, enter the password on this screen and click Unlock. Proceed to step 3 The recipient is now prompted to log in to SignNow. There are two possible login screens the user will see.
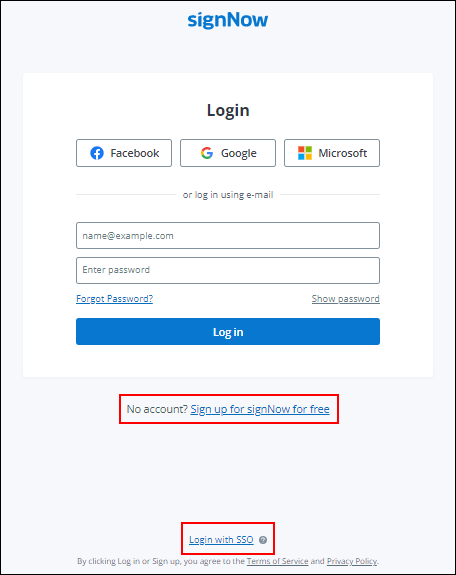
Login Screen Option 1
- If the recipient has a umich.edu email extension, they select Login with SSO at the bottom of the login page and should not enter their password on this screen.
- If the document was sent to a user's @med.umich.edu email, they need to ask the sender to resend to their @umich.edu email address.
- If an @umich.edu user attempts to sign a document that was sent to @med.umich.edu email, errors will occur.
Error message: User is not allowed to access this invite, authentication failed.
- If a recipient already has a SignNow account, they can enter their password and click Login.
- If the recipient does NOT have a umich.edu email or a SignNow account, they select the link Signup for SignNow for free. Additional instructions for those needing to create an account can be found here.
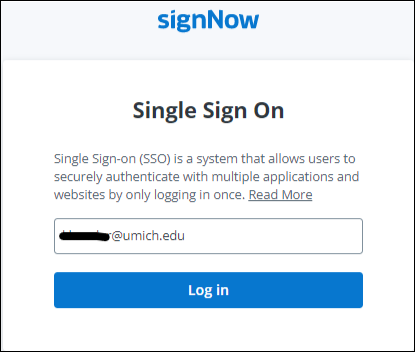
Login Screen Option 2
- This login screen displays, with the user's email address populated.
- Click Log in.
- The M WEBLOGIN window will open.
- Enter the user's Login ID and Password.
- Complete any necessary Two-Factor Authentication.
- If the recipient has a umich.edu email extension, they select Login with SSO at the bottom of the login page and should not enter their password on this screen.
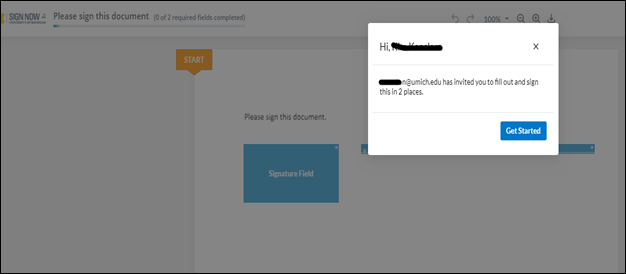
- The document opens.
- Select Get Started and follow the prompts.
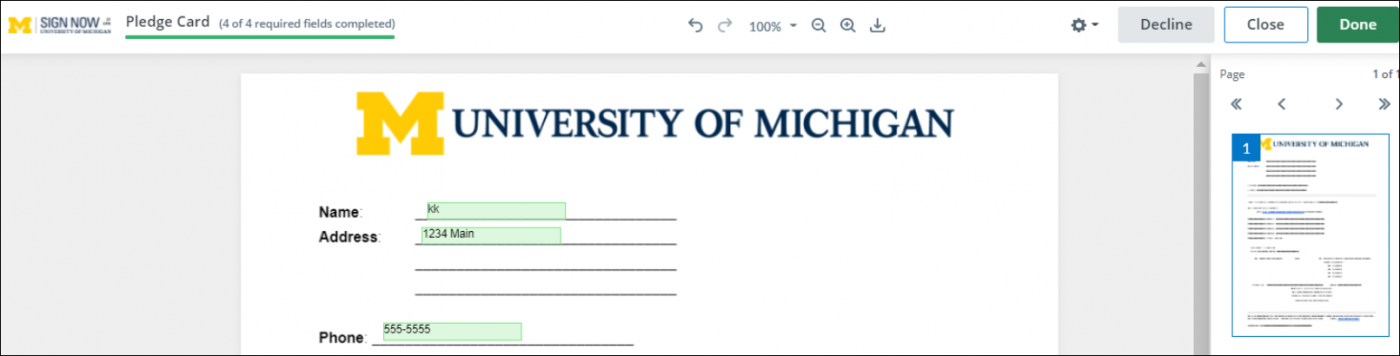
- Once all the required fields are complete, click Done in the upper right corner of the screen.
Creating a Free SignNow Account for Signing
- After clicking Signup for SignNow for free, this screen displays:
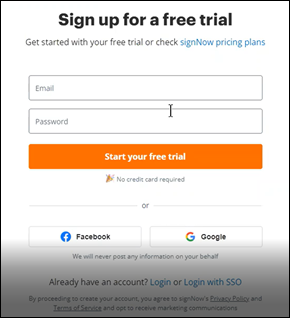
- Enter the same email address that the document needing your signature was sent to.
- Enter a Password of your choice.
- Click Start your free trial.
- A confirmation screen will display.

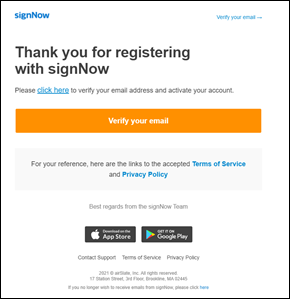
- Return to your email and look for a message from SignNow to verify your account.
- Open that email and click Verify your email.
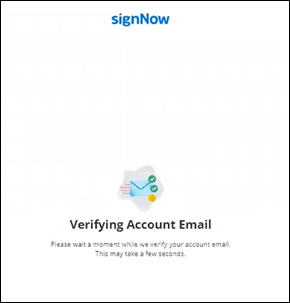
- This screen will display while your email address is being verified.
- Once verified, your SignNow account opens.
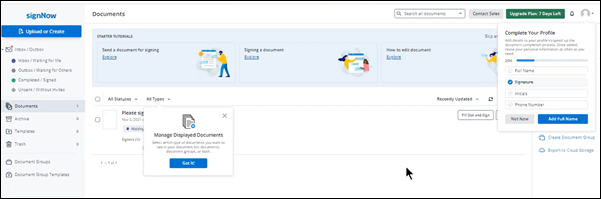
- You can now complete your profile and view any documents you were sent.
Note: You can either find the document that needs your attention in the list and click Fill Out and Sign, or return to the original email and click the View document link.
Important Notes
- Recipients will initially have a free 7 day trial of SignNow that will allow them to use all of SignNow’s features which includes uploading and sending documents to be signed.
- After the 7 day trial ends, their account is still active but can only be used for signing documents sent to them.
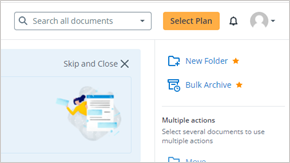
- They may notice a “Select Plan” option at the top of the screen.
- Users DO NOT need to pay for any SignNow plan in order to continue signing documents that are sent to them for signature.
- During the trial period, users will see an Upgrade Plan option at the top right of their account screen:

- After the trial period is over, users will see a Select Plan option:
- Regardless of the option they see, users will always be able to sign any documents sent to them.