Table of Contents
- Setting up a Team
- Inviting Users to a Team
- Accepting an Invitation to Join a Team
- Sharing Individual Documents with a Team
- Sharing Templates with a Team
- Changing the Roles of a Team
- Changing Ownership of a Team
Setting up a Team
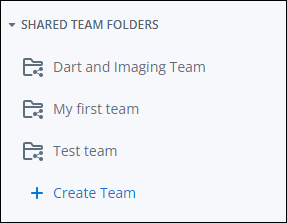
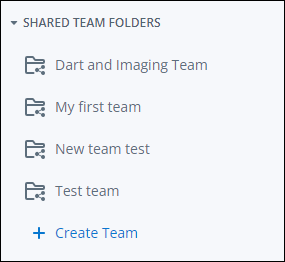
- In the left side navigation bar locate the Shared Team Folders section.
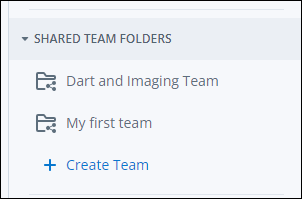
- Select Create Team.
- The Create Team window opens.
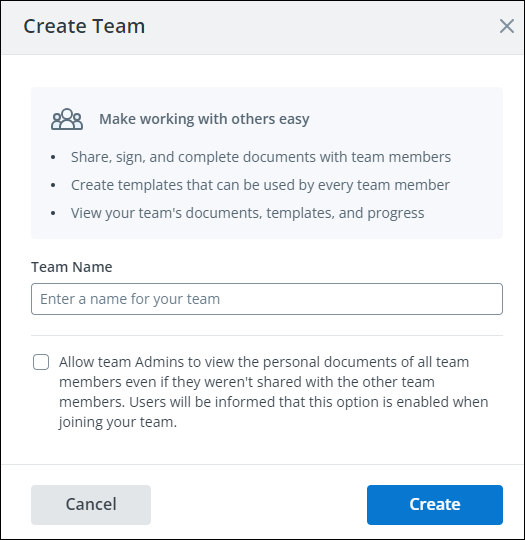
- Enter Team Name.
- Select the checkbox next to: Team Admins can view personal documents of team members.
- Select Create.
- Select Enable Folder.
Note Team members must have a U-M created SignNow account. Please confirm users have submitted a request for a U-M SignNow account prior to inviting them to join a team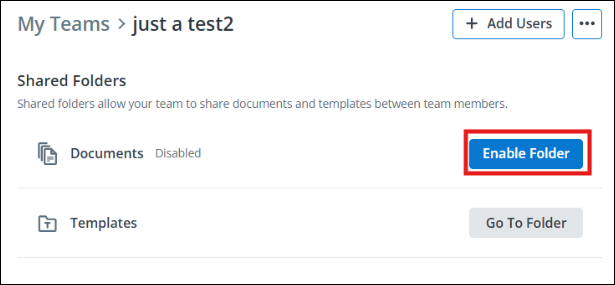
It is recommended to assign the Admin role to all users on a team. The role of Team member is very limited.
- A Team Admin has access to move documents within the team folders, even when originally sent by others in the team.
- A Team Admin is the user that can view documents of other team members, but cannot view other admins' personal documents.
- A Team Admin can grant Admin rights to another team member and remove team members.
- A team Member has only view access to team documents and templates when sent by others in the team.
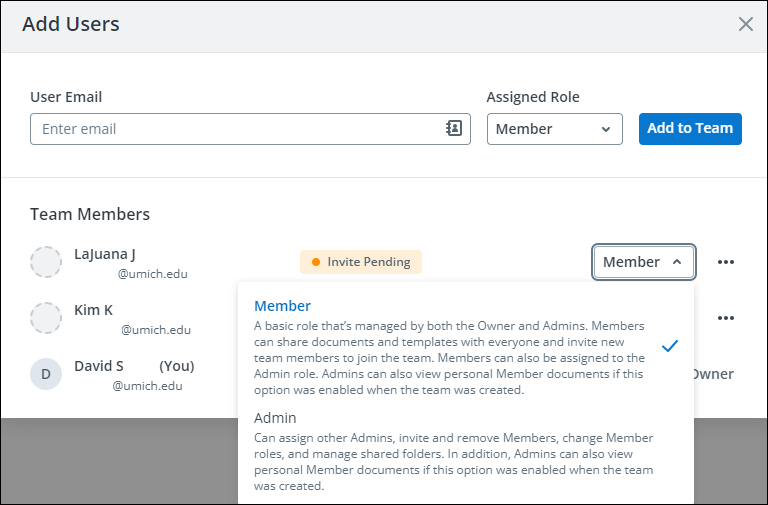
- A team member can be changed to an Admin by clicking the drop-down menu to the right of their name, and selecting the appropriate role.
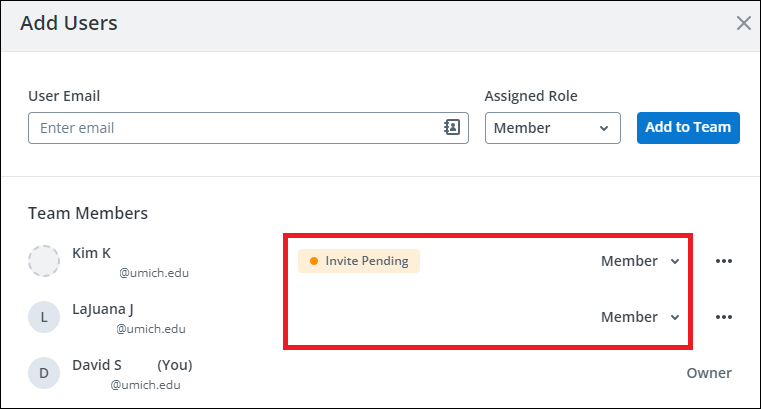
- The Teams page will display the new invitees with a status of Invite Pending.
Notes The role will change to member after the invitee accepts the invitation to join. The team owner can change a member to a Team Admin allowing them to view the personal documents of team members.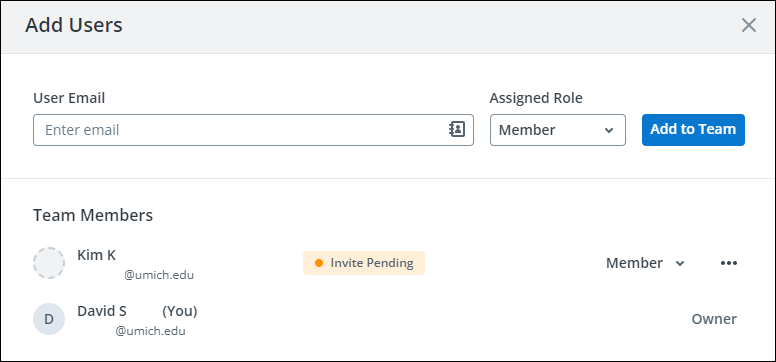
- Team Settings - Note These settings can only be set by a team owner or admin.
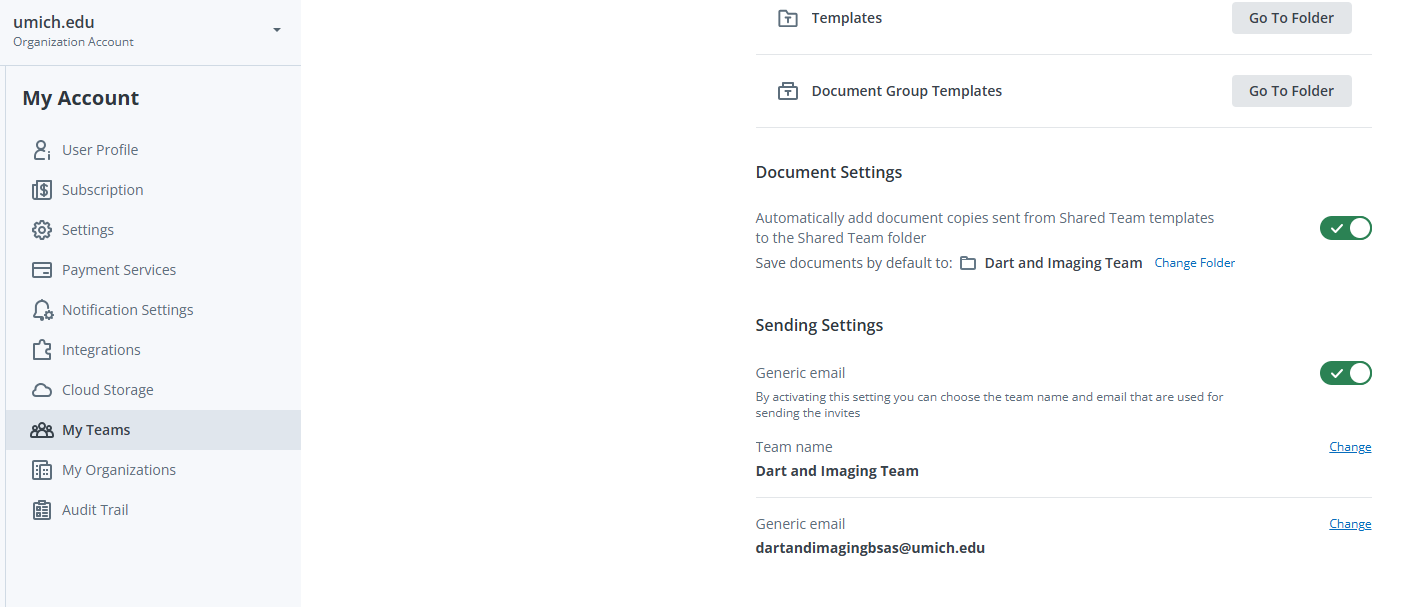
- Document Settings
- Teams can be individually set to automatically add document copies sent from Shared Team templates to the specified Shared Team folder via toggle setting
- Sending Settings
- Teams can set a shared name and email in Team Settings for use when sending invites. The shared name and email will be used as the sender for invites and completion notification.
- Go to My Teams.
- Select Open Team.
- Select the toggle under Sending Settings.
- The Team name will populate, with the option to change the name (this name will appear as the sender name for all signature invites.
- Enter a generic email address, the email entered here will receive the document complete notification.
- Sent documents now appear in the Team documents folder.
- Document Settings
- To return to the Documents page, click the U-M SignNow logo in the top left of the page.

Inviting Users to a Team
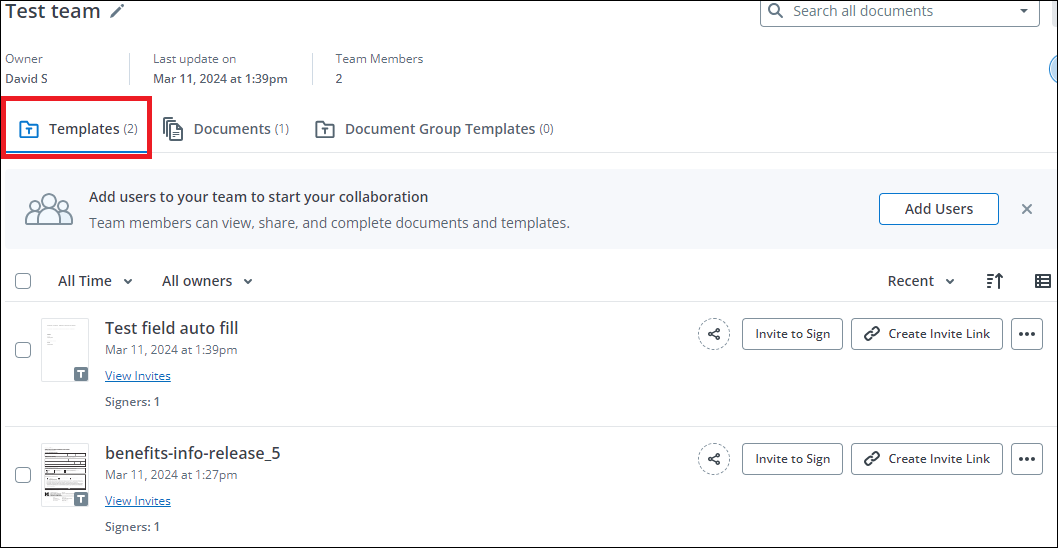
Team members can copy or download templates from the team. They cannot edit or delete templates.
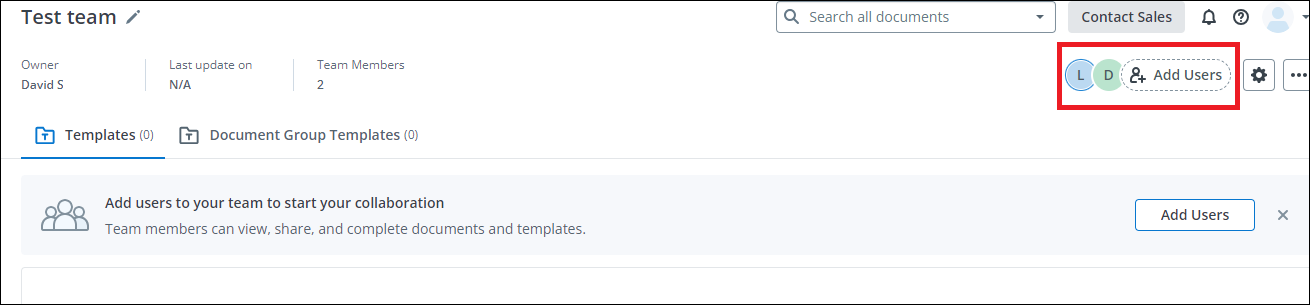
- In the left side navigation bar locate and click the team you wish to add to.
- Once you click on a team, the following window Opens. Select Add Users.
- In the Add Users menu, enter the email address(es) of additional team members. Separate addresses with a comma.
Note Team members must have a SignNow account. Please confirm users have a SignNow account prior to inviting them to join a team.You may also designate a role (Member, Admin) as well.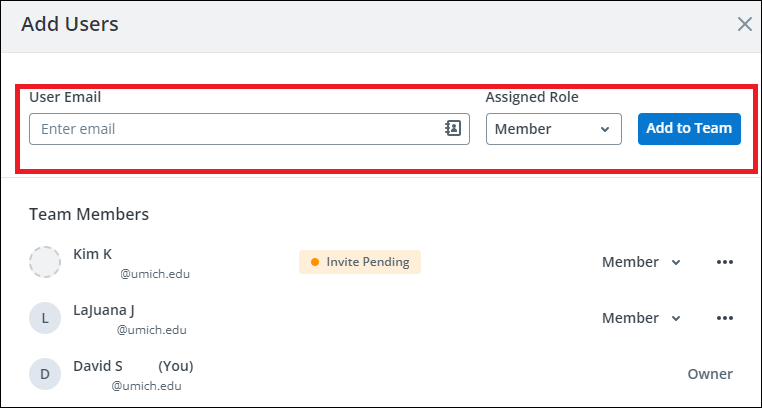
- Click Add to Team.
- The additional invitees display a status of Invite Pending. Once the user has accepted the invite, the status of their role will change to what was selected in the Add Users menu, prior to invite.
- To return to the Documents page, click the UM-SignNow logo in the top left of the page.

Accepting an Invitation to Join a Team
- Each user that is invited to join a team receives an email invitation. Click Join Team.
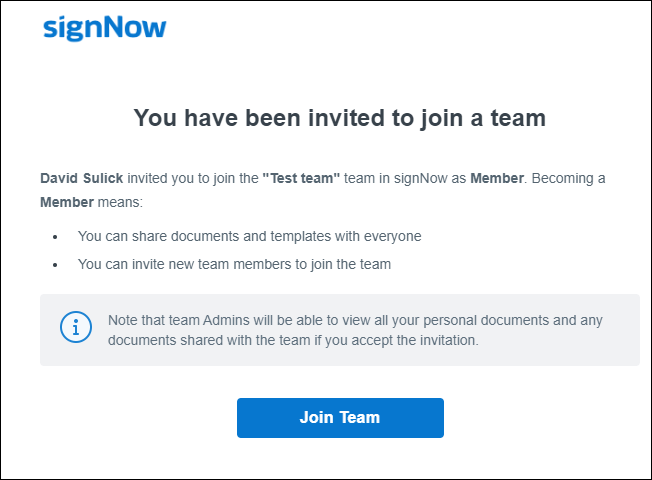
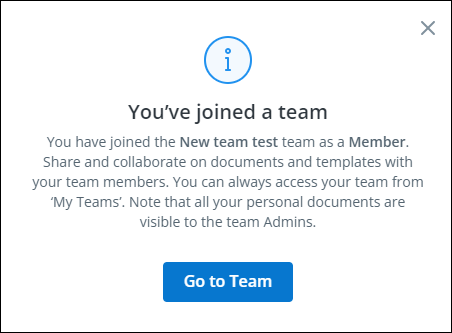
- The user is presented with a prompt that lets them know they have successfully joined the team, as well as their role within the team. Click Go to Team.
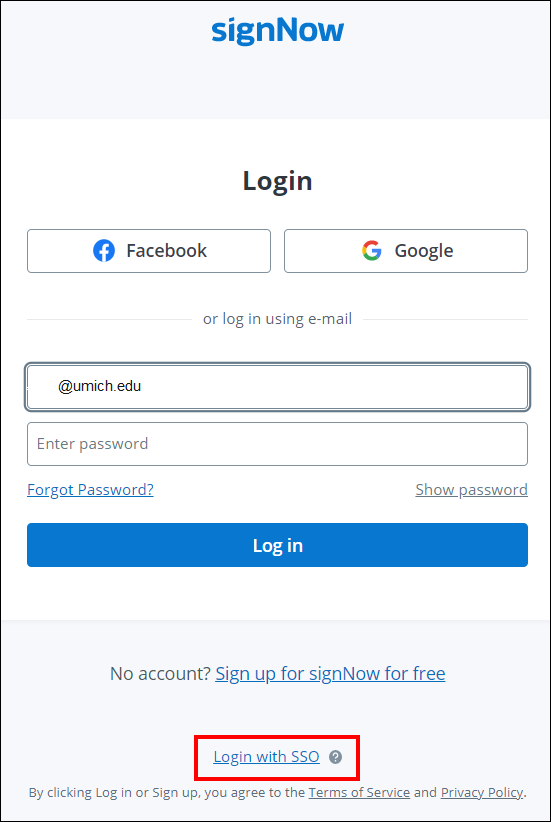
Note If Users are not already signed in to SignNow, they will be directed to a sign in page, and should sign in with their SSO.
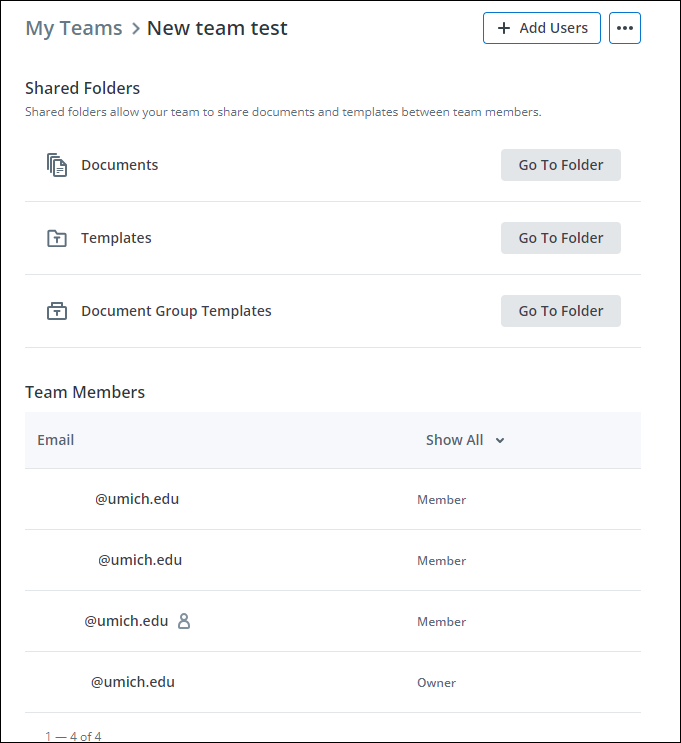
- The Team page displays the list of team members.
Sharing Individual Documents with your Team
When the Team Document Settings toggle is turned on, team documents generated from a template will automatically be shared.
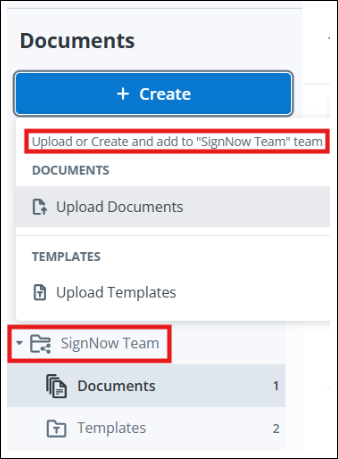
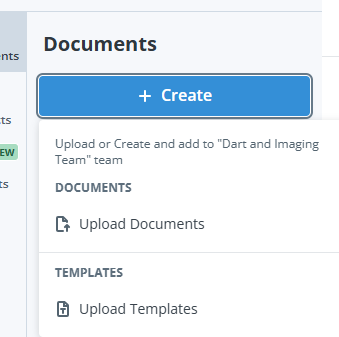
Creating a new Team Document not from a template; select the desired Shared Team folder and then select the + Create button, which will give you the option to create a Document directly in the Shared Team Folder.
Note: If a document has been shared with the share button, it cannot be moved to a Teams shared folder.
Using the Move option (Only if the document hasn’t been shared)
- For stand-alone documents not created from a template or in the team folder, the document owner can move the document from their individual Documents folder to the Shared Documents folder for their team.
- Best practice is to create new documents directly within the team folder. However, if a document is created elsewhere, it should be moved to the team folder soon after being sent for signature so others can track its status throughout the signing process.
- To share a document from your individual account, click the three dots
 button and click Move.
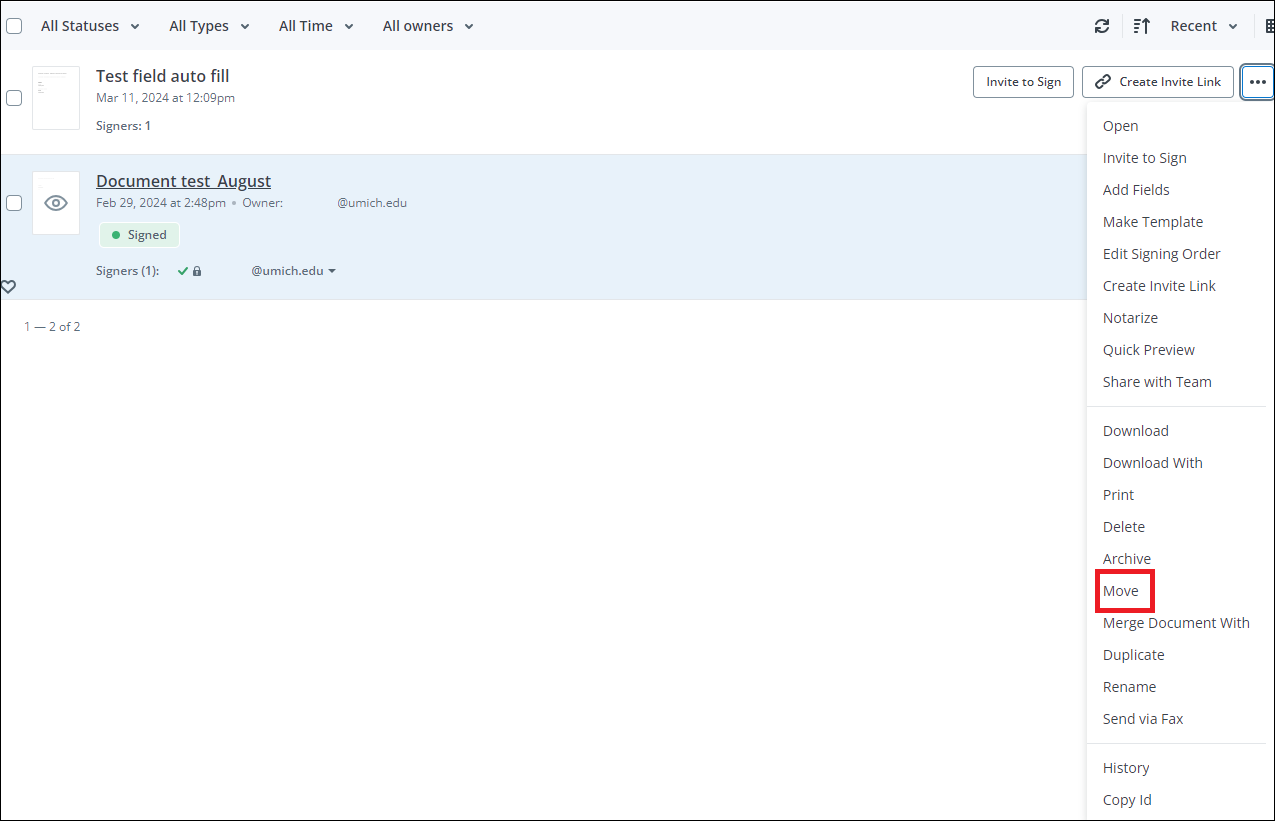
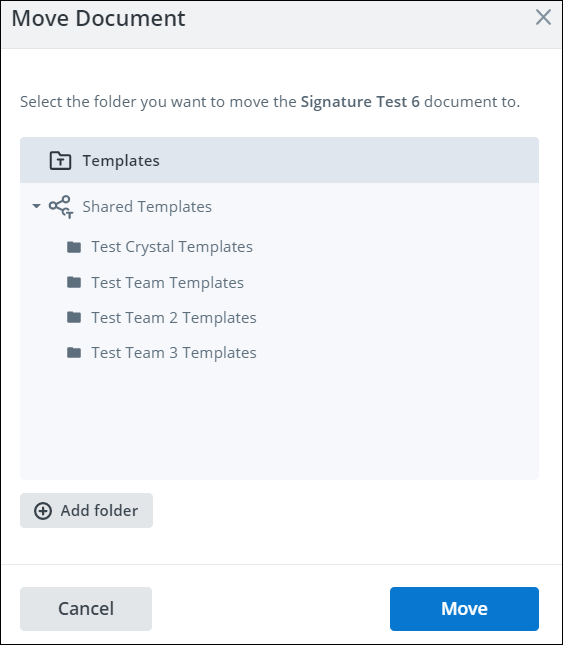
- Under Shared Team Folders, select the team folder you want to share the document and click the Move button.
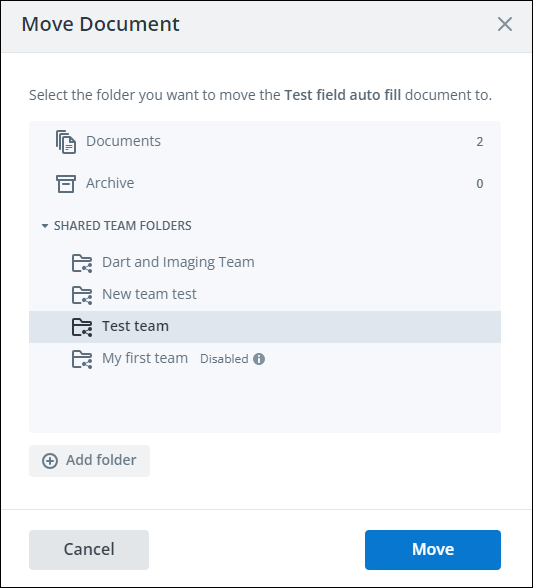
Note If you do not see the Shared Team folders option, that may mean the document was directly shared with individual users already. Documents can only be shared in one way. You can try to unshare the document by clicking on the share icon and removing access from any individual users, however, if you get a message that you cannot unshare, then your option is to use the share button to share with your other team members. The share button is to the left of the Invite to Sign button.
- If you moved your document to the Team folder return to the Team folder and select Documents from the Team folders. If you shared your documents, select View Invites on the template to view documents.
- To return to the Documents page, click the UM-SignNow logo in the top left of the page.
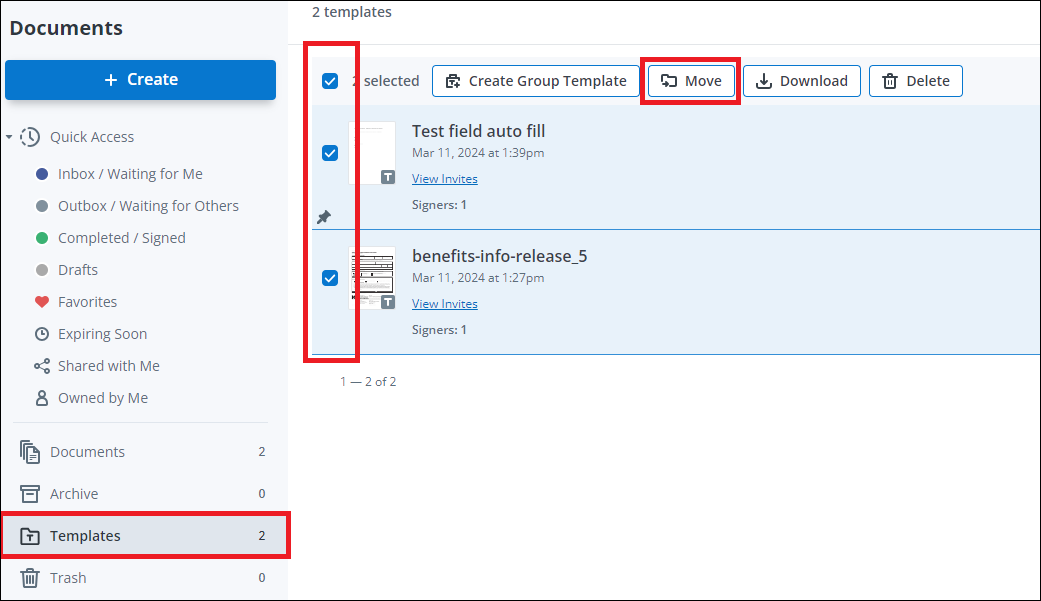
Sharing a Template with Your Team
- Creating a new Template - select the particular Shared Team folder and then select the + Create button, this will give you the option to create a Document or Template directly in the Shared Team Folder
- To share existing templates, go to your personal Templates folder, click the three dots button on a document and select Move.

- Select the team folder where you want to share the template.
Changing Roles of a Team
A team has multiple roles: Member, Admin and Owner.
| Member | Admin | Owner |
|
|
|
Team Admin Functionality
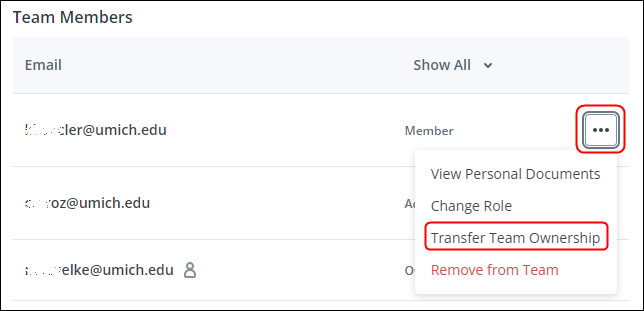
To add a Change Team Owner to a team where you are already an Owner, or change the team members role or remove a team member, click the three dots
 next to their name and select Transfer Team Ownership or Remove from Team.
Note An Admin can see the other individual documents of the team members but not other Admin's individual documents.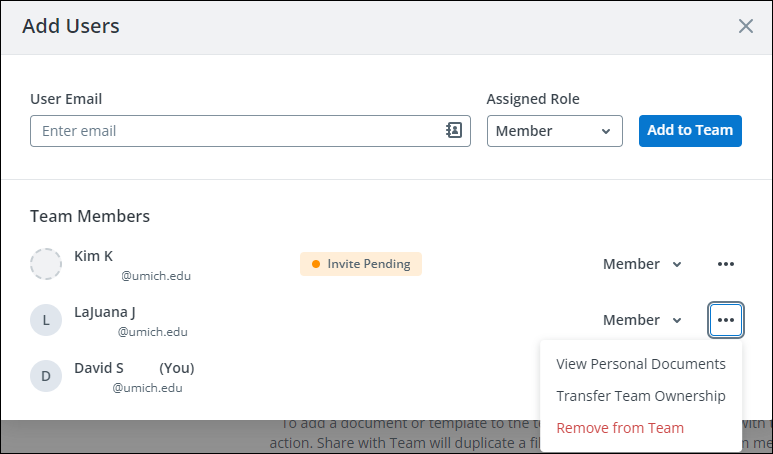
- If the drop-down arrow was selected, choose one of the available roles from the Change Role menu.

Changing Ownership of a Team
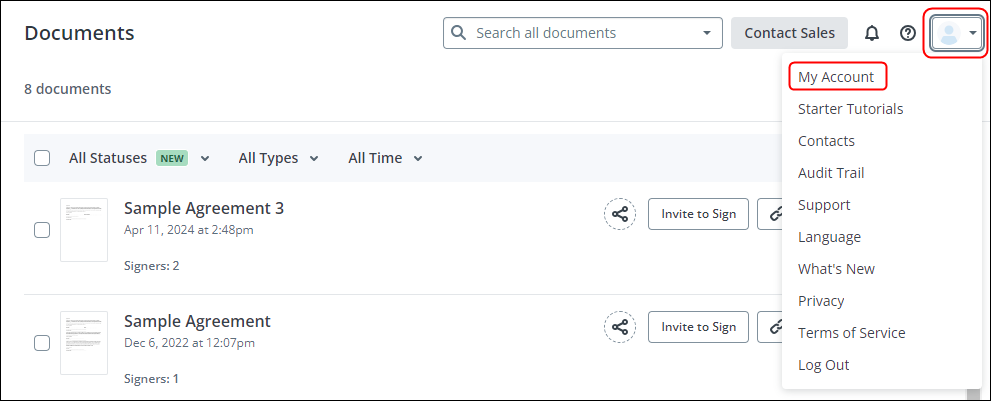
- To Transfer team ownership, a team owner clicks on the drop-down arrow by their profile, in the upper right hand corner.
- Click on My Account in the drop-down display.
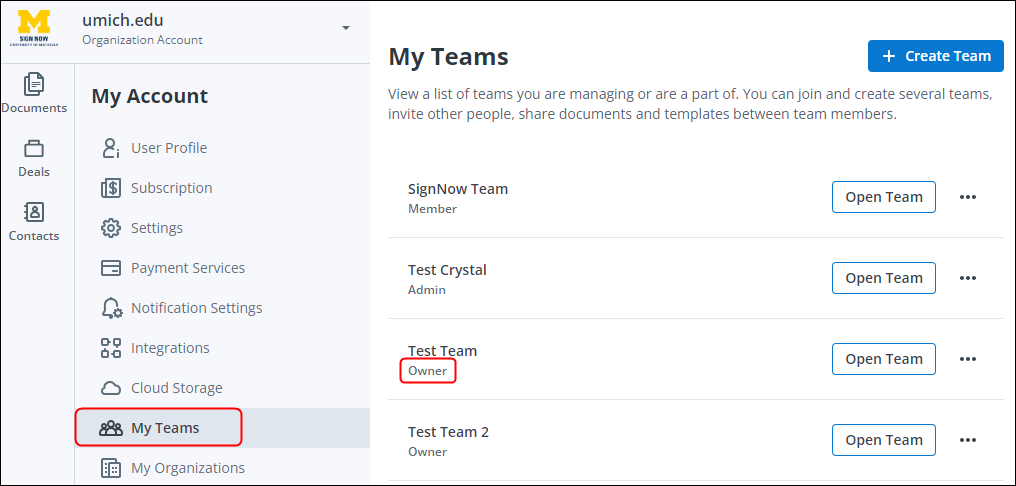
- In the left column navigation bar, locate and select My Teams.
- Locate the team(s) on which you are an owner and need to transfer ownership, then click Open Team.
- Find the team member to whom ownership is being transferred and click the three dot icon then select Transfer Team Ownership.
- Click the Transfer button when the Transfer Team Ownership verification box displays.
- The Team Ownership Transferred dialog message will display.

If the Team Owner left the University before transferring the ownership of the team, the remaining team members need to do the following:
- Create a new team using the steps in the Setting Up a Team section.
- Copy the templates as your own individual templates.
- On the left side of the screen select the particular team in the Shared Team Folders section.
- On the left side of the screen select the particular team in the Shared Team Folders section.
- Click the three dots button, then Create a Document Copy for the document you want to copy.
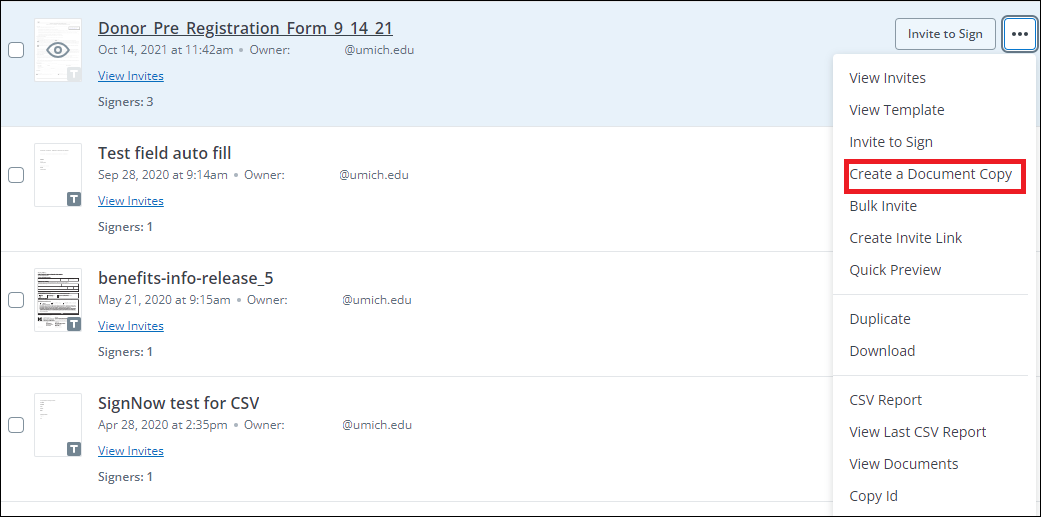
- Enter the new name of the document and click Create Copy.
- The template is created as a new document in your individual document folder.
- Save the document as a template by selecting the + Create button, clicking on Template then Select From Existing Documents.
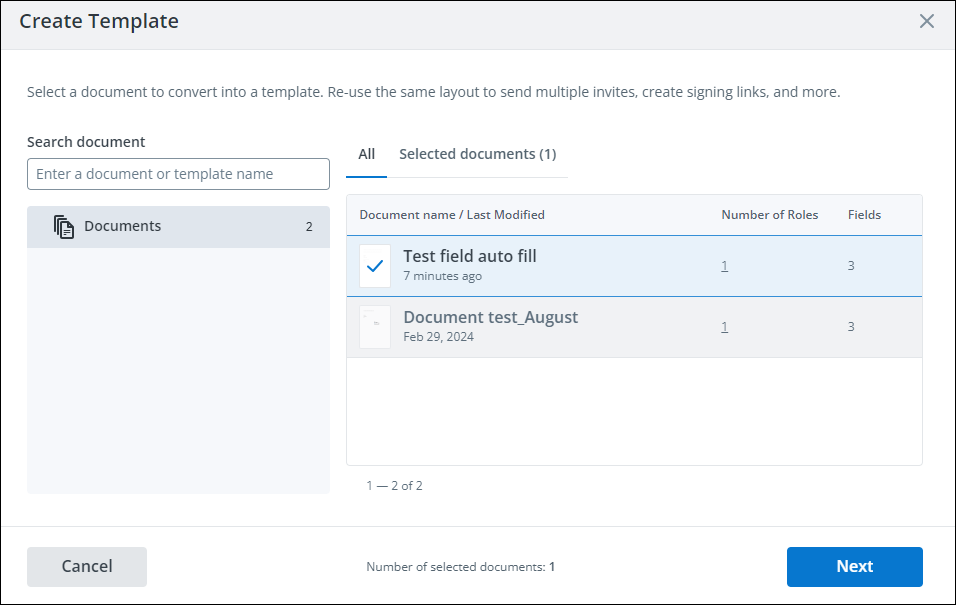
- Select the document you wish to move to the template folder, and click Next to enter in the name of the template, and save it.
Note You will have to repeat steps c - g for each template that needs to be moved to the new team Shared Templates folder. - Once all desired templates have been copied over to your personal template folder, you can then select them by clicking on the checkbox, and then clicking the Move button.
- Select the team you wish to move the templates to, click the Move button
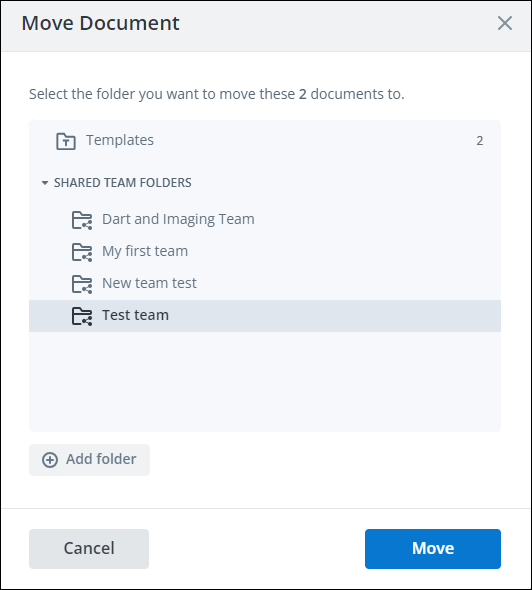
- They will appear on the selected team in the Templates section.