The Recruitment Manager system can record two types of campaigns or events - a recruitment campaign or a list to collect contacts for marketing purposes. All campaigns require a name, an account (hosting department) and a start date/time. Individual contacts can be added to a campaign either when it’s created or at a later date.
Create Campaign Step-by-Step Process
- Click the Campaigns tab.

- Click New.
- Click the radio button for the campaign type - Recruitment Event or List.
- Enter a Campaign Name, following the naming convention used by your office.
- Select the event Type from the drop-down list.
- Enter the Account.
- The Account is the school hosting the event.
- This is a predictive search field. As you type, items matching the search text display under the field.
- Choose a Status from the drop down menu, if needed based on your office’s business process.
- Enter a Description of the campaign, if needed based on your office’s business process.
- Enter the Start Date and Time of the event.
- Enter the End Date and Time of the event.
- The End Date/Time is not required, but is recommended for data integrity purposes.
- Select the Time Zone for the location where the event will take place.
- If this is an online event, Time Zone should be set based on the host’s location.
- Enter the Event Capacity to set how many people can register for the event.
- When the limit is reached, the event’s status changes to “Full”.
- Event Capacity is NOT required. If your event does not have an attendance limit or does not need to be tracked, leave this field blank or set to a high number (e.g., 99).
- Enter the Event Location information for an in-person event, if needed. This includes:
- Location - the name of the venue or specific building
- Venue Address - include the specific room number, if applicable
- Venue City
- Venue State
- Venue Zip Code
- Venue Country
- Enter the Virtual Details information for a virtual event, if needed. This includes:
- Virtual Event checkbox - check if it is a virtual event
- Calendar Event URL
- Virtual Event URL
- Virtual Event Instructions - information entered in this field is not publicly available
Note: The System Information is for internal use only; do not edit the fields.
- Click either:
- Save to save the campaign and open the campaign page.
- Save & New to save the campaign and begin a new campaign, starting at step 3.
Add Contacts to Campaign Step-by-Step Process
Contacts can be added to a campaign either through the campaign record or contact record.
Add Contact from Campaign Record
- Search for and open the campaign, if the record is not currently open.
- If the campaign was opened recently, click the Campaign tab and click the name in the Recently Viewed list. You can also search for the campaign using the search bar at the top of the page.
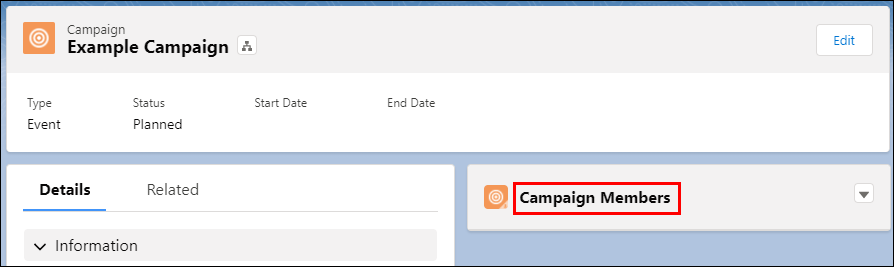
- Click Campaign Members.
- Click Add Contacts.
- Search for and select a contact.
- Once selected, the name displays in a box in the search field and is also added to the list with the box next to it checked. You can remove a name by either clicking the X next to the name in the search field or unchecking the box next to the name in the list.
- When searching, the predictive search shows only five records at a time. If you click “Search [term] in Contacts”, a full list of contacts matching the search term displays. Click on the applicable record.
- Repeat step 4 until all contacts are selected.
- Click Next.
- Click Submit.
- The Member Status defaults to Sent, and the Update Existing Campaign Members? defaults to Keep member status. This can be left at the defaults.
- If you need to update members’ attendance status (e.g., Registered, Attended), check the box next to each member, then click Update Attendance.
- Members’ Attendance status can be set at any time and updated as many times as needed based on your office’s business process.
- Select the Attendance from the drop-down list.
- Click Next.
- On the confirmation page, click the Click Here link in the confirmation statement to return to the Campaign Members screen.
Add Individual to Campaign from Contact Record
- Search for the contact on the Home tab or using the search bar at the top of the screen.
- When searching, the predictive search shows only five records at a time. If you click “Search [term] in Contacts”, a full list of contacts matching the search term displays. Click on the applicable record.
- If the contact is not found, you can create a new contact record. See the Recruitment Manager: Create a Contact page for more information.
- Click Next, if searching from the Home tab. If searching from the search bar, the contact record opens when you select the individual.
- Click or hover over Campaign History in the Related Links Quick Links section.
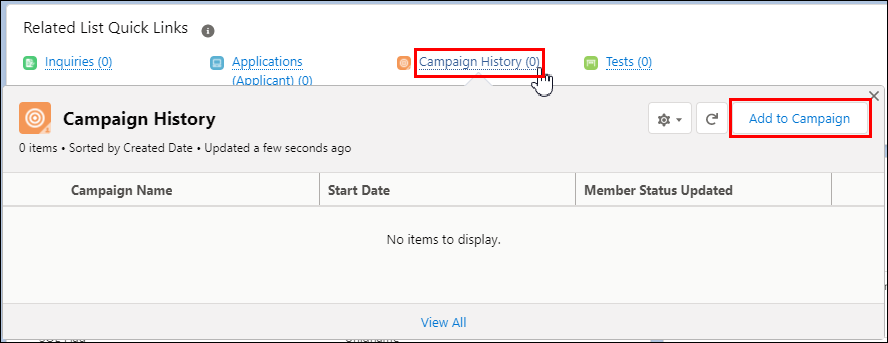
- Click Add to Campaign.
- Search for and select the Campaign.
- Click Next.
- Select the Attendance status from the drop-down list.
- Enter any Other Questions/Issues as needed based on your office’s business process.
- Click Save.
Last Updated
Monday, June 21, 2021