Note These instructions are based on using the Chrome web browser. Your experience may be different in other browsers. If you are using another browser and cannot export, it is recommended to switch to Chrome.
Content
- Selecting Documents
- Downloading Documents (Not Recommended)
- Exporting Multiple Documents to a PDF File
- Printing Multiple Documents to a PDF File
Selecting Documents
-
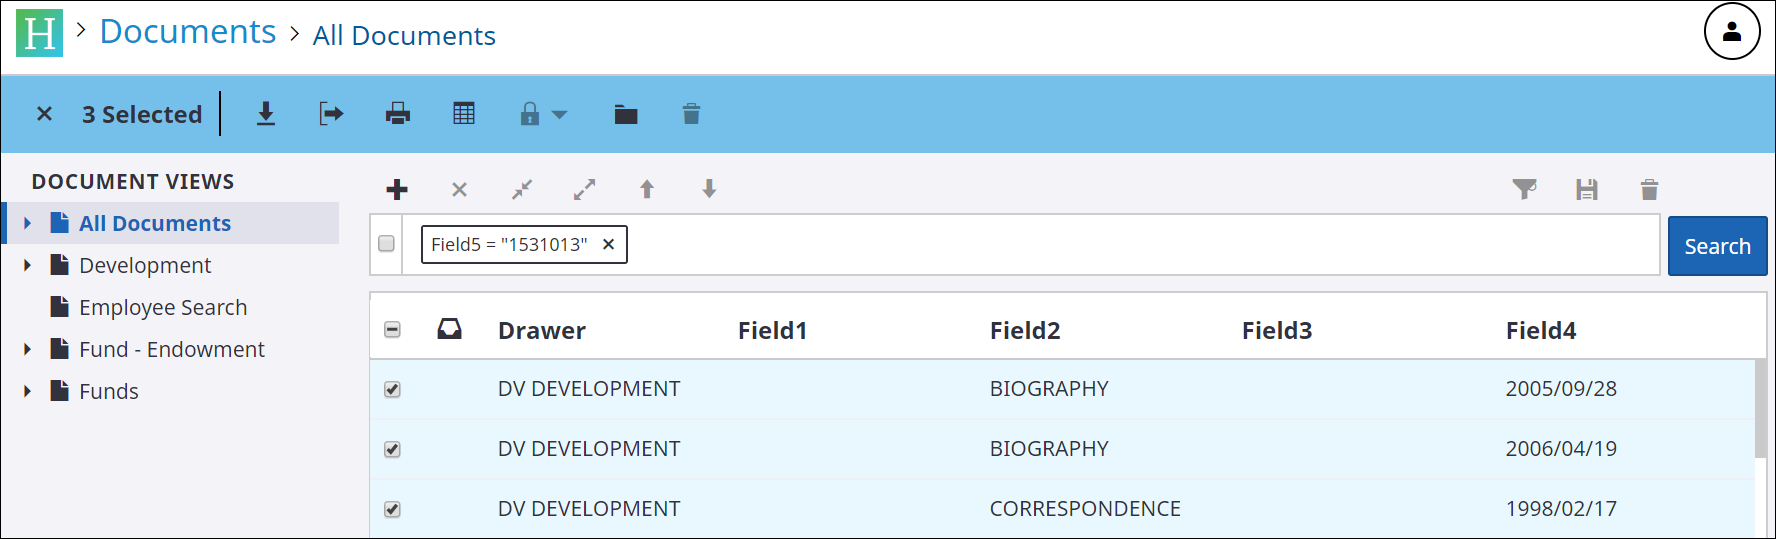
Search for your document(s). If you are printing or exporting a single document, skip steps 2 & 3.
-
Once you have your list of documents, hover over the first document that you wish to export or print.
On the left side of the list, a check box appears.
-
Check the box next to all of the documents you wish to export or print.
Note Click
 twice to uncheck all boxes.
Downloading Documents (NOT RECOMMENDED)
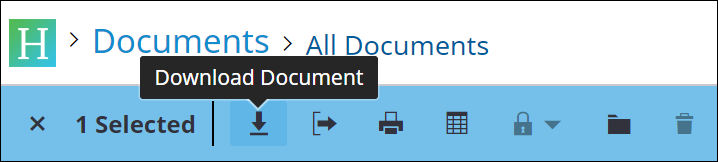
Although there is an option to download the documents, it is NOT recommended. Using the Download option will download each page of the document individually, and documents that are in the file type of ‘g42’ will need special handling to open. Exporting to PDF is the recommended method as it is simpler and more consistent.
Exporting Mulitple Documents to a PDF File
-
Click the Export icon to export the documents you selected.
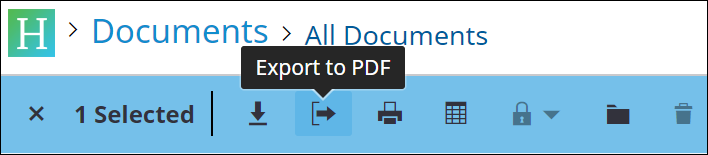
Note This will save the documents as PDF files to an export.zip folder.
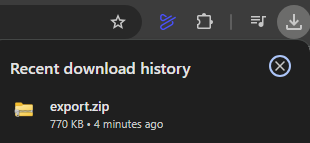
Note If the export.zip folder does not appear at the bottom of your browser, check the address bar to see if an icon with a red x appears. Click on icon and select “Always allow…” Click Done. Repeat step one.
-
Click the export.zip download when it appears, or go to your recent download history to find it.
-
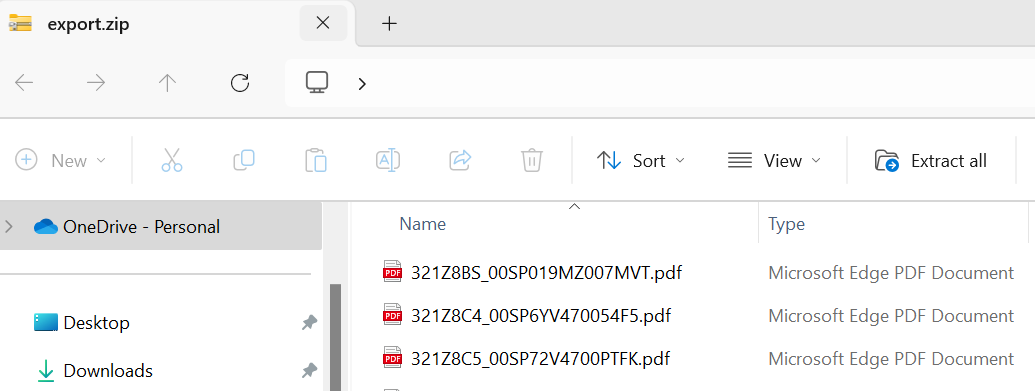
The File/Windows Explorer box opens.
-
The documents display as .pdf files.
-
Double-click the appropriate document name to open.
-
View, print, or save the documents as desired.
Printing Multiple Documents to a PDF File
-
Click the Print icon to print the documents you selected.

Note This will save the documents as a single PDF file -
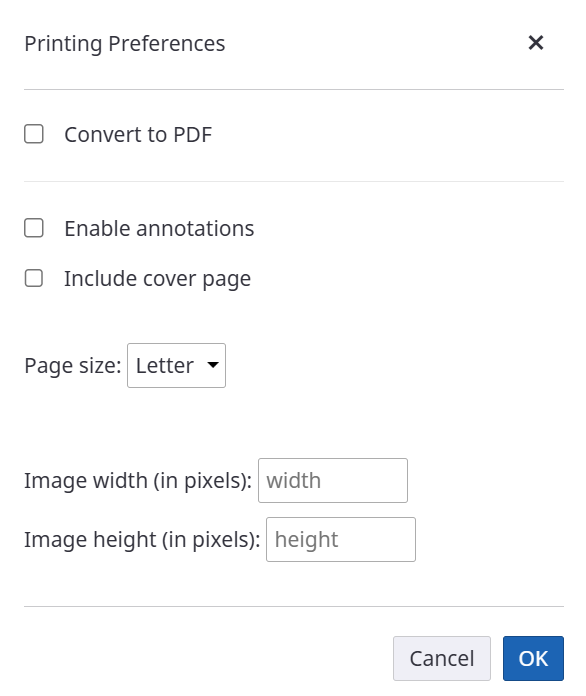
Uncheck the boxes under Printing Preferences, then click OK (and don’t check the Convert to PDF box!)
-
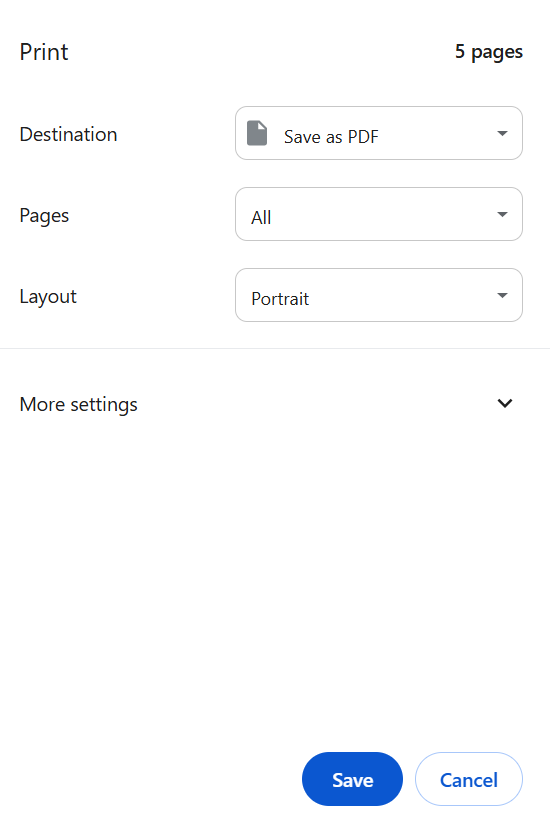
Select a Print Destination (e.g., Save as PDF)
-
Select a location where you wish to save the file as desired.