New Sites Features
New Google Sites include a number of features that enhance your ability to customize your website. To further explore the feature differences between classic Google Sites and new Google Sites, refer to Compare classic Sites & new Sites.
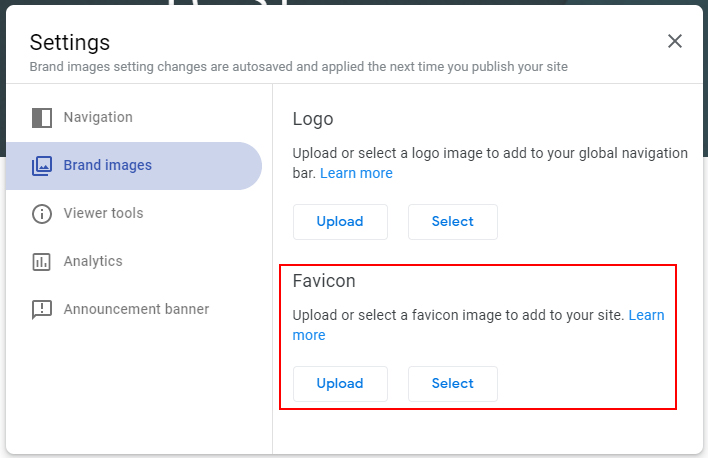
Add a custom favicon
You can customize your favicon (i.e., the icon that appears in a browser tab or bookmark list) to match your site. Select the gear icon located to the left of the Publish button, and select Brand images. Under Favicon, select either Upload (from your computer) or Select (from your Google Drive or a Google image search) to insert your image.
Embed CSS, HTML, JavaScript, or a webpage
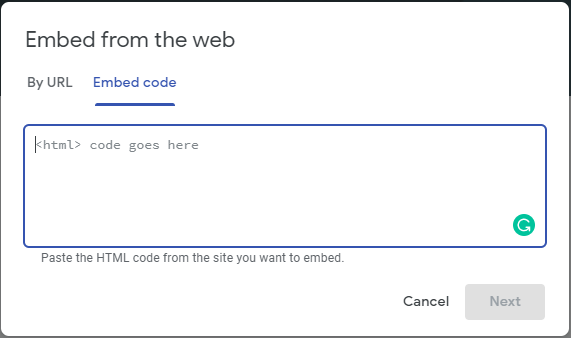
You can embed CSS, HTML, or JavaScript code directly into your Site. Under the Insert tab to the right, select Embed. Next, select the Embed code tab and paste the code into the textbox. Finally, click Next and then click Insert.
Important: JavaScript code must be within <script> tags, and CSS code must be within <style> tags.
You are also able to embed an entire webpage as an iframe in a Site. This allows you to pull in content from other websites and Google tools like Apps Script and Data Studio. Under the Insert tab to the right, select Embed. Next, select the By URL tab and paste the URL into the textbox. Finally, choose whether you want to insert the Whole page or a Preview, then click Insert.
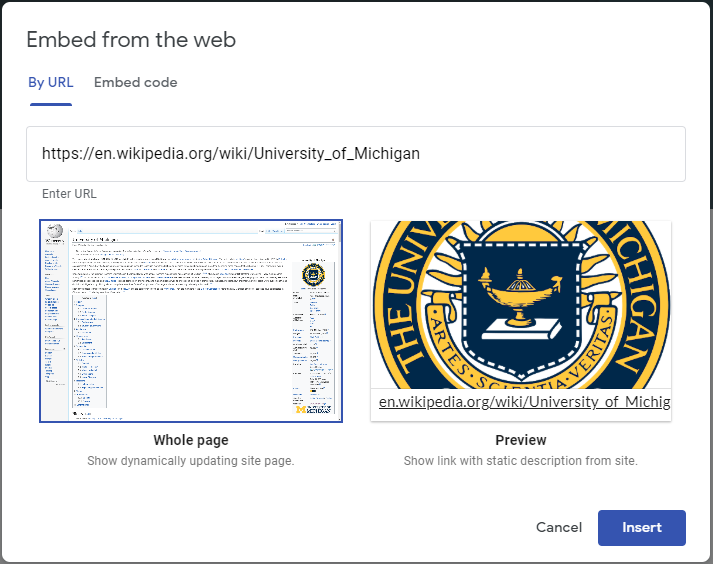
Note: Embedding a webpage only works if the site allows it to be embedded. Otherwise, only a link to the webpage is inserted.
Publish to a specific audience
Google allows you to choose exactly who can view your content in new Google Sites when you publish.
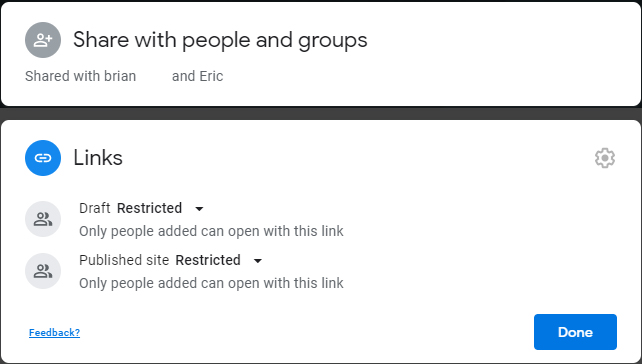
To publish your site for a specific audience:
- Click the person icon to the left of the Publish button.

- Under Share with people and groups, add the people and groups you'd like to give access to for your Site. Set their access levels to Published Viewer if you would like them to only have access to the published Site and not the ability to edit the draft. Click Save.
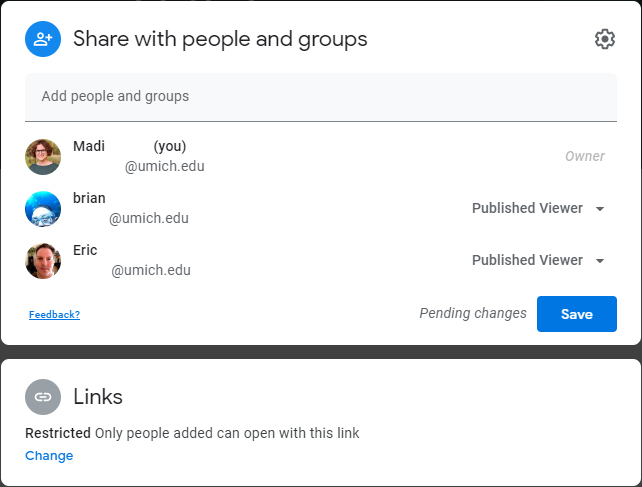
- Finally, under Links, set both Draft and Published site links to Restricted. This will make sure that only those added as Published Viewers will be able to view your published site. Click Done.
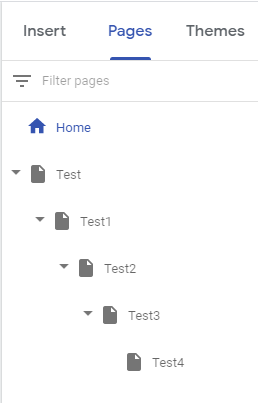
Expanded page hierarchy
You are able to nest five levels of subpages. From the Pages tab on the right side of your screen, when hovering over a page, click the vertical ellipses and select Add subpage. A second option is to drag and drop pages you'd like to make subpages onto other pages in the hierarchy. Finally, a third option is to click the "+" button at the bottom of the Pages tab.
Map your site to a custom URL
You can add a friendlier, easier-to-remember URL for your new Google Sites. Contact the ITS Service Center to request a custom URL.
Add a site-wide footer
To add a footer, scroll to the bottom of your page and click Add Footer. Enter the text you'd like and this footer will then appear across all the pages of your site. To hide the footer on a specific page, click the eye icon in the bottom left corner of the page. If you want to create a custom footer for a specific page, you can create a new section (not using the “Add Footer” functionality) at the bottom of the page.
View the version history
Version history allows site editors to easily:
- Revert to previous versions of a site.
- Restore deleted site content.
- View the history of who has made changes to a site.
To view the version history, click the vertical ellipses to the left of the Publish button and select Version history. To learn more about using version history and restoring the earlier version of a site, see Find what's changed in a site.