
Templates are beneficial because they allow you to save your signature fields and resend the document repeatedly without having to recreate a new document each time. You can make a template from an existing document in your Documents folder, or you can Upload a Document Directly as a Template. Once your template has been uploaded and prepared, Decide How to Send Your Template.
Make a Template from an Existing Document
- Locate your document to be used as a template.
- Based on the status of your document, the Make Template function will be visible either in the blue box or as a dropdown from the ellipses icon.
Click Make Template.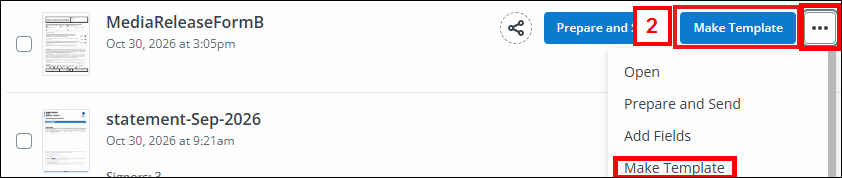
- The Create Template window opens. Enter the Template Name.
Notes:- Keep in mind the template name will serve as the subject line in the email request.
- A template can only be renamed before it has invitations.
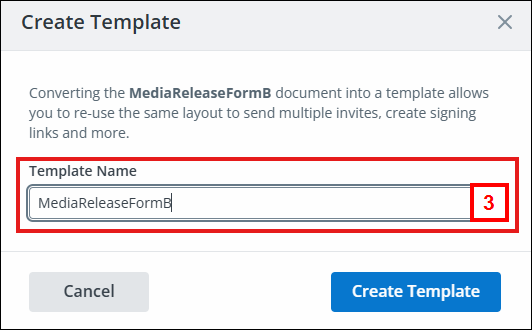
Click Create Template again.
- The document is now found in your Templates folder.
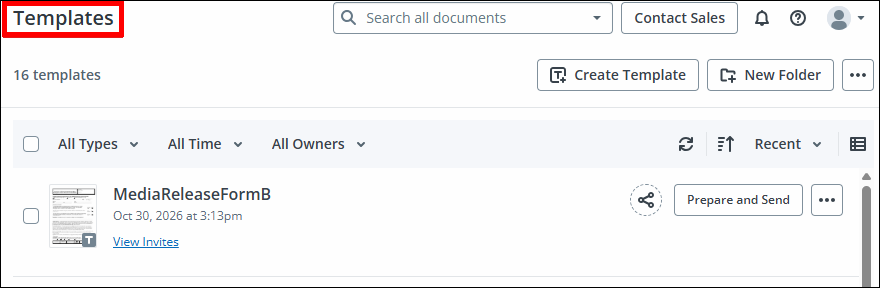
Note: If changes are needed to the template, you can Create a Document Copy and make changes. This function is found as a dropdown from the ellipses icon.
Upload a Document Directly as a Template
- Select + Create > Template > Upload to create a new template.
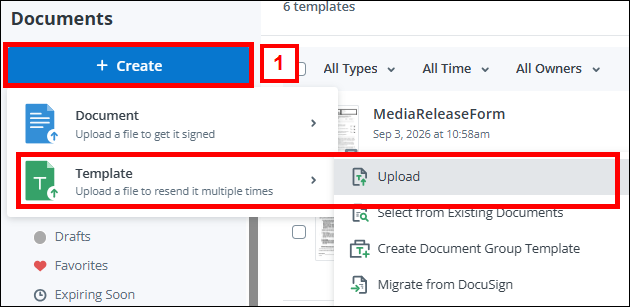
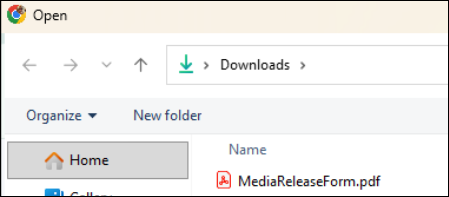
- Your Downloads folder opens by default. Browse and select the appropriate file you wish to upload, then click Open at the bottom right.
- After the template is uploaded and opened, you are prompted to Add Recipient Roles which creates a placeholder for the actual recipient’s email address when the template is sent for signing. Use the predefined Role 1 and click Save.
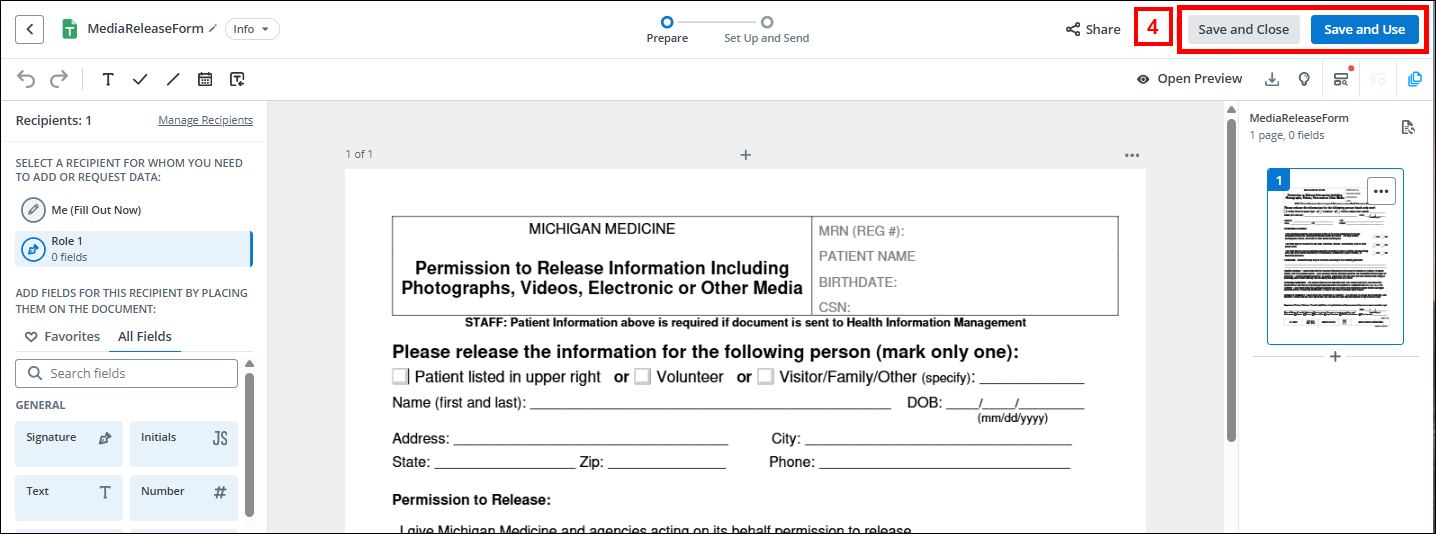
You can enter the recipients later. - Add fields to be completed by the signer, then select Save and Close to close the template, or Save and Use to send it out for signature (if you decided to enter the recipients).
Decide How to Send Your Template
- If you have a single recipient, please follow Single Recipient. These steps assign the recipient and customize the contents of the email to be sent to the recipient.
- If you need a self-service signing process rather than sending a direct request to specific email addresses, please follow Create Invite Link (used when document completion is uncertain).
- This can be used either with a mass email invitation or as a link on a website.
- We recommend this option as it is the most cost-effective solution when you are not sure who may choose to complete the document.
- If you have specific multiple recipients for a single document, SignNow has two ways to manage this. (used when document completion is required)
- If you need to send a single document to more than one recipient and/or you need to specify the order of the signatures to be obtained, please follow Multiple Recipients.
- If you need to send the same document to many individual recipients, please follow Bulk Invites.
Last Updated
Wednesday, November 4, 2026