
- The recipient receives an email and selects the View Document button.
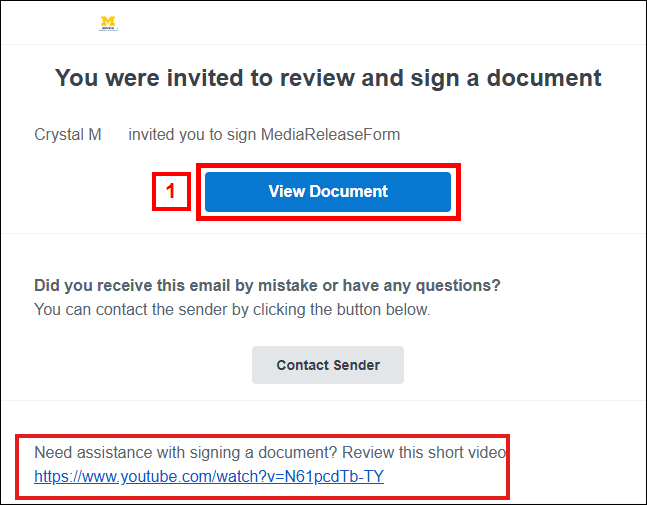
At the bottom of the screen is a link for the user to view a short video about logging into SignNow when signing FDA-regulated documents The next dialog box depends on which password option the sender selected.
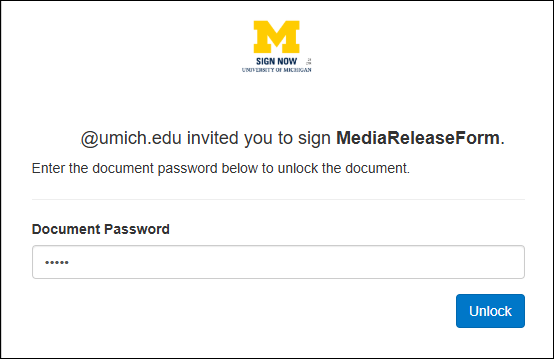
Signing with a phone call or text message: the recipient will see this box and will click Send Password to initiate a text message or phone call. Password provided to recipient: the recipient enters the document password below to unlock the document, then click Unlock. 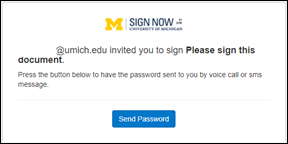
After receiving the password via text message or phone call, enter it on this screen and click Unlock. Proceed to step 3 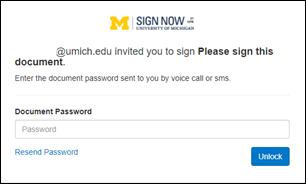
The recipient is now prompted to log in to SignNow. There are two possible login screens the user will see.
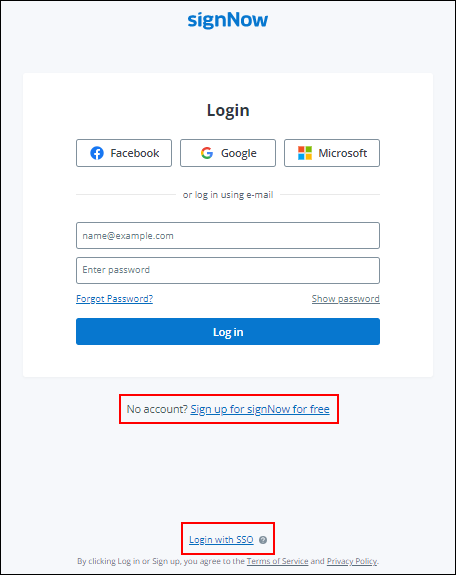
Login Screen Option 1
- If the recipient has a umich.edu email extension, they select Login with SSO at the bottom of the login page and should not enter their password on this screen.
- If the document was sent to a user's @med.umich.edu email address, they need to ask the sender to resend it to their @umich.edu email address.
- If an @umich.edu user attempts to sign a document that was sent to @med.umich.edu email, errors will occur.
Error message: User is not allowed to access this invite; authentication failed. - If a recipient already has a SignNow account, they can enter their password and click Login.
Note: If the recipient does NOT have a umich.edu email or a SignNow account, they select the link Signup for SignNow for free. Additional instructions for those who need to create an account are available here.
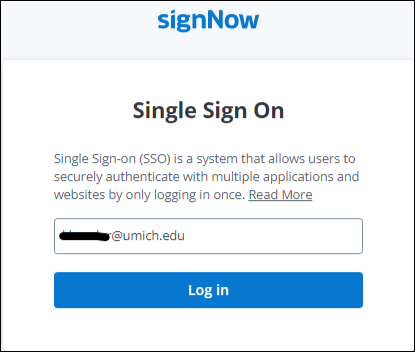
Login Screen Option 2
- This login screen displays with the user's email address populated.
Click Log in.
The M WEBLOGIN window will open.
Enter the user's Login ID and Password.
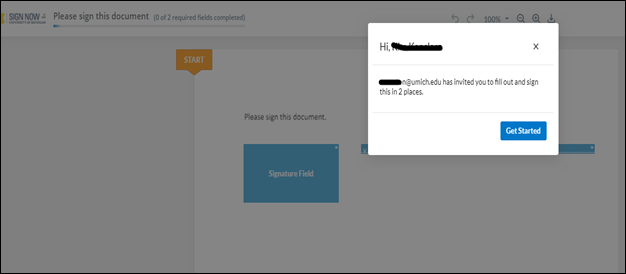
The document opens.
- Select Get Started and follow the prompts.
- When signing an FDA-regulated document, you are prompted for the reason for signing.
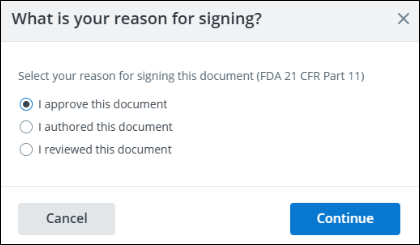
- Select one of the options and click Continue.
- Once you complete all required fields, click Finish in the upper-right corner of the screen.

- You are automatically sent to the SignNow Login screen.
Creating a Free SignNow Account for Signing
- After clicking Sign up for signNow for free, this screen displays:
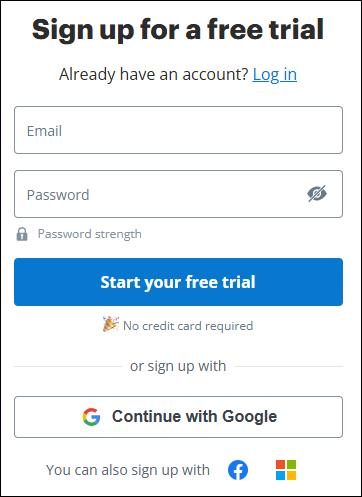
- Enter the same email address that the document needing your signature was sent to.
- Enter a Password of your choice.
- Click Start your free trial.
- A confirmation screen will display.
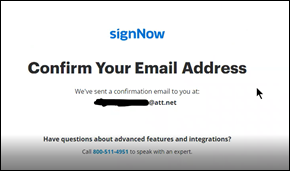
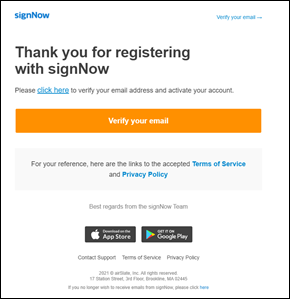
- Return to your email and look for a message from SignNow to verify your account.
- Open that email and click Verify your email.
- This screen will display while your email address is being verified.
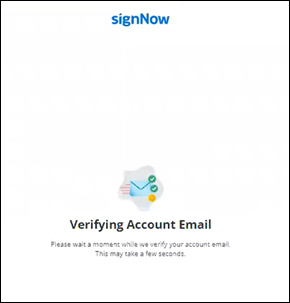
- Once verified, your SignNow account opens.
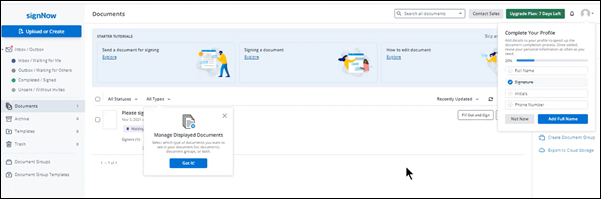
- You can now complete your profile and view any documents you were sent.
Note: You can either find the document that needs your attention in the list and click Fill Out and Sign, or return to the original email and click the View document link.
Important Notes
- Recipients will initially have a free 7-day SignNow trial that lets them use all of SignNow’s features, including uploading and sending documents to be signed.
- After the 7-day trial ends, their account remains active but can only be used to sign documents sent to them.
- Users DO NOT need to pay for any SignNow plan to continue signing documents sent to them for signature.
- During the trial period, users will see an Upgrade Plan option at the top right of their account screen:

- After the trial period is over, users will see a Select Plan option:
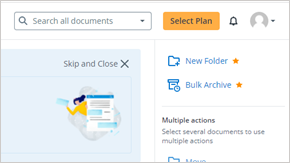
- Regardless of the option they see, users can always sign any documents sent to them.
Last Updated
Monday, November 2, 2026