Requirements
Note: The following instructions are provided for Ubuntu version 18.04. These steps may differ from other versions of Ubuntu or Linux distributions. Consult the help documentation of your distribution for instructions on setting up a WPA2-Enterprise connection, and see the Unsupported Devices page for additional details.
Configure MWireless
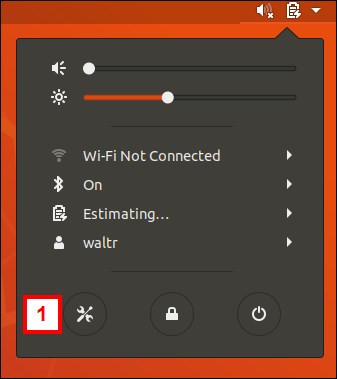
- From the System Menu, click Wi-Fi Not Connected, and then Select Network.

- Select MWireless.
Note: If MWireless is not in the list, scroll down and click More. - Click Connect.
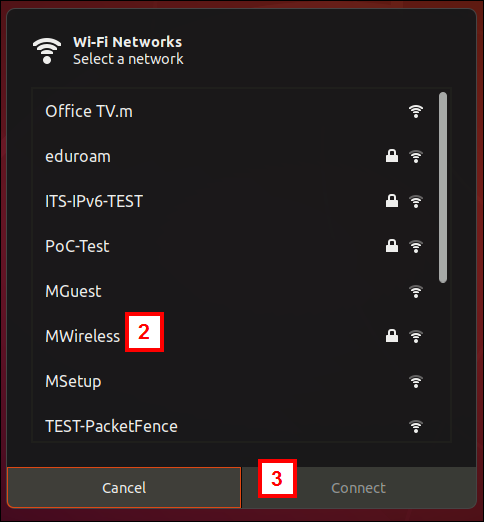
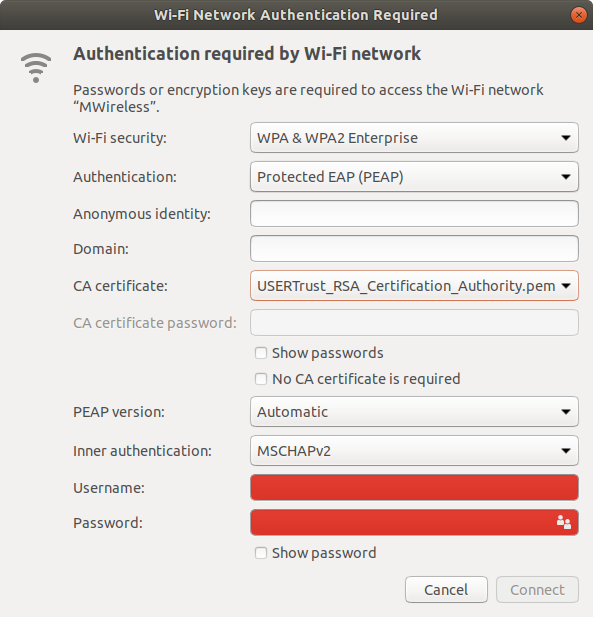
- Enter the following information and click Connect:
- Wi-Fi security: WPA & WPA2 Enterprise
- Authentication: Protected EAP (PEAP)
- Anonymous identity: <leave blank>
- Domain: <leave blank>
- CA certificate: /etc/ssl/certs/USERTrust_RSA_Certification_Authority.pem
- PEAP version: Automatic
- Inner authentication: MSCHAPv2
- Username: <U-M email address>
- Password: <UMICH password>
You should now be connected to the WiFi network.
Troubleshooting Tips
- Root privileges are required to complete these steps.
- Turn wireless connection OFF and back ON.
- Install all driver updates and patches.
Note: You can check the wireless card manufacturer's website for any available updates or patches.
- Modify MWireless settings
Note: Some Linux distributions require the intermediate CA certificate that was used to sign the RADIUS server certificate instead of / in addition to the Root CA certificate. You can download the InCommon RSA Server CA intermediate certificate ( or 2038 USERTrust RSA Certification Authority root certificate) and save the file to a location where it will not be deleted (e.g., ~/ or ~/Documents/)
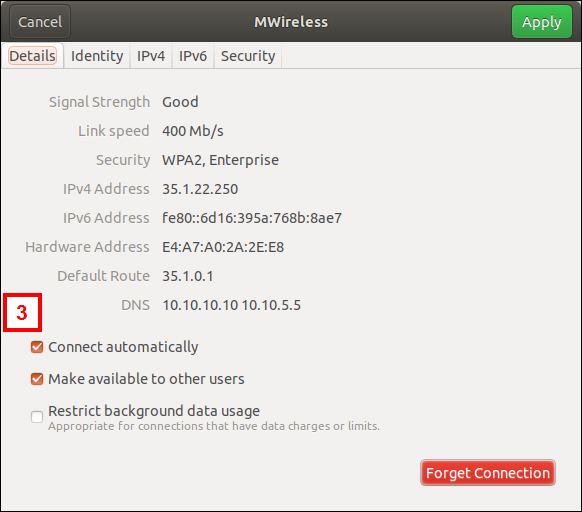
- Click Settings from the System menu.
- Click the gear icon for MWireless.
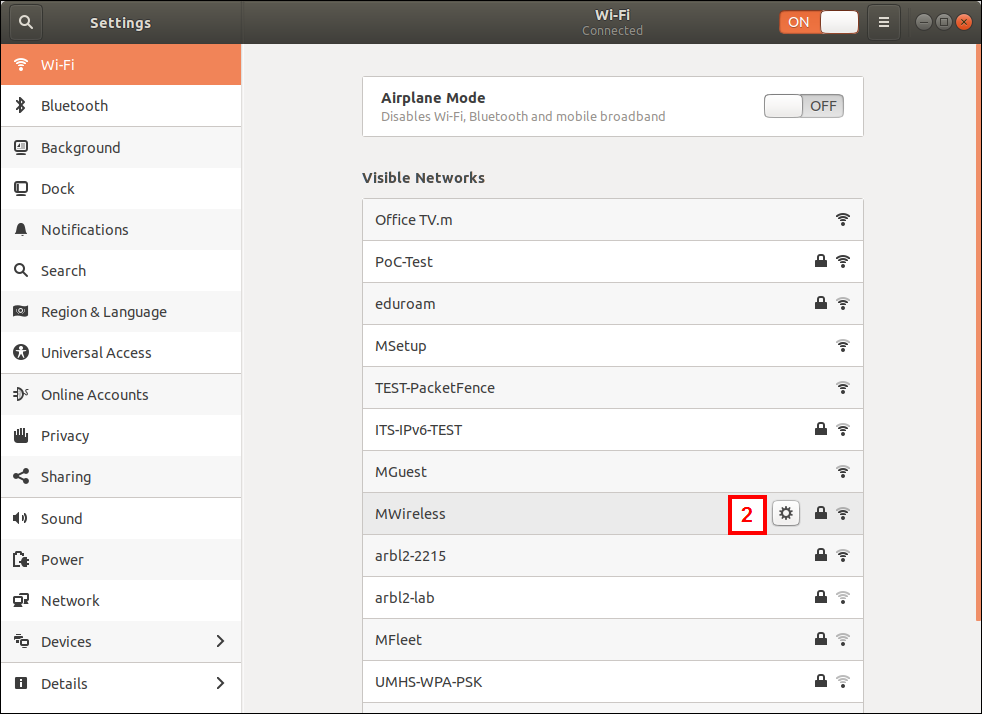
- Check the Connect Automatically box.
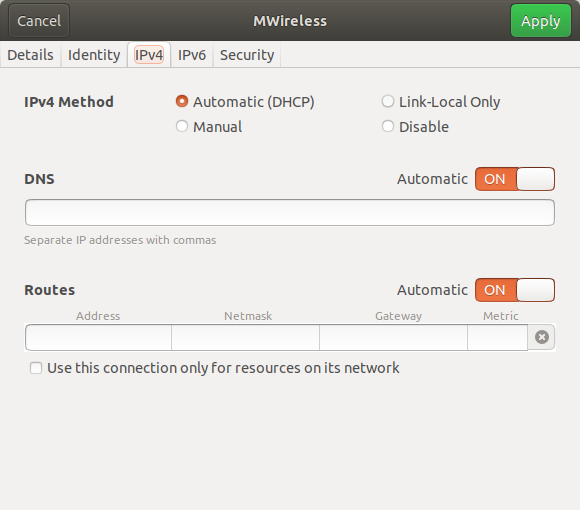
- Click the IPv4 tab and verify that IPv4 Method is set to Automatic (DHCP).
- Change CA certificate being used.
- Click the Security tab.
- Change CA certificate to the InCommon certificate.
- Click Apply.
