Overview
Zoom for Government at U-M is intended for use by U-M research staff whose projects must comply with export controls (ITAR/EAR). Depending on your specific circumstances, this service may allow you to communicate by telephone or by video meeting in a way that meets your project’s compliance requirements. During the development of a Technology Control Plan, consult with your compliance advisors to learn whether Zoom for Government at U-M is appropriate for your project..
This quick start guide walks you through getting started with your new Zoom for Government account, including essential steps like obtaining an account and hosting your meetings.
Important Notes:
- The meeting host needs to use a Zoom for Government account; participants can join with any regular Zoom account, but the devices they use to connect must be approved for ITAR/EAR use.
- Zoom for Government softphone is only available on the Desktop app, not the Mobile app.
Obtain a Zoom for Government Account
- Request a new account via Service Request System; Available options at U-M:
- Common area phone only
- Softphone/Meetings
- Softphone/Meetings plus physical phone
- After your account request is approved, you will receive an email confirmation that your account has been provisioned.
- If you have asked for a Softphone/Meetings account, you will be asked to sign in to your Zoom for Government account as the next step in the provisioning process.
- If you have asked for a common area phone only, you will receive information about installation of the phone, and the information below about signing into the Web Portal does not apply to your case.
- If you have asked for a common area phone, you will receive information about installation of the phone.
Signing in to your Zoom for Government Account on the Web Portal
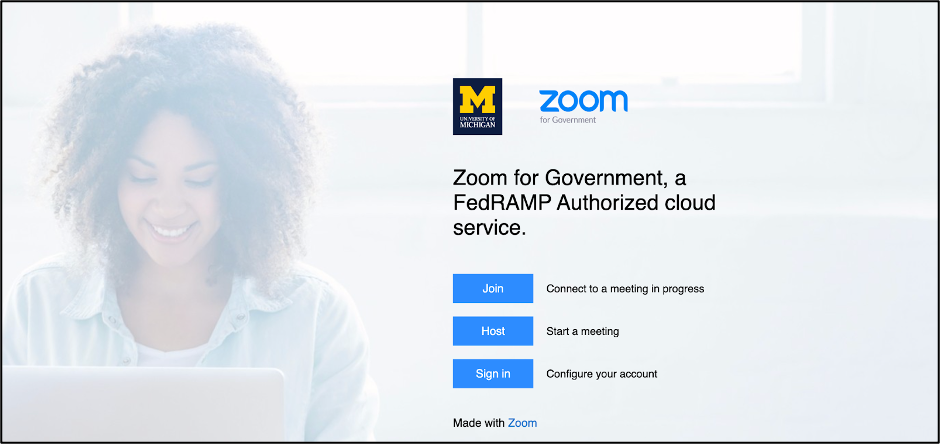
- Navigate to U-M Zoom for Government and click Sign In.
- Select Yes on the disclaimer page.
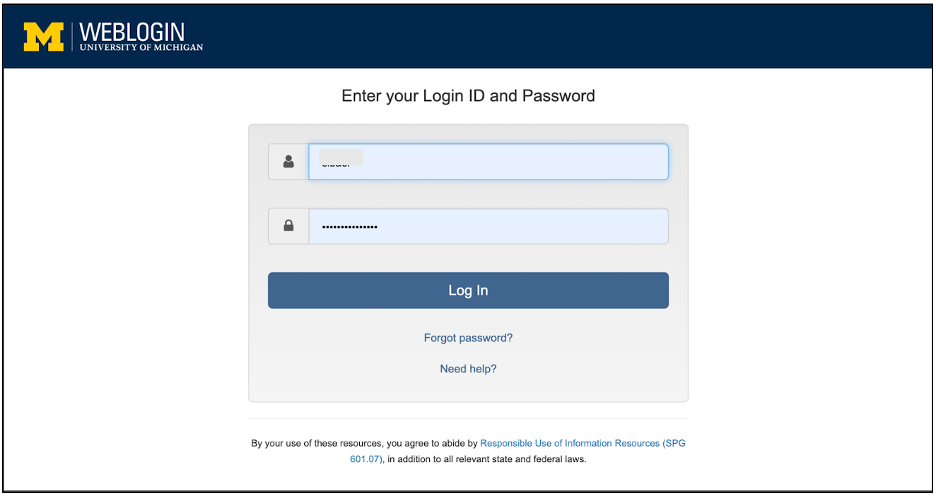
- You’ll be redirected to the U-M SSO webpage: Log in with your U-M SSO credentials.
- Your new Zoom for Government account is now ready to be used.
Scheduling and Hosting a Meeting from the Web Portal
- Sign in to your U-M Zoom for Government web portal with your U-M credentials.
- Click Meetings.
- Click Schedule a Meeting.
- Choose the date and time for your meeting.
- (Optional) Select any other settings you would like to use.
- Click Save.
- Click ‘Copy Invitation’ to share the meeting information with participants.
- Click Upcoming Meetings when ready to host the meeting.
Signing in to your Zoom for Government Account on the Desktop App
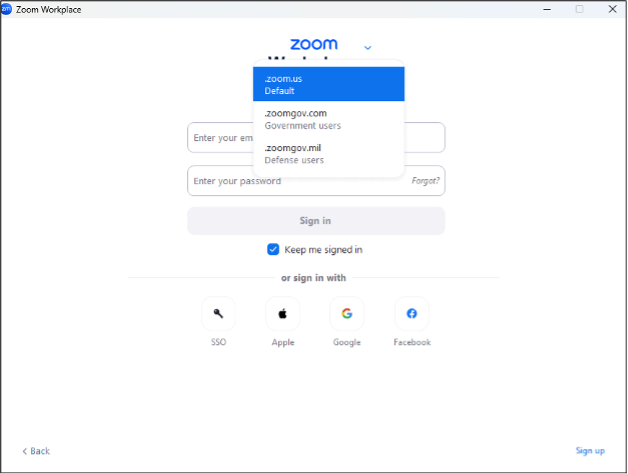
- Select your profile icon, then Add Account
- Select the drop-down arrow and select .zoomgov.com from the list
- Choose SSO
- Type umich in the box that appears for the Company Domain
- You’ll be redirected to the U-M SSO webpage: Log in with your U-M SSO credentials.
- You can now select your profile icon, then Switch Accounts to toggle between accounts.
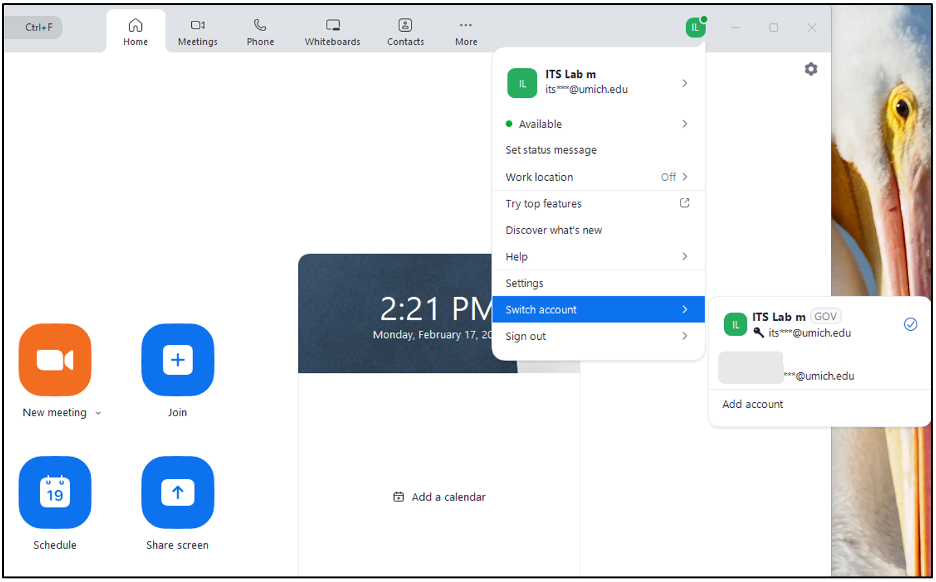
Note: Your Zoom for Government account has the GOV symbol to the right of your name.
Scheduling a Meeting from the Desktop App
- Ensure you have selected your profile icon, then Switch Accounts to toggle to your Zoom for Government account
- Click the Home tab
- Click New Meeting to host an instant meeting
- Click Schedule to schedule a meeting.
Using the Phone from the Desktop App
- Ensure you have selected your profile icon, then Switch Accounts to toggle to your Zoom for Government account
- Click the Phone tab.
Using your Zoom for Government Deskset
ITS offers a Cisco 7841 deskset or a Poly C60 conference deskset, depending on your needs. See below for relevant guides for these models: