Looking for the Windows tutorial? Click here.
Overview
Setting up Photo Mechanic to add metadata to photos before uploading them to the Digital Asset Collaborative or DAC.
- Downloading the Metadata Template Files
- Importing Metadata Template Files into Photo Mechanic
- Opening a Metadata Template
- Adding Campus Locations to Template
- Adding SCU Names to Template
- Adding DAC Rights and Usage Terms to Template
- Adding DAC Copyright to Template
- Adding Keywords
- Copy Metadata from Image to Template
- Saving a Custom Template
- Saving a Snapshot
- Overwriting Existing Information
- DAC Links and Support
Step-by-Step
Downloading the Metadata Template Files
- Open Photo Mechanic.
- Visit the VP Comms website and click on the Download Metadata Template Files link.
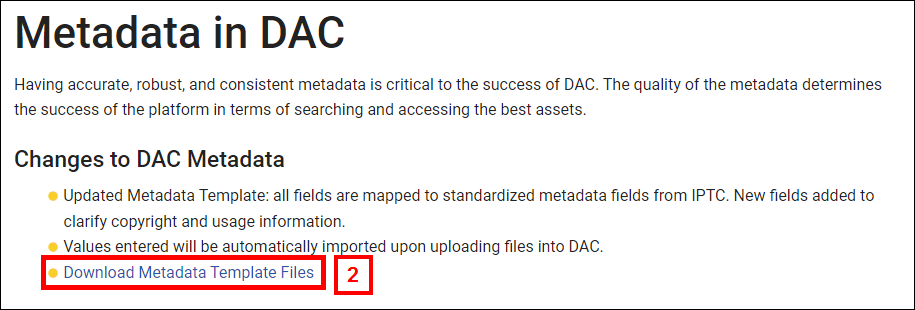
- Click the Download all button.

Notes- You will be prompted to input an email address. It is fine to use your umich email address.
- Under "I am using this file for" select News / Public Relations / Non-profit.
- Click Save.
- Once the files are downloaded, unzip the PM_Export_Snap_PMX.zip folder.
Importing Metadata Template Files into Photo Mechanic
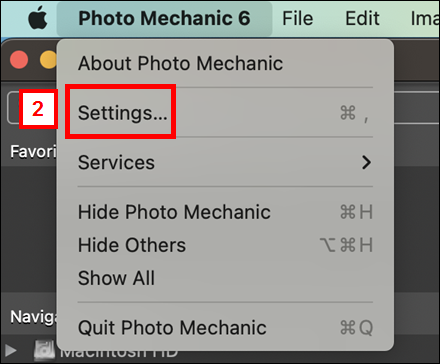
- Open Photo Mechanic.
- Click the Photo Mechanic 6 tab and select Settings.
- Use the arrows to navigate to IPTC/XMP.
Note Before going any further, make sure Add embedded IPTC (XMP will always be written) is checked.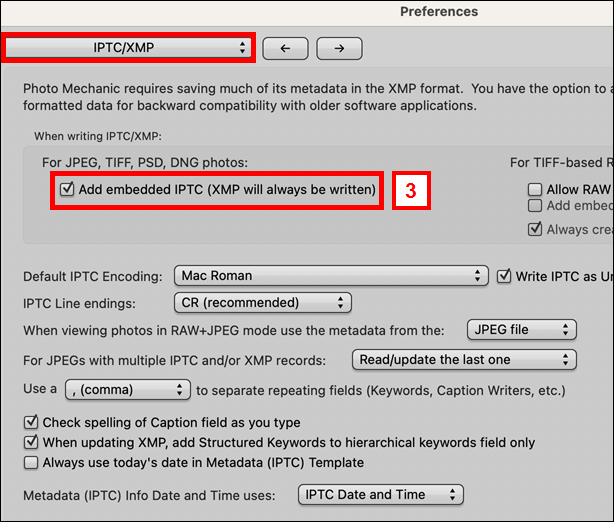
- Use the arrows to navigate to Accessibility.
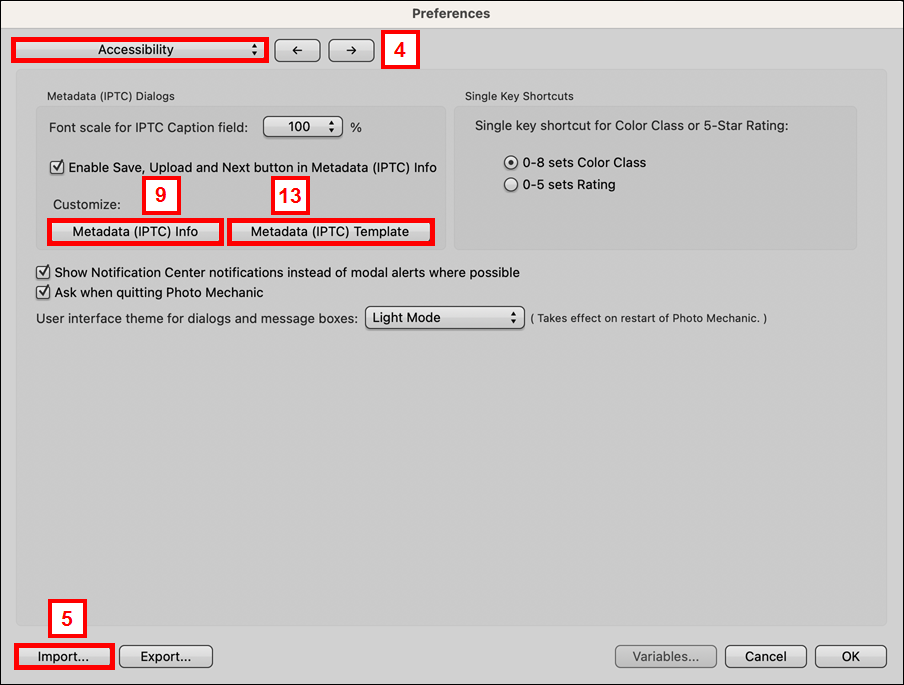
- Click Import.
- Select the PM_Export.pmx file.
- Click Import.
Note Photo Mechanic will always close down when importing so simply reopen Photo Mechanic after this step. - Use the arrows to navigate back to Accessibility.
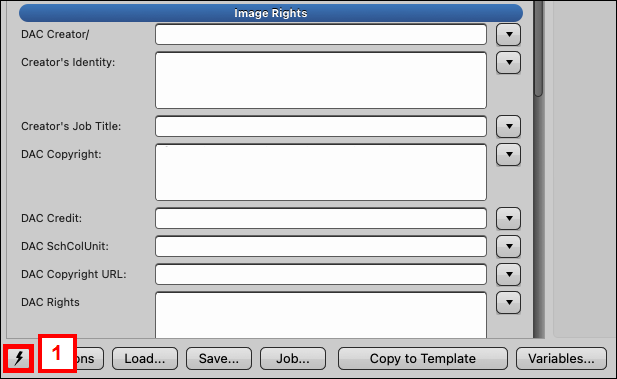
- Click Metadata (IPTC) Info.
- Click the Lightning bolt
 button.
 - Select DAC_SNAP_INFO.
- Click OK.
- Click Metadata (IPTC) Template.
- Click the Lightning bolt button.
- Select Stationary_8-3-23.
- Click OK.
- Click OK.
Opening a Metadata Template
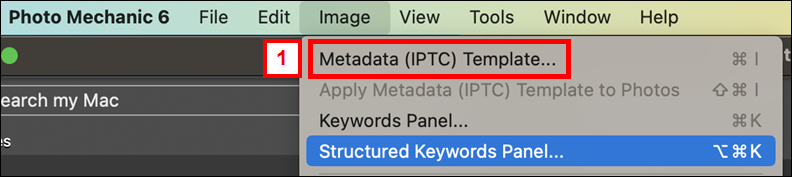
- Click the Image tab and select Metadata (IPTC) Template.
- Click Load.
- Select the DAC_PM_Metadata.xmp file.
Note Pre-populated text will appear in the template to assist you. If you don’t want to include some of the metadata fields, make sure to delete the pre-populated text before uploading to DAC.
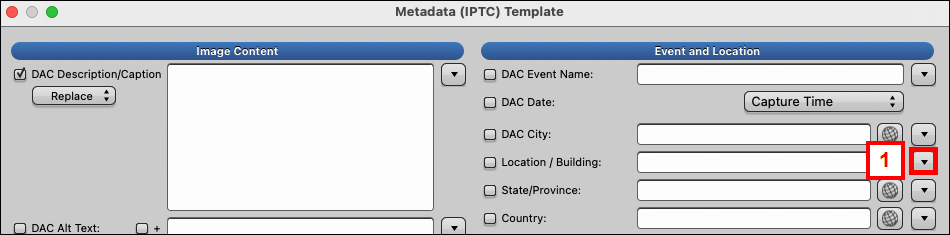
Adding Campus Locations to Template
- Click the dropdown arrow next to Location/Building and select Edit Locations.
- Click Import.
- Select the U-M_Location_Names.txt file.
- Click Open.
- Click OK. The imported locations should appear when you click the dropdown arrow next to Location/Building.
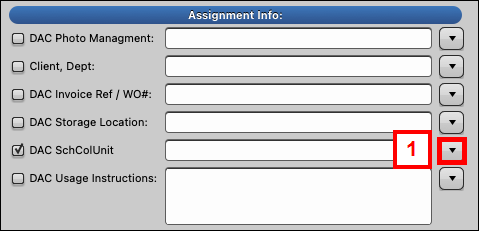
Adding SCU Names to Template
- Click the dropdown arrow next to DAC SchColUnit and select Edit Sources.
- Click Import.
- Select the SCU_List_Values.txt file.
- Click Open.
- Click OK. The imported SCUs should appear when you click the dropdown arrow next to DAC SchColUnit.
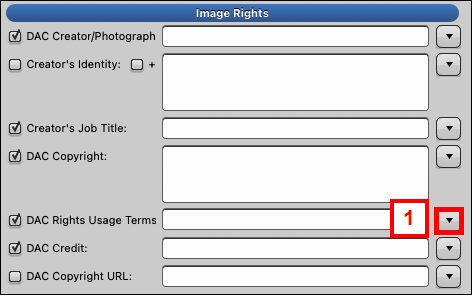
Adding DAC Rights and Usage Terms to Template
- Click the dropdown arrow next to DAC Rights Usage Terms and select Edit Rights Usage Terms.
- Click Import.
- Select the U-M_Rights_Usage_Values.txt file.
- Click Open.
- Click OK. The imported rights and usage should appear when you click the dropdown arrow next to DAC Rights Usage Terms.
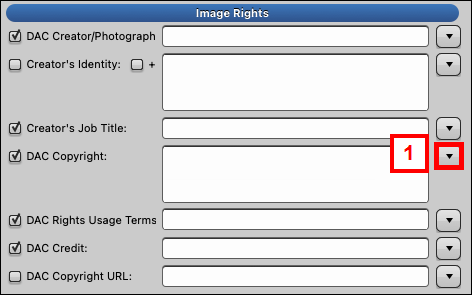
Adding DAC Copyright to Template
- Click the dropdown arrow next to DAC Copyright and select Edit Copyrights.
- Click Import.
- Select the Copyright_Values.txt file.
- Click Open.
- Click OK. The imported copyright details should appear when you click the dropdown arrow next to DAC Copyright.
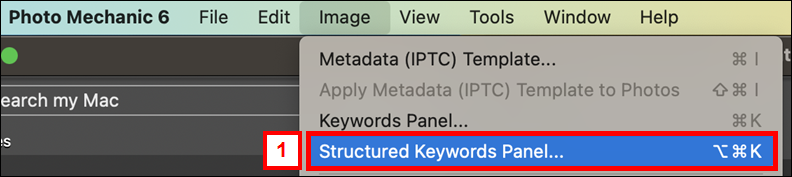
Adding Keywords
- Click the Image tab and and select Structured Keywords Panel.
- Click Load.
- Select U-M_Keywords_Taxonomy.txt file.
- Click Open.
Notes- If your unit needs to add more keywords, either notify via Google form or create a ticket.
- For unit specific keywords, put the unit name in front of the keywords.
- Keywords without the SCU in-front will be easier to find when performing a general system-wide search.
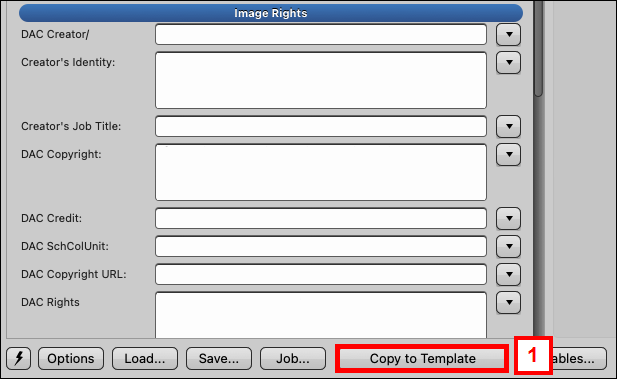
Copy Metadata from Image to Template
Images may already come preloaded with metadata when imported to Photo Mechanic.
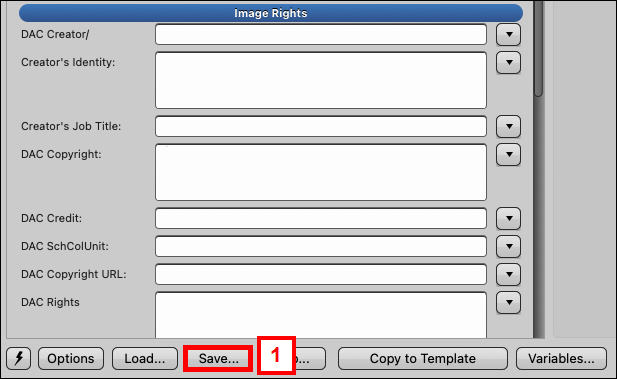
Saving a Custom Template
You might use the same photographer on multiple occasions or upload images that have the same year or location. Instead of manually inputting this information every time, you can create a template that already has this metadata applied. Templates are saved on your computer as an XMP file, are easy to move to another computer, and can easily be shared with others.
Saving a Snapshot
Snapshots can be accessed via the Lightning Bolt button in the bottom left of the window. It is a convenient place to save your templates for quick accessibility. Snapshots are like bookmarks within Photo Mechanic.
Overwriting Existing Information
On a template, there are checkboxes next to each metadata field. Any box that is checked will overwrite existing information. If the box is unchecked, the existing information will not be changed. Certain metadata fields (such as keywords) will have additional boxes that can be checked to add new information to the existing information.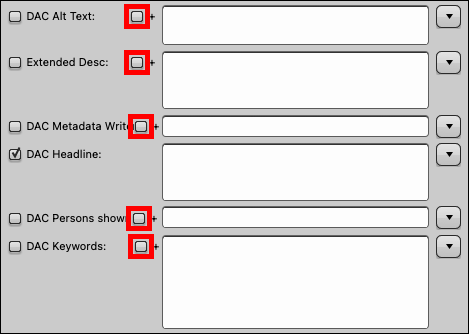
DAC Links and Support
Link to download template files
Further Photo Mechanic Training Resources
If you have any questions or need any support related to DAC, click this link to create a ticket.