Overview
This document details how to add a prospect plan, plan steps and an opportunity in the Donor & Alumni Relationship Tool (DART).
Important Information
- The preferred method for adding a plan is via the Add a Plan Wizard because it allows you to enter the general information about the plan, the associated steps, and/or an opportunity, all at one time with an easy-to-use tool.
- In order to add a plan for a constituent in DART, the constituent must first have the Major giving prospect constituency. Constituencies are listed in DART under the constituent’s record, under the Personal Info tab > Constituencies tab.
- To use the Add a Plan Wizard, you must first Search for a Prospect.
Add a Plan Wizard - Add Prospect Plan
- On the Constituent Record, click Add a Plan Wizard which is found in the Tasks section of the left side navigation bar.
- Enter a Plan name in the U-M standardized naming convention for the type of plan you are establishing.
(Plan Type)_(SCU)_(Department)_(Initiative)_(Funding purpose) _(FY or CY)
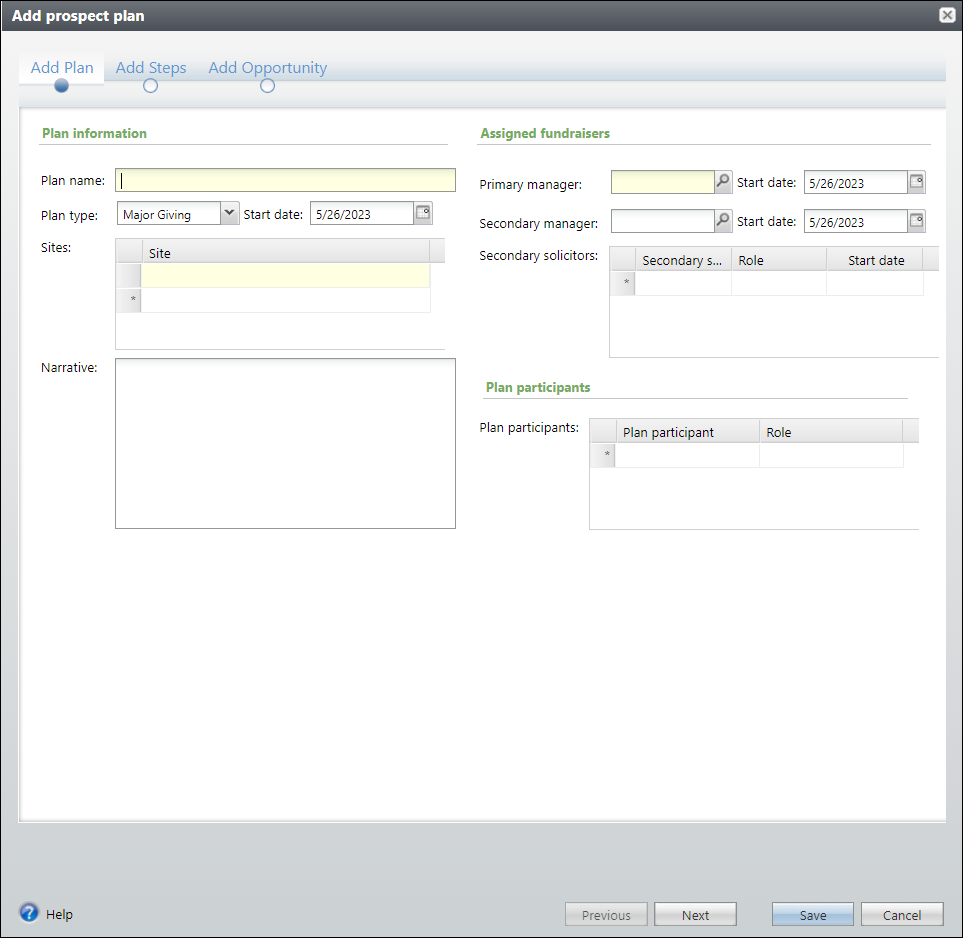
- Select a Plan type from the drop-down list.
- Complete the primary information for the plan on this first tab, including the Start date, Sites, Primary manager (person coordinating the stewardship activities for this plan), and if applicable, Secondary solicitors (U-M employees assigned to the plan), and/or Plan participants (non U-M employees involved with the plan).
- Click Next to proceed to the second tab, Add Steps for your plan.
Add a Plan Wizard - Add Plan Steps
- With each step, you'll see that several fields are required to complete

- Enter as many data points that are applicable to your specific plan step. And you click Add another step to enter additional steps, as necessary.
- Click Next to proceed to the third tab, Add Opportunity.
Add a Plan Wizard - Add Opportunity
- When adding an opportunity, you’ll see that several fields are required to complete.

- Enter as many data points that are applicable, OR if you do not have an Opportunity tied to this plan, check the checkbox next to No opportunity is needed at this time.
- Click Save when you have finished entering what you need and to exit the wizard.
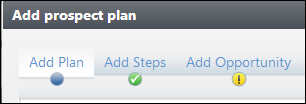
Note As you enter the plan, steps and opportunities, the navigation bar will display icons which will indicate if each tab is complete.
 Displays on the current tab.
 Displays when the tab is complete and correct.
 Displays when the tab is incomplete and needs to be corrected before saving.
Last Updated
Friday, February 7, 2025