Table of Contents
Portal Benefits
- The DAC system offers an easy way to curate and distribute a large volume of assets to wide audiences via a Portal.
- The benefit of establishing Portals is to allow University staff, faculty, students, and specific non-university individuals to view and/or download assets without having access to the DAC system. Assets are made available via a link to a particular portal.
- Portals are especially useful in designing easy-to-navigate "microsites" that can help provide audiences with a branded, intuitive experience to search through and find assets they need.
- Individual schools, colleges, and units (SCUs) may create separate portals, as they deem necessary, to make a particular selection of assets available for anyone with or without DAC system access. Each portal will be curated and maintained by select staff within that SCU (i.e., Asset Experts).
- Portals will be the primary avenue for sharing curated assets that are, perhaps, commonly requested or those that you wish to offer for viewing by wide audiences who are not part of the university community.
Who are Portal Users?
Individuals who may or may not have direct access to the DAC that need to view and/or download curated university assets.
Considerations when Creating a Portal
- Share it with another Asset Expert in your area in order to have a backup person with the ability to make changes or updates.
- Choose a unique portal name
Note If a name is not provided, it will default to My Portal and today's date - Establish the appropriate settings within your portal such as:
- Enable/disable downloading of assets
- Enable/disable metadata viewing
- Choose the sort order of the assets and how many to display on each page
- Establish your portal's security setting:
- Public — the URL can be embedded on a university website or sent via email
- Access code — restrict viewing to those with the code
- Require login>Extended — restrict viewing to any University of Michigan employee as users are required to authenticate via single sign on.
Creating a Portal
Before you begin, it is highly recommended to watch Acquia DAM's Portals Training (1-hour)
-
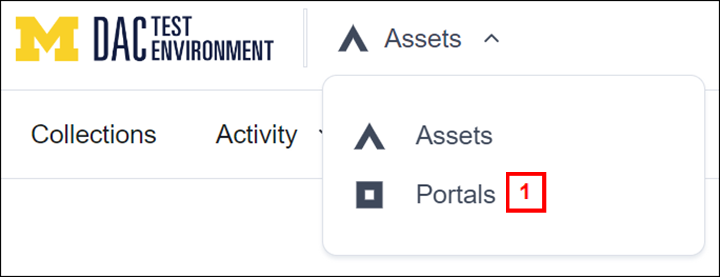
Click on the Assets dropdown, click Portals.
-
Click on Create portal.

-
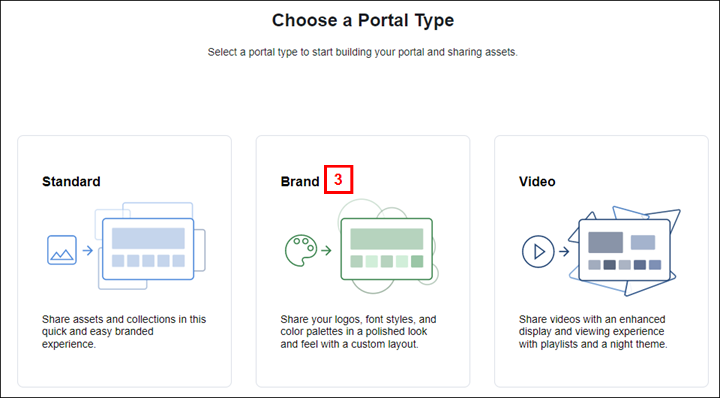
Select Brand for the Portal Type
Note All U-M portals should be Brand Portals which include the option to have a dynamic asset section (i.e., allowing assets to be dynamically added to the portal view based on defined metadata). There are limitations when selecting a Standard portal, thus, it is not recommended for university use. If the user chooses the Portal type to be Standard instead of Brand (recommended), there is no way to switch to Brand. The portal will have to be deleted and start over.
-
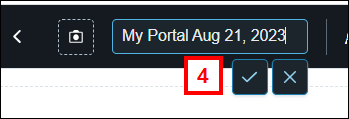
Name your Portal.
In the upper left select, select My Portal (today's date), update with the name your portal, and select the checkmark.
Note: If the portal name is not yet known, please name it as Test or Temp with your name, initials or unit name, so admins will know this is not yet a ‘live’ portal.
Once you are ready to ‘publish’ your portal, remember to rename it. -
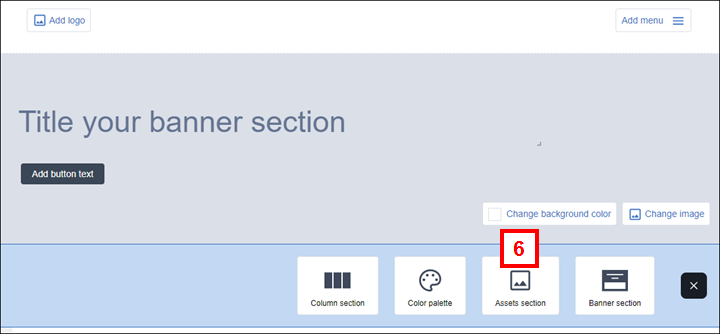
Select Add section.
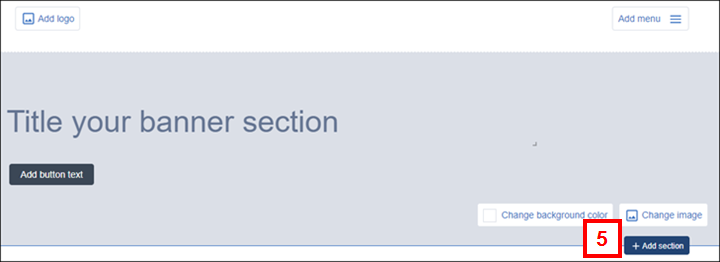
- Select Assets section.
- Select Asset Gallery.
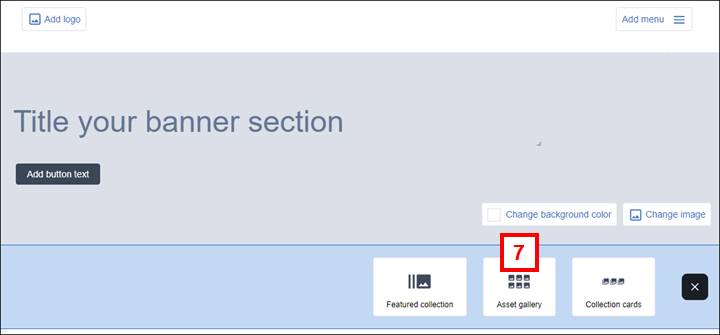
- If your portal is being established to automatically and dynamically being fed assets based on metadata, select Dynamic. If your portal is being established as a static asset selection, select Assets.
Note If the user chooses either Assets or Dynamic, there is no way to switch to the other. The asset section will have to be deleted and start over.

- If you selected Dynamic and wish to do a custom filter, our recommendation is to open a new window and perform an advanced search in the DAC system. From there, copy the advanced search criteria and paste it into the custom filter area and select Add..
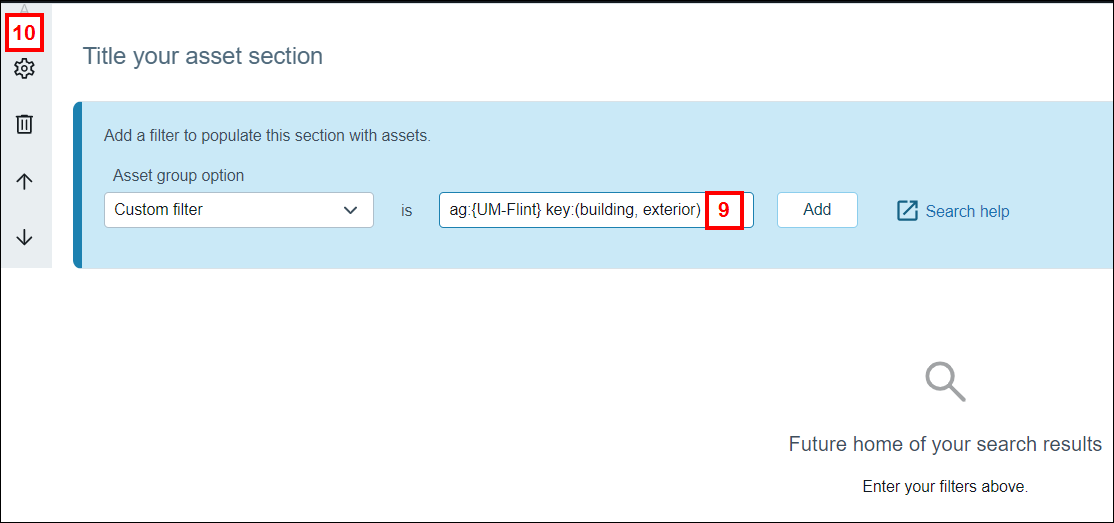
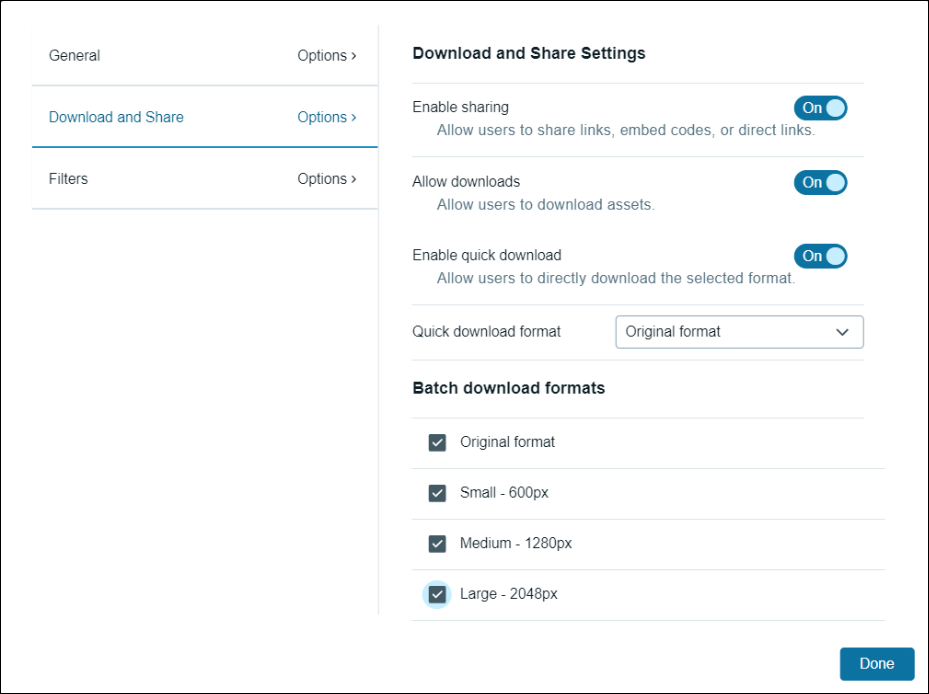
- For each Asset Section,select the Settings icon (gear) to configure various options for that section, such as choosing to display metadata or allowing sharing and downloading of the assets.
Note If you choose to allow downloads, those that download an asset will need to provide their email address and select their intended use of the asset. If you choose to only allow downloads of a single file type, users will only input their email address and intended use once, and each subsequent download will default to the option the user selected the first time. If multiple file types are allowed, users will have the option to change their intended use with each download but will default to the first option they selected.
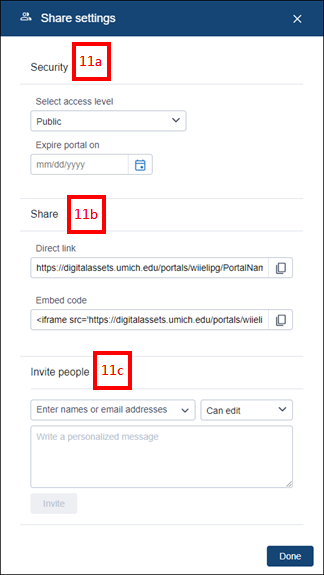
- Click Share to establish your portal share settings.

Notes
|
a. Security: Select your access level (Public, Access code, or Require login>Extended). Do not use Require Login>Limited. |
 |
|
b. Share: When are you are ready to publish your portal, copy the direct link or embed code depending on your use. Use the embed code link to embed this on a university website if desired. |
|
|
c. Invite people: Enter the name of another Asset Expert in your unit to provide them with the ability to make changes to this portal. |