Reminder: Moves, adds, and changes go through the Service Request System (SRS) and trouble tickets are handled by the ITS Service Center.
This article provides instructions for performing a factory reset for models of Cisco VoIP phones that are commonly used on the U-M campuses. The general approach is to unplug the phone from power (either a powered Ethernet cable or AC power supply), plug the phone back into power while holding down a button, and then pressing a series of keys. Several models have an easier approach where a full reset is available from the phone menu's commands. Using either approach, the phone goes into a series of reloading steps that might take 1-5 minutes. At the end, the phone is restored to factory settings and any stored data is removed.
Power instructions for all phones:
- The instructions below assume starting from a state where the phone is completely unplugged.
- Typically VoIP phones are powered by a powered Ethernet jack.
- Most phones will have three Ethernet jacks on the back of the unit; they are labeled but sometimes hard to read. They usually appear in the following order right to left but some phones may vary:
- "Aux". This jack is sometimes used for external equipment. Do not use this jack to power the phone.
- "10/100 SW" or "10/100/1000 SW" or an icon showing interconnected devices. This is the jack that should be used to power the phone.
- "10/100 PC" or "10/100/1000 PC". This jack is used when setting up the phone to pass through to a connected computer. Do not use this jack to power the phone.
- Note: A VoIP phone doesn't have to be plugged into an activated Power over Ethernet (PoE) jack to perform a reset. Most phones can also perform the factory reset if plugged in using a Cisco DC power supply, or using an Ethernet power injector that provides power over Ethernet via an Ethernet cable but without live data service.
| Cisco Model # | Image (click to enlarge) | Instructions |
|---|---|---|
| 6901 |  |
|
| 7832 | 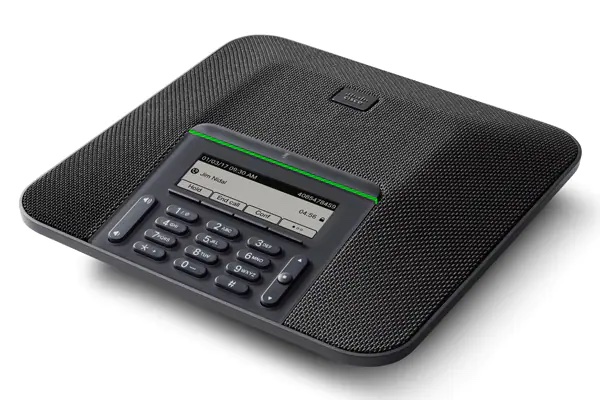 | Preferred method: Factory reset from the phone menu
These instructions apply to models 7832, 7841, 7911, 8821, 8831, 8841, 8845, 8851
|
| 7841 |  | See instructions for 7832 |
| 7911 | 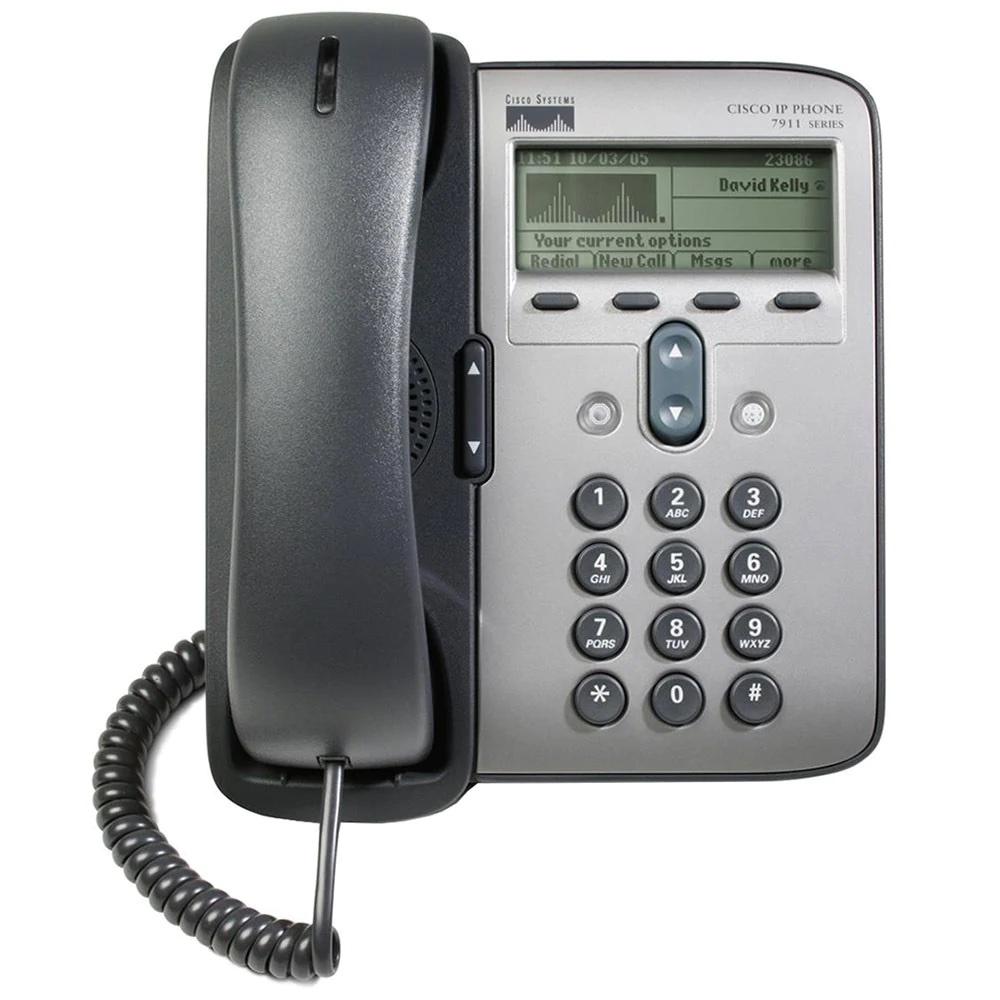 | See instructions for 7832 |
| 7940 | 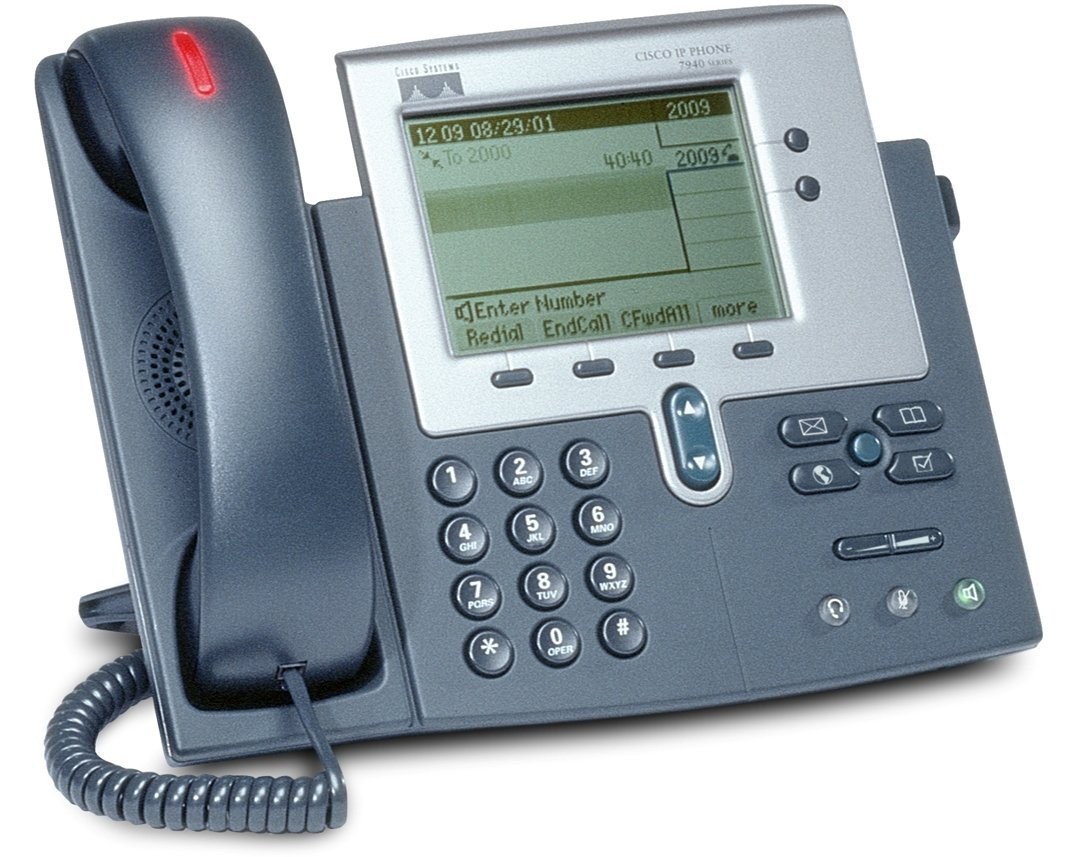 |
These instructions apply to models 7940 and 7960
|
| 7941 |  |
These instructions apply to models 7941 and 7961
|
| 7942 |  |
Average time: About 2 minutes, 30 seconds These instructions apply to models 7942 and 7945.
|
| 7945 |  | See instructions for 7942
|
| 7960 | 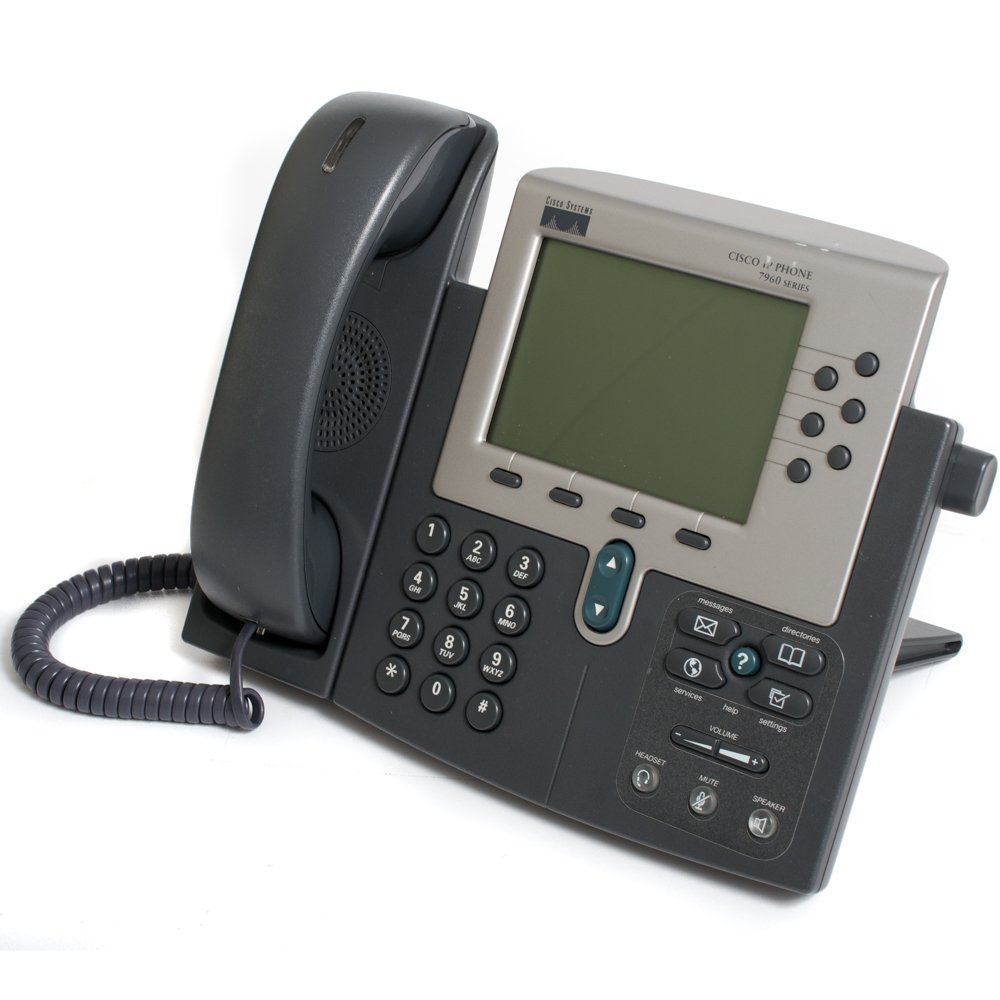 | See instructions for 7940 |
| 7961 | 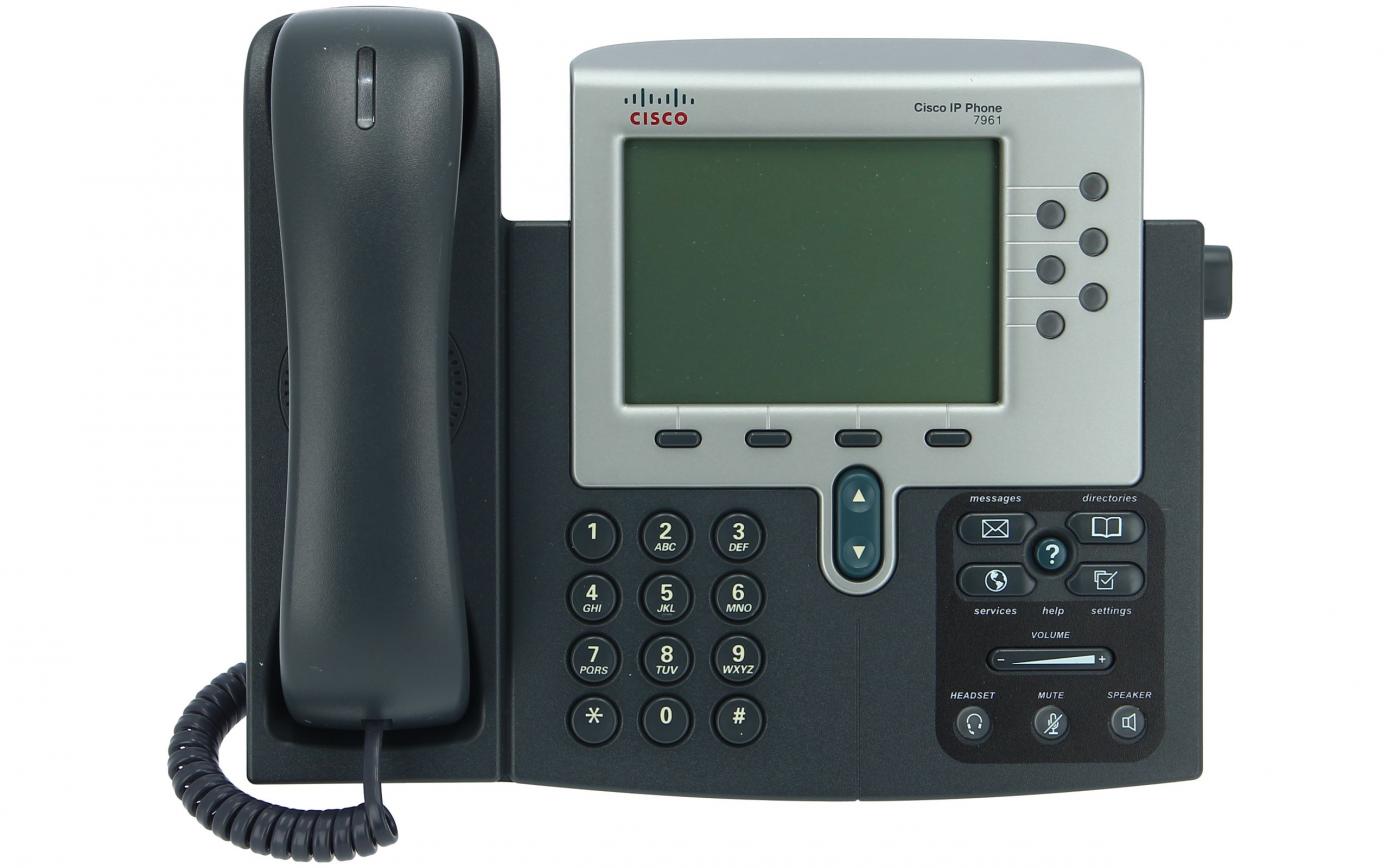 | See instructions for 7941 |
| 8821 |  | See instructions for 7832 |
| 8831 | 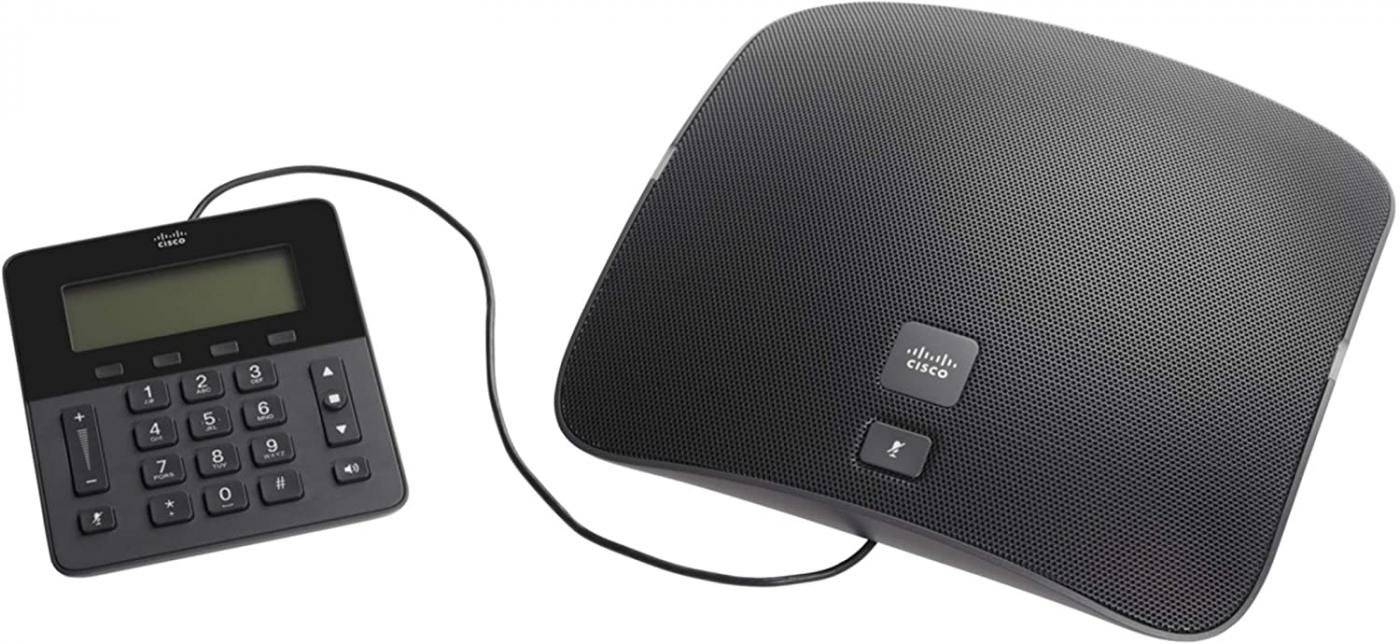 | See instructions for 7832 |
| 8841 |  | See instructions for 7832 |
| 8845 |  | See instructions for 7832 |
| 8851 | 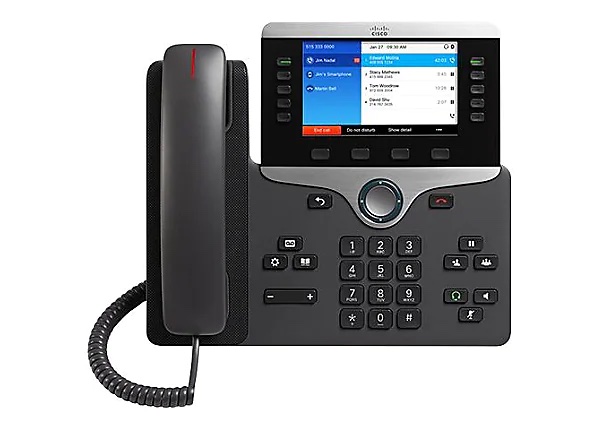 | See instructions for 7832 |