Your Mac has been pre-configured to connect and receive U-M resources the first time it is powered on and connected to a network. Follow the steps below to complete the setup process.
- Plug your Mac into its power adapter and plug the adapter into the wall.
- Turn on your Mac.
Notes:
- Your Mac may turn on when the power adapter is plugged in. If not, there is a power button at the top-right edge of the keyboard area.
- On Macs with a TouchBar, the power button is a small segment at the right edge of the TouchBar.
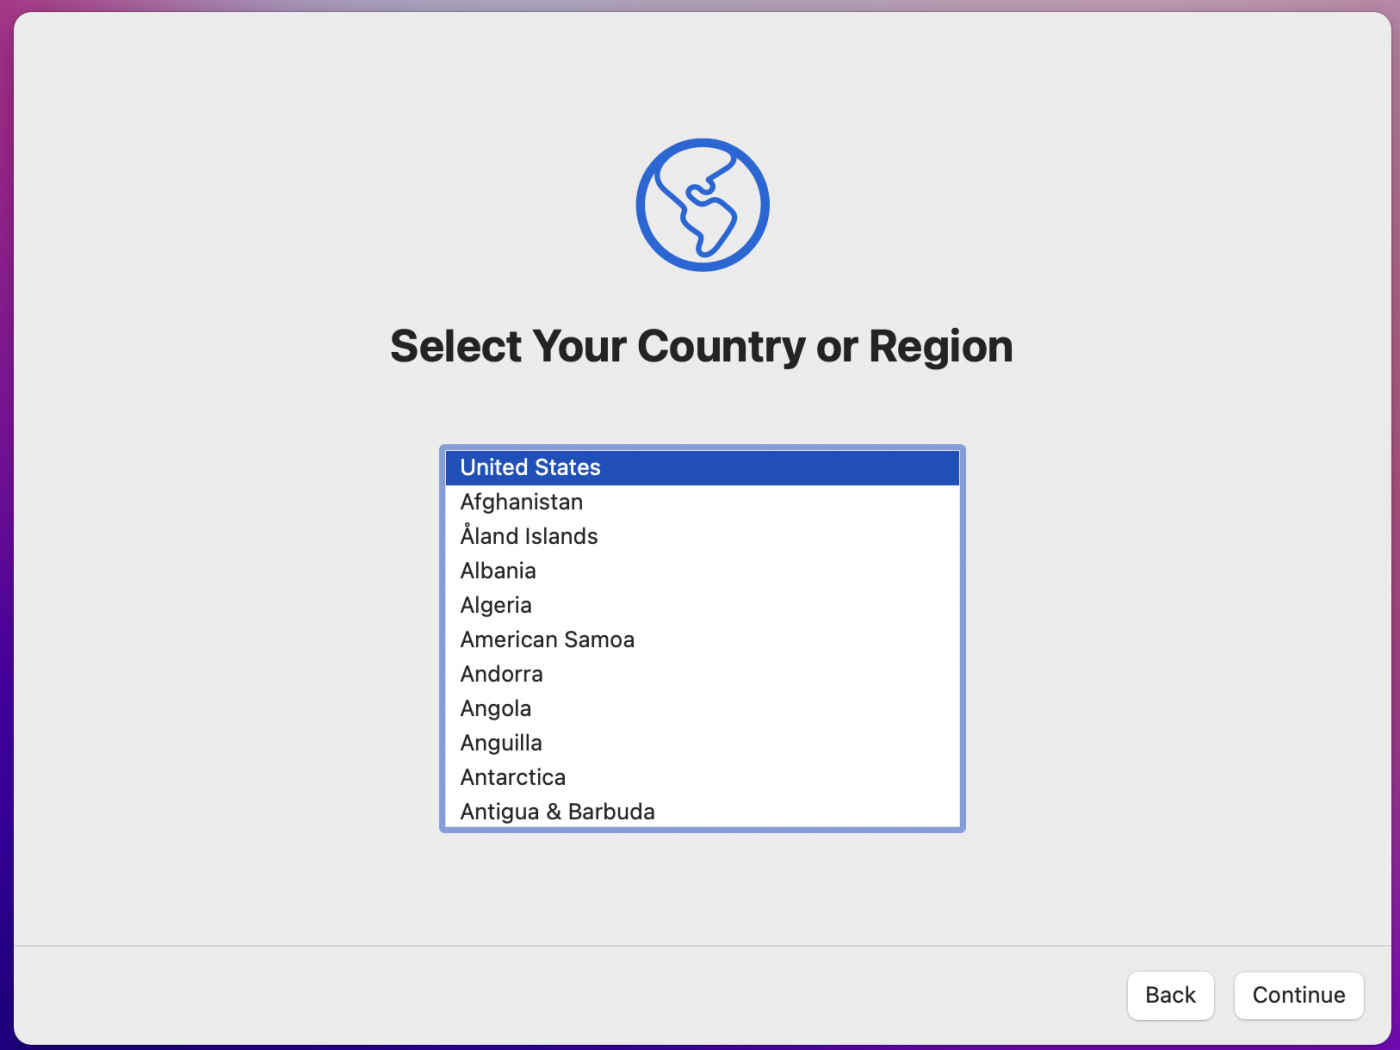
- Complete the first three screens to choose language, country, and accessibility settings.
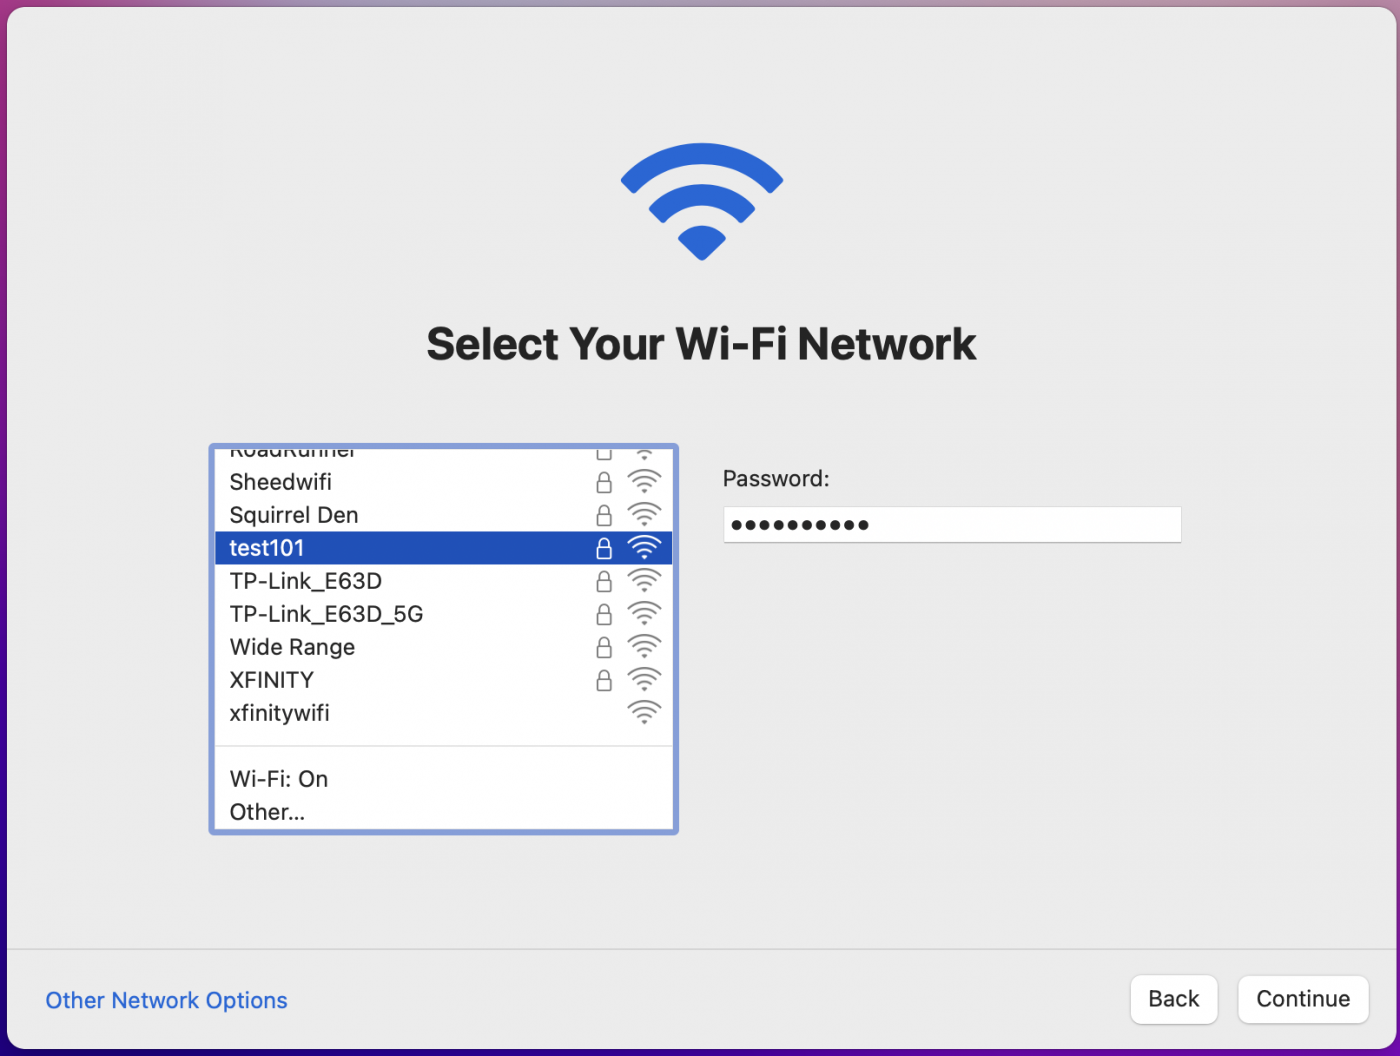
- Join your Wi-Fi network. If your Mac is plugged into Ethernet, this screen will not display.
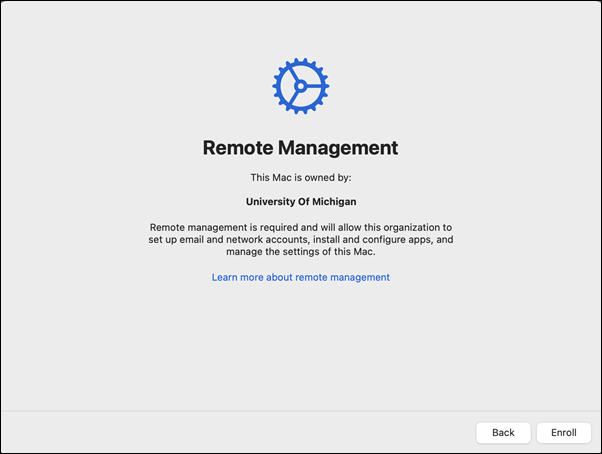
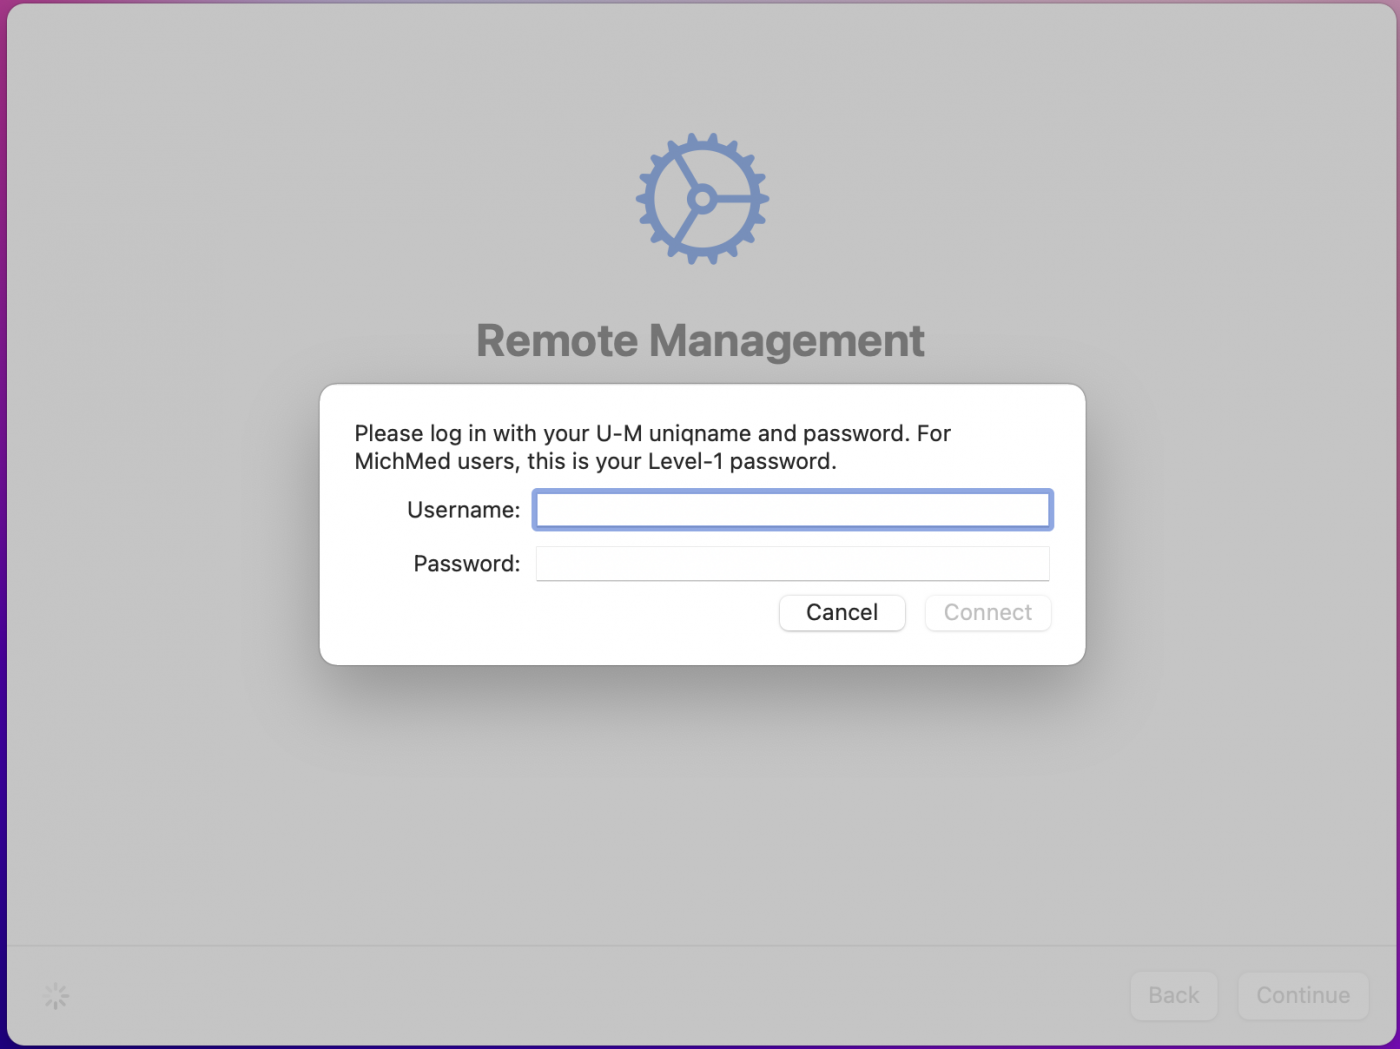
- The Remote Management screen displays . If it does not display, please STOP and contact your department's IT support (or the ITS Service Center) for assistance.
- Enter your uniqname and UMICH (Level-1) password.
- Several configuration screens may display letting you adjust settings to your preference. These screens vary by hardware model, but include Location Services, Apple ID (if you have and use one), Touch ID, Apple Pay, TrueTone display, and Hey Siri. No option is “wrong” and they can all be changed or re-visited later.
Warning: There is a rare issue where after clicking Continue in step 8, occasionally the account creation process will fail and a "Computer account creation failed" pop-up message will display with a Try Again button. If this happens, do not click Try Again. Instead, power off your computer by holding down the power button for 10 seconds, and then restart your computer. Log in with your uniqname and UMICH password and continue with step 11 below (steps 9 and 10 will be skipped).
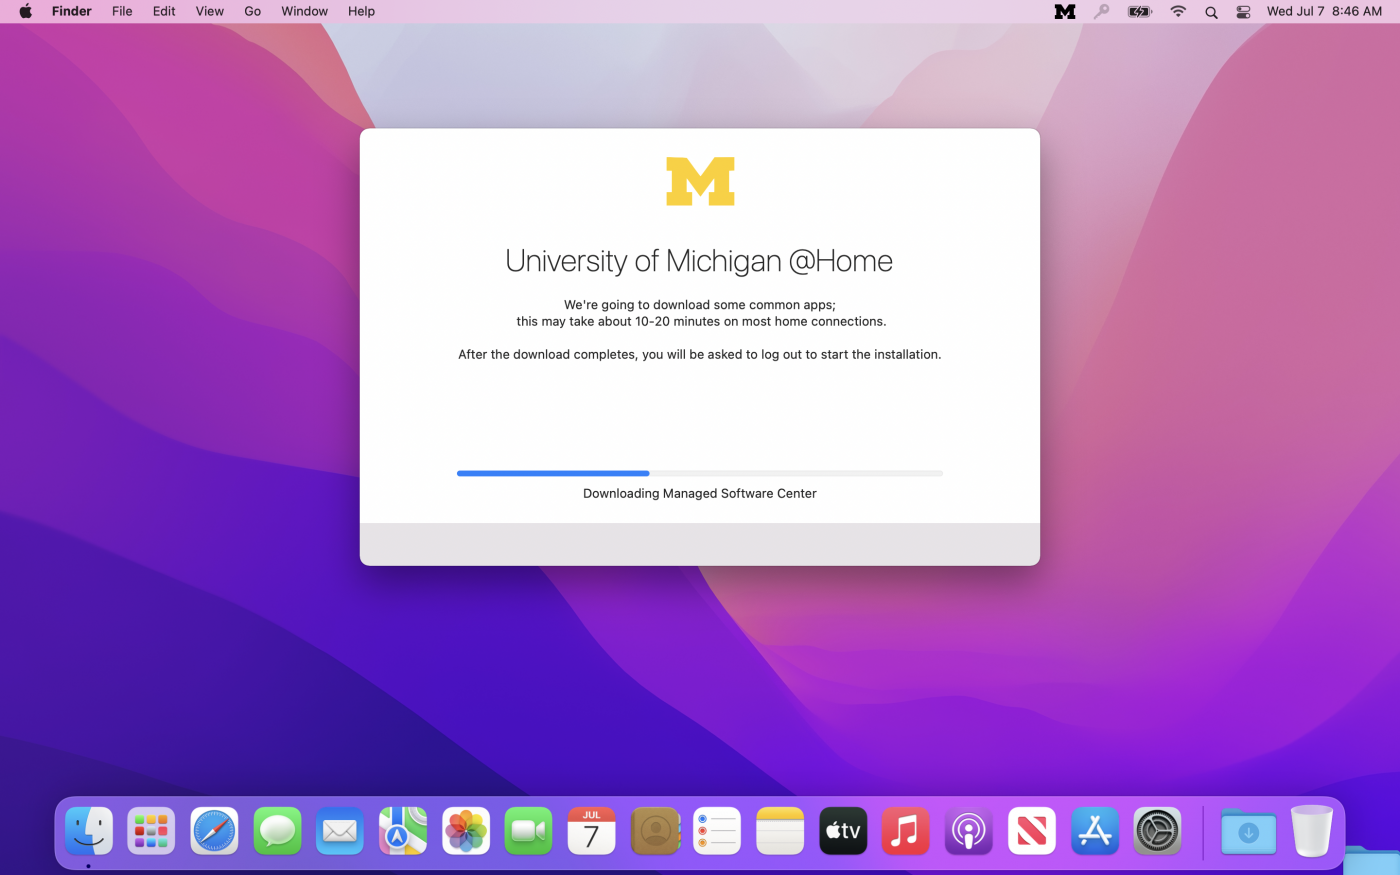
- The desktop displays, along with a progress window, while software is downloaded from U-M servers. It may take a few minutes for this screen to display and complete the download process.
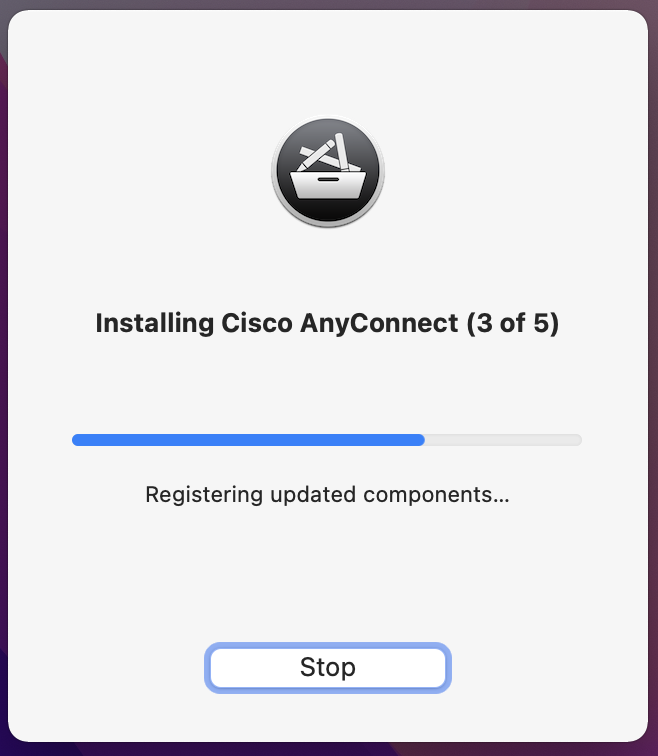
- When everything is ready to be installed, you will be asked to log out to start the installation. Click Logout to continue.
- Managed Software Center will install and finish configuring your Mac.
- After software is installed, the Mac may reboot. Setup is now complete and you are now able log into the Mac.
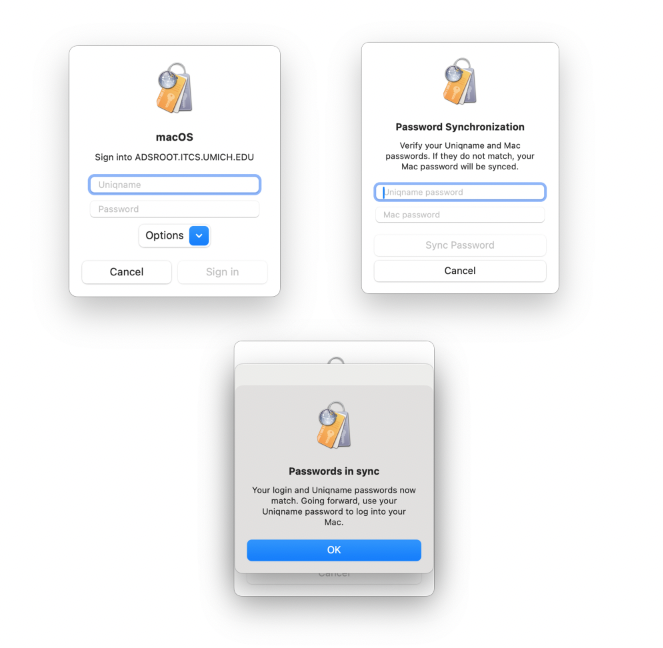
Single Sign-On
A series of dialog boxes will appear the first time a logged in user is able to reach a campus network (VPN, MWireless, etc.) These prompts will make sure that the password established in step 6, matches the users current Active Directory/Kerberos password. If the passwords do not match, macOS will attempt to sync them using the following prompts.
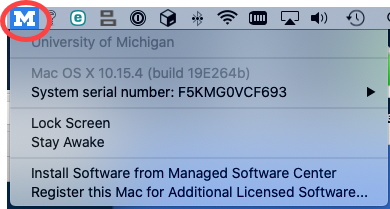
Additional Software
A number of free and University-licensed software is available to you in Managed Software Center. To access Managed Software Center, click the block-M menu and select Install Software from Managed Software Center. Additionally, you may be able to access software your group licenses. Select Register this Mac for Additional Licensed Software… and complete the intake form that displays.