Overview
This step-by-step procedure demonstrates how to build a Salesforce report for a targeted audience in Marketing Cloud.
Step-by-Step Procedure
- Log in to Salesforce.
- Click Reports.
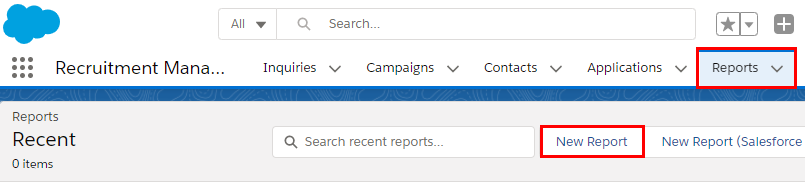
- Click New Report.
- Select a report type.
Note: Report type must include the Contact object.
- Click Continue.
- Click the Filters tab.
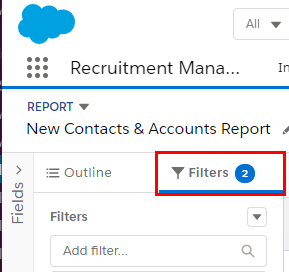
- Add applicable filters.
Note: Refer to Filter Report Data for additional information.
- Click the Outline tab.
- Add applicable columns.
Notes:
- You must include Contact ID and Email. Marketing Cloud will always use the value from the standard Email field, not others such as Work Email.
- Refer to Build a Report for additional information.
- Click Save.
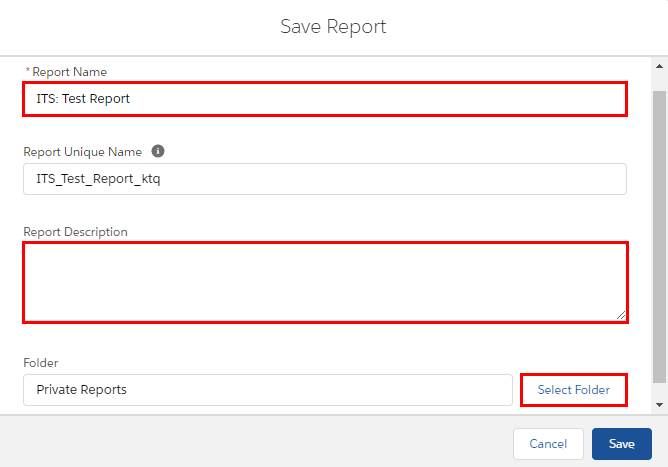
- Enter a Report Name in the following format: Unit abbreviation: Report name. E.g., ITS: Test Report.
Note: The Report Unique Name field will auto-populate.
- Enter a Report Description.
Note: Report Description is visible to all Marketing Cloud users.
- Click Select Folder.
Note: The default folder value of Private Reports will not display in Marketing Cloud.
- Select the folder for your unit.
Note: If your unit's folder doesn't exist, submit a help ticket.
- Click Select Folder.
- Verify that your unit's folder displays in the Folder field.
- Click Save.
Note: If desired, click Save & Run to verify data.
Last Updated
Friday, December 11, 2020