Content
My Account - Settings
Add a signature ID and a date/time stamp to your e-signature.
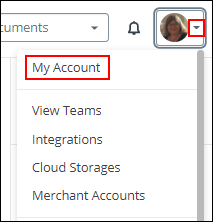
- Click on the drop-down arrow next to your avatar in the top right-hand corner and select My Account.
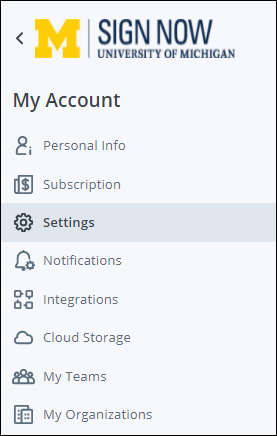
- Select Settings on the left side navigation bar.
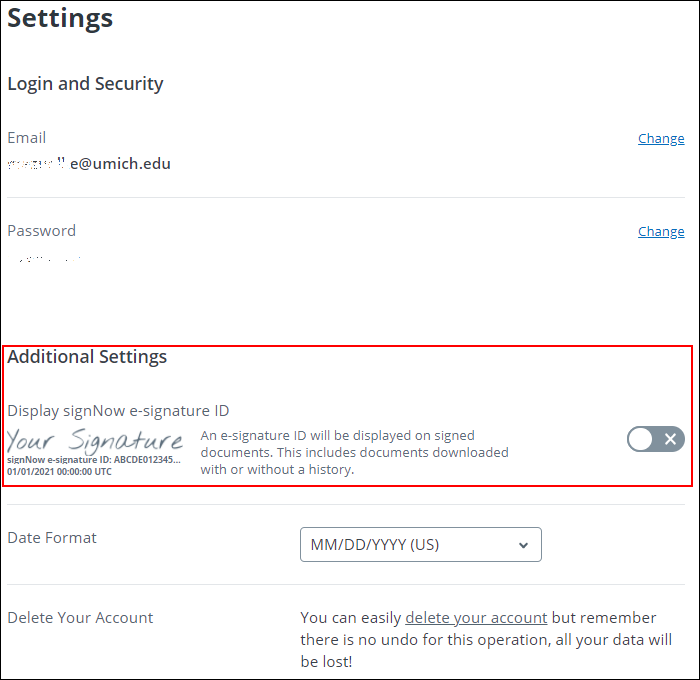
- In the Additional Setting section, turn on the Display signNow e-signature ID button.
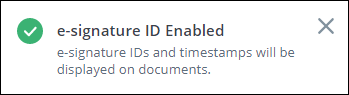
- This message will display in the top right corner once the process is complete.
Note: Time is listed as Coordinated Universal Time (UTC).
Notifications - Setting Email Alerts
- Click on the drop-down arrow next to your avatar in the top right-hand corner and select My Account.
- Select Notifications Settings in the My Account section on the left.
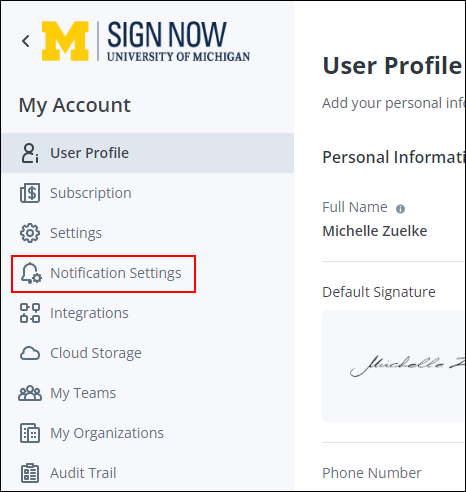
- The Notification Settings window displays. There are three types of Notifications that can be set: Recipient, Sender and CC Recipient.
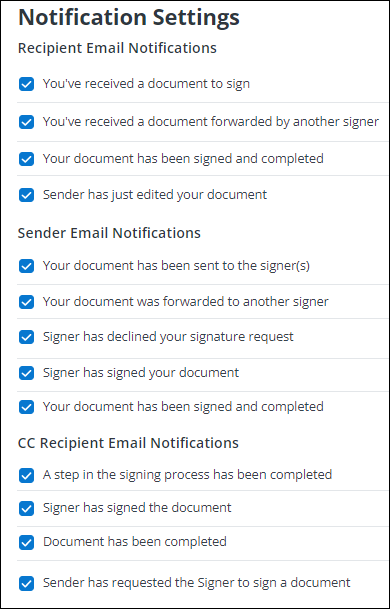
- Select the notification options appropriate to your needs under each section.
Notes:
- Your selections will remain in place until you change them.
- Notification selections are applied to your account only. Example: if you check "You’ve received a document to sign" in the Recipient Notifications section, you will receive a notification when somebody requests a signature from you in SignNow.
Last Updated
Thursday, January 6, 2022