Document Groups
Document Groups are flexible. You can invite one signer to sign several documents or send certain documents in the group to different signers. Document Groups allow you to work with multiple documents in one invitation. With Document Groups your signer will see a checklist of documents they need to complete. You can invite separate signers to complete documents in the group.
Note: The use of Document Groups is not recommended with FDA Regulated Documents.
Create a Document Group
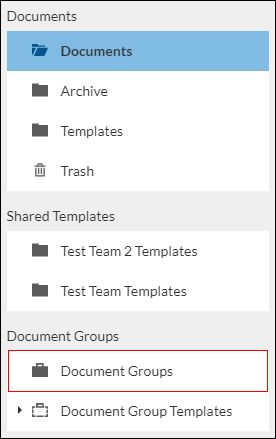
- Select Document Groups on the left side of your SignNow dashboard.
- Click Create Document Group.

- The Add Documents screen opens.
- Drag, Drop, or Upload any documents you wish to add to your document group.
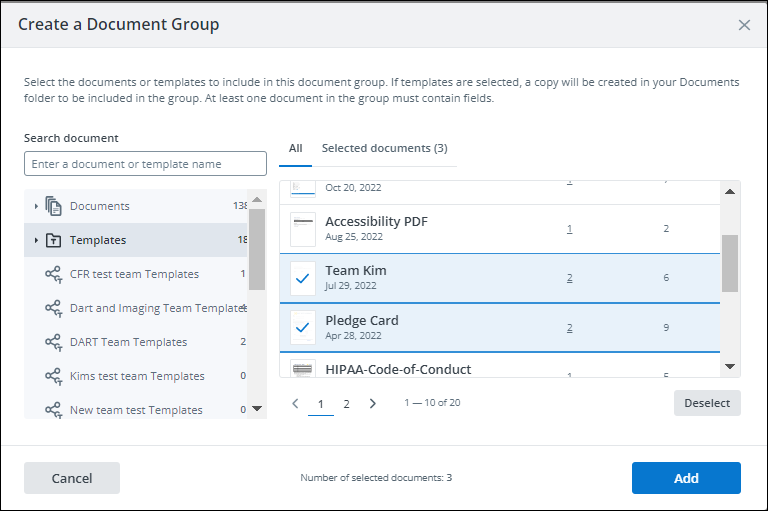
- Click Add.
- Confirm you have your needed documents or add any additional documents.
- Select the pencil to edit the name of your document group.
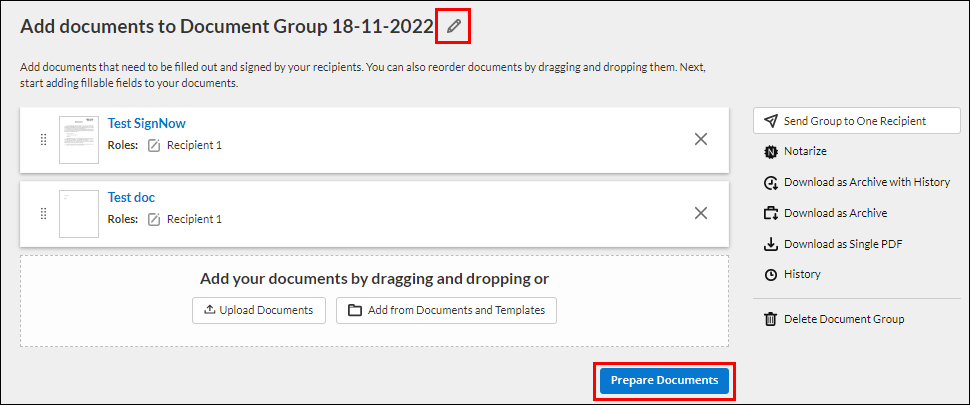
- Select Prepare Documents.
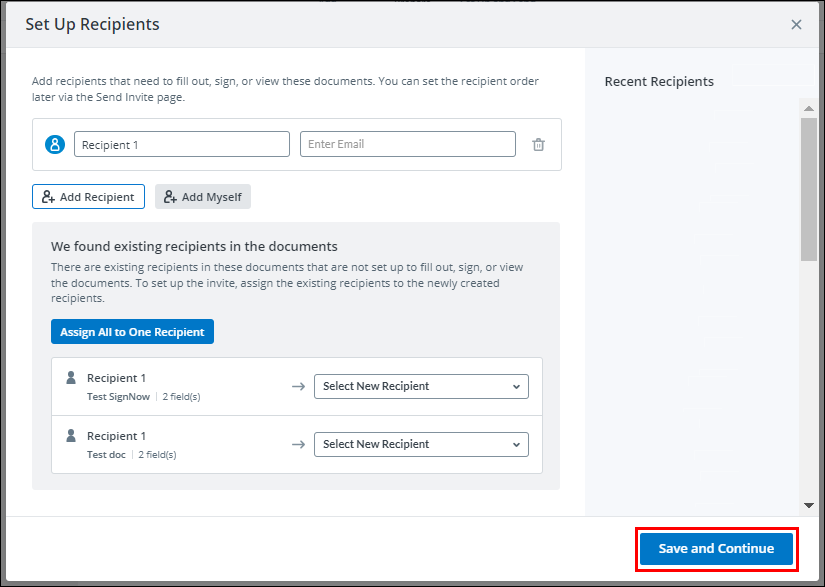
- The Setup Recipients screen opens.
-
Select Save and Continue.
-
Prepare Documents.
-
Select Continue.
-
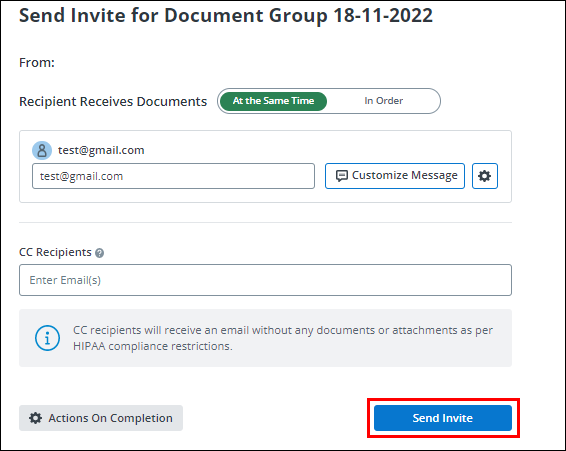
Send Invite screen opens.
-
Confirm recipient emails
-
If multiple recipients, toggle for how the recipients will receive the documents At the Same Time or In Order.
-
Select Send Invite.
Quick Invite for a Single Signer
- Click Quick Invite.
- The Single-signer invite for <<group name>> opens.
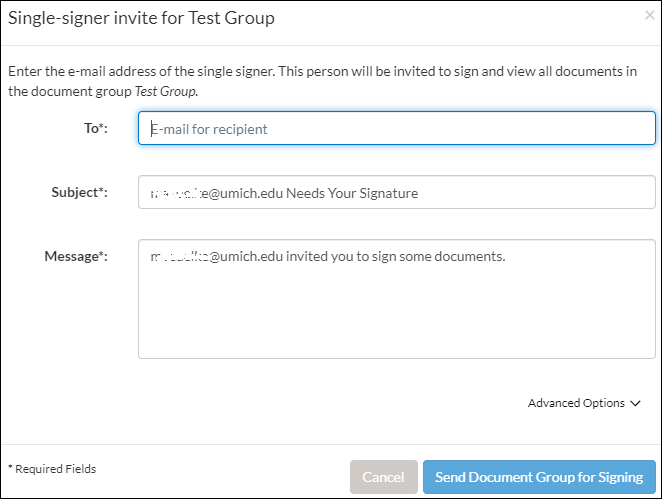
- Enter email address in the To: field.
- Update Subject and Message fields.
- Select Send Document Group for Signing.
Set Up Invite Steps
- Click Set Up Invite Steps.
- The Set up Document and Signer Order page opens.
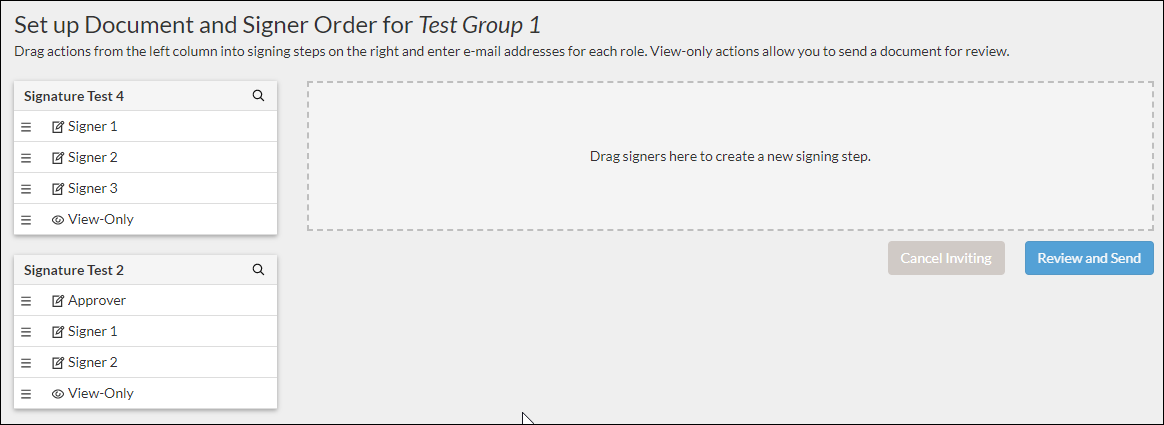
- The documents and all the signers are displayed on the left.
Note: Regardless of what order the documents are listed in on the left, you still have control over which document is signed first. - Click and drag a signer from each of the documents to the dotted box on the right. You can drag the Signing Steps if you need to change the order of the documents and how they are signed. You can also move signers from one step to another if needed.
- After you’ve placed your signers, enter their E-mail address.
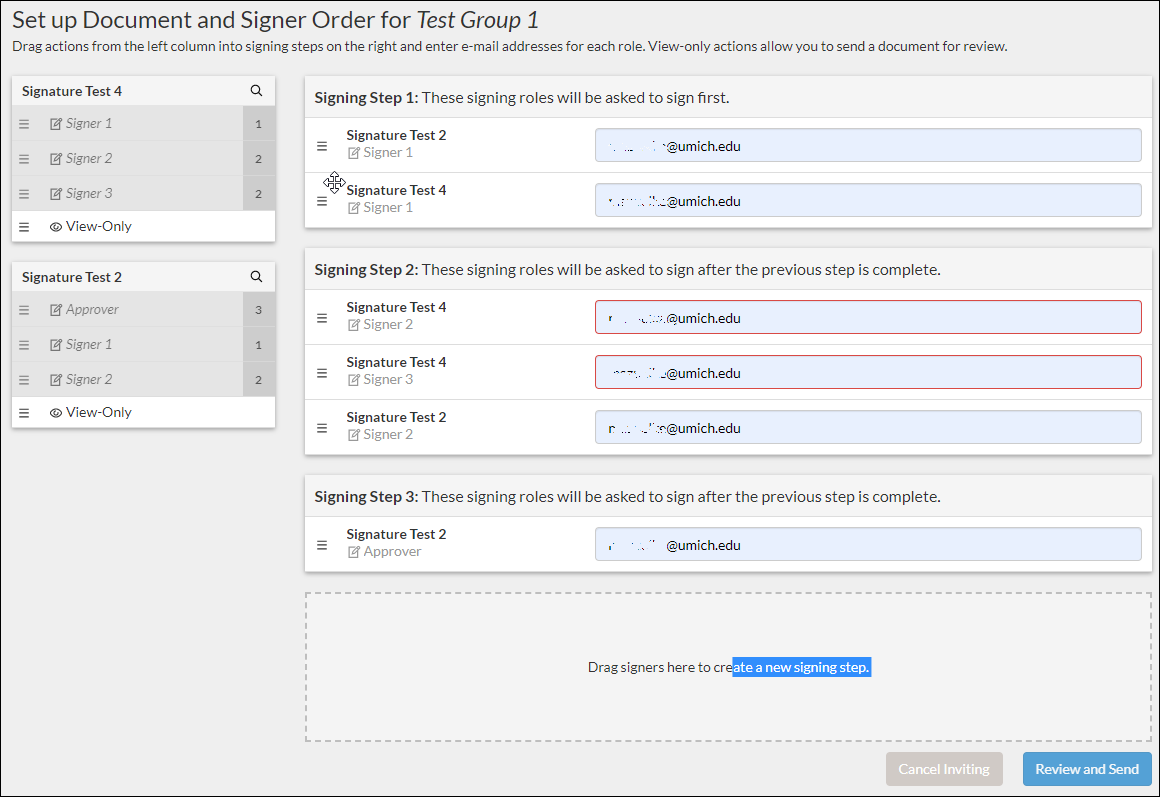
- Click Review and Send.
- Ensure the steps and signers are correct, click Send Document Group For Signing.
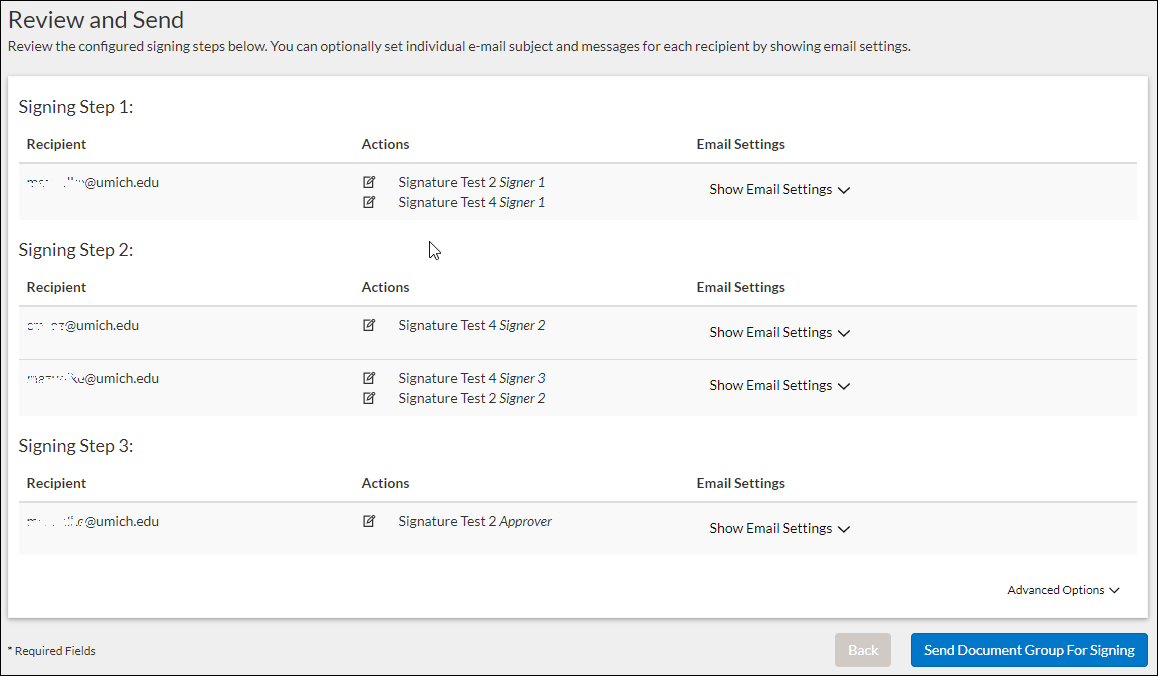
Notes: Signers grouped in a specific Signing Step will not receive the document packet until all Signers in the prior group have finished signing. In the example shown, the signers in Step 1 must complete all necessary documents before the signers in Step 2 will receive their notification, etc. All signers can also be placed in the same grouping and they will all receive the same packet.
Last Updated
Tuesday, November 22, 2022