Overview
Important Information If a document fails to finalize or it should not be stamped, this activity can be used to move documents to the APPROVED section of the Documents Tab.
Navigation
Home Workspace > Study Workspace
Step-by-Step Process
- Click the Documents tab.
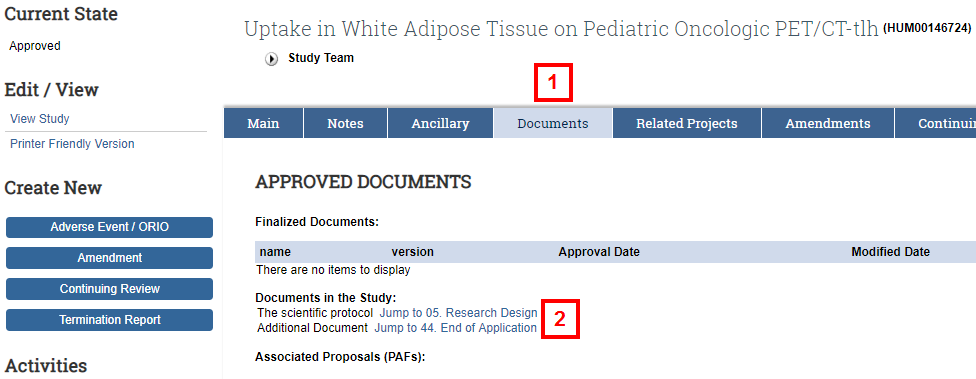
- Click a document to download.
Note This will take you to the section of the application where the document has been uploaded by the study team. - Click the document Name.
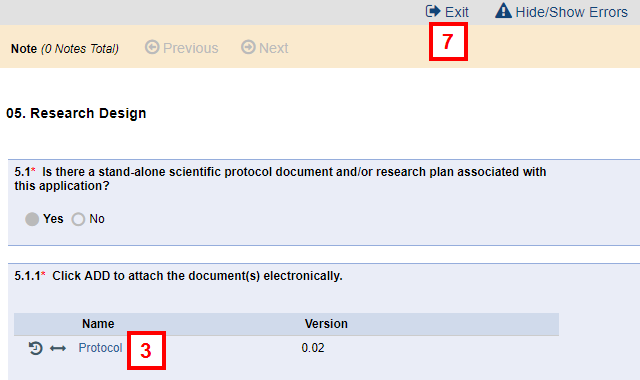
- Edit the document as needed, then click Save As.
- Click Browse to navigate to the Desktop.
- Click Save.
- From the Study Application, click Exit.
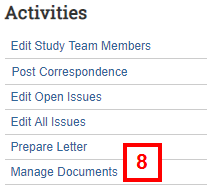
- Click the Manage Documents activity.
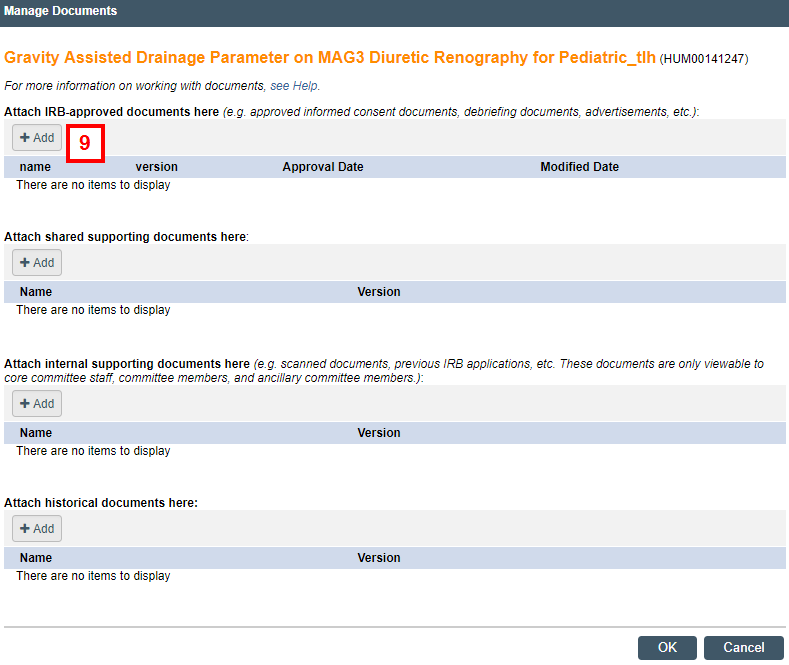
- Click Add under the appropriate category. Categories include:
- IRB-approved
- Shared supporting
- Internal supporting
- Historical
- Enter a Title.
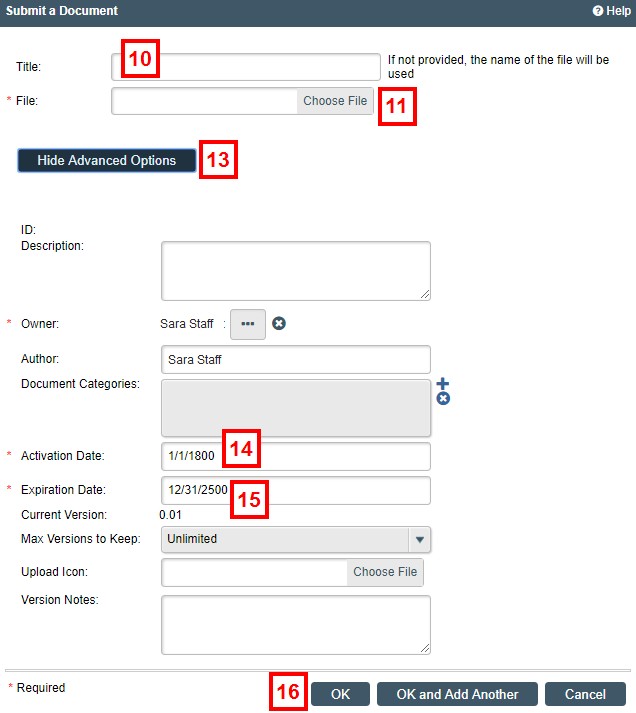
- Click Choose File.
- Locate and open the file on your computer.
Note The document will not automatically convert to PDF. Ensure you have the document in your preferred format prior to uploading. - Click Show Advanced Options.
- Enter the Activation Date.
- Enter the Expiration Date.
- Click OK.
- The document appears in the appropriate list.
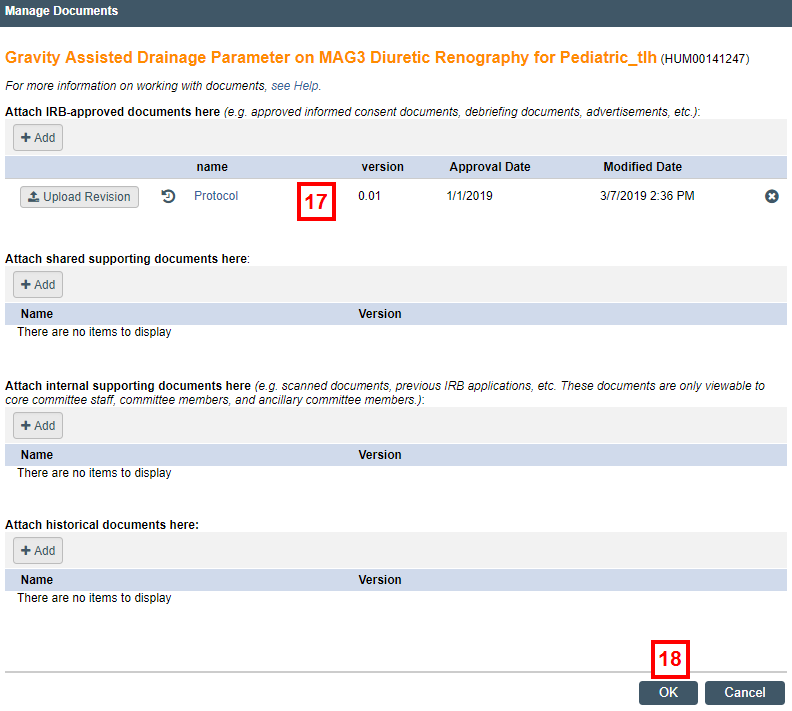
- Click OK to finish or Add to upload another document.
- The document appears in the Finalized Documents list under the Documents tab.

Last Updated
Tuesday, October 15, 2019
