Overview
ULAM Procurement staff can follow this process to create and update new vendors and create and update the vendor delivery schedules in eRAM. These activities are available to the ULAM Procurement Staff in any state.
Step-by-Step Process
Add Vendor
- Click the Maintain Code Values role.
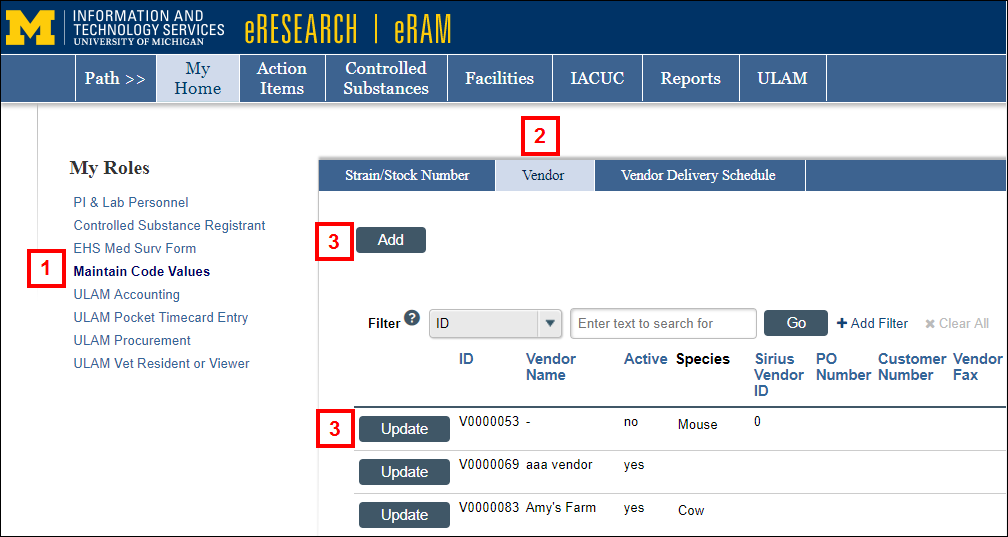
- Click the Vendor tab.
Note The vendors listed here are pre-populated from the Vendors list, previously found under the Manage Vendors tab for the ULAM Procurement role. - Click to Add a new vendor or Update to edit an existing vendor.
- Enter a Vendor Name.
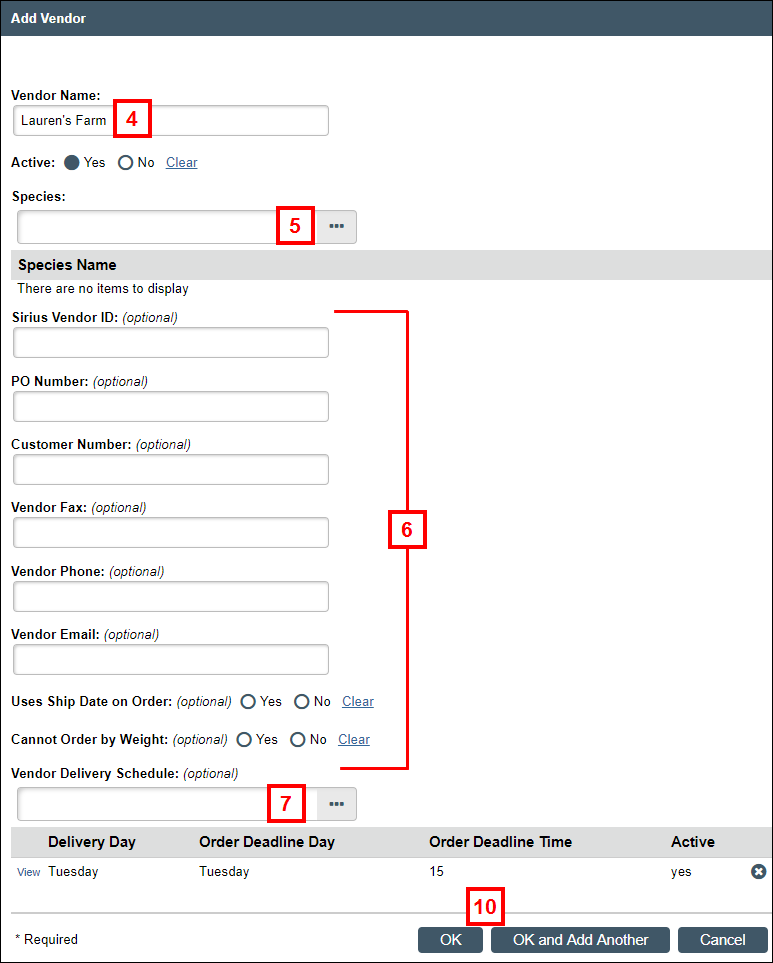
- Enter or select a Species.
- Complete remaining optional fields, as applicable.
- Click to Browse... for the Vendor Delivery Schedule.
- Check one or more Delivery schedules.
Note The Delivery Day, Order Deadline, and Order Deadline Time is populated from the previous Vendor setup. If you don't see the desired day/time, then click Cancel, click OK, and follow the steps below under Add Vendor Delivery Schedule.
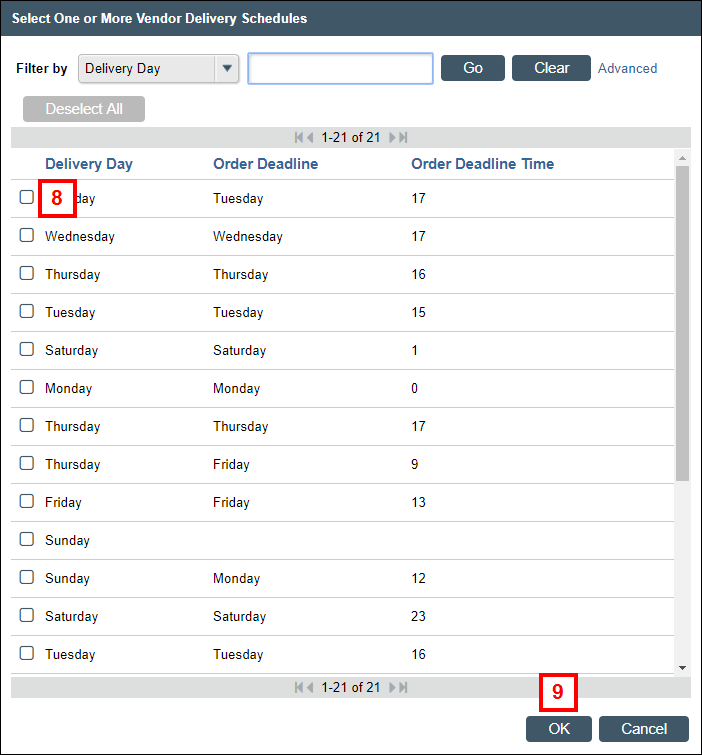
- Click OK.
- Click OK or OK and Add Another.
Add Vendor Delivery Schedule
- Click the Vendor Delivery Schedule tab.
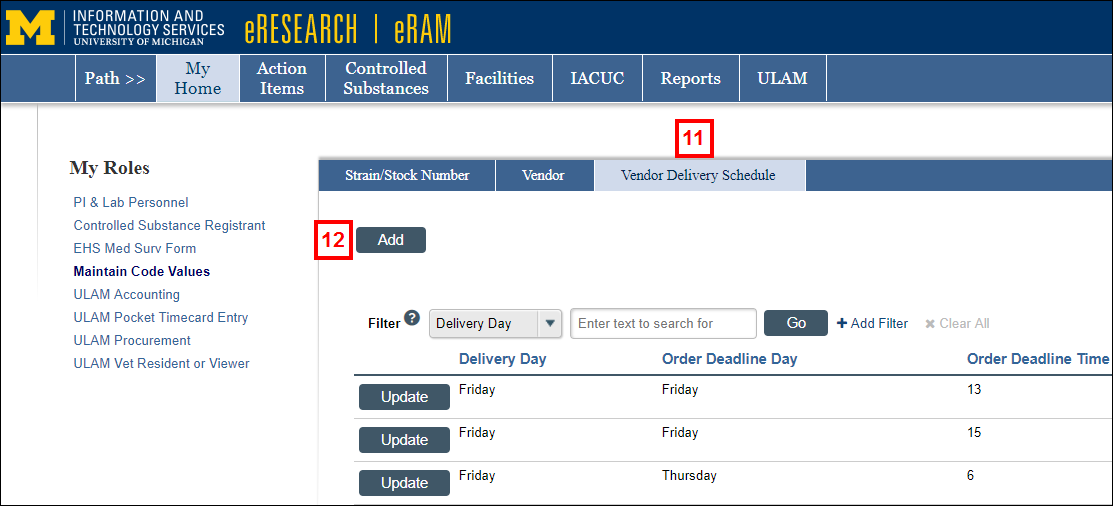
- Click Add.
- Select the Delivery Day.
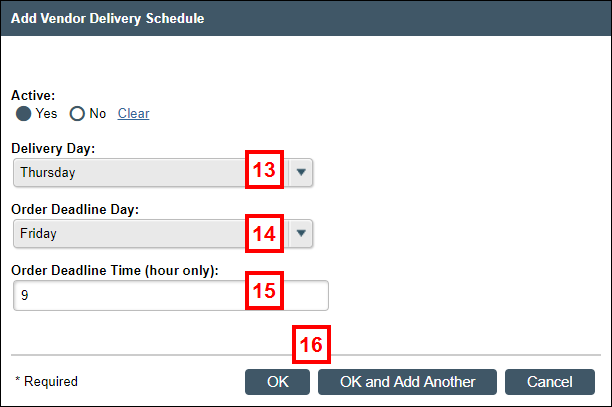
- Select the Order Deadline Day.
- Enter the Order Deadline Time (hour only).
Note Enter an integer for military time, e.g. 13 (for 1300/1:00PM). - Click OK or OK and Add Another.
If needed, go back and complete steps 2-10 above to finish adding/updating a vendor.
Last Updated
Friday, September 6, 2019