Overview
NetBox allows ITS Infrastructure Network Engineers the ability to add wireless devices for Pinnacle projects. This document lists the steps to add a wireless access point and its associated devices manually.
Notes:
- The following steps are done after the Infrastructure Project Manager has set up the project in Pinnacle.
- In the NetBox tool, Sites refers to buildings, and Racks refers to rooms.
- When a NetBox WIFI/AP is created (either via import, or manually) - it contains WIFI/RADIOs. These WIFI/RADIOs have an initial status of Planned, but that is not a valid status in our context. The network engineer should update each WIFI/RADIO status to either Active, if it should be enabled, or Offline if it should be disabled. There is no other lifecycle for these WIFI/RADIO objects, just Active (enabled) or Offline (disabled) states.
Add an Access Point
Select the Building and Room
- Log in to NetBox at: https://netbox-wdb.infra.apps.it.umich.edu/.
- Click Organization and select Sites.

- You will be directed to the Sites page.
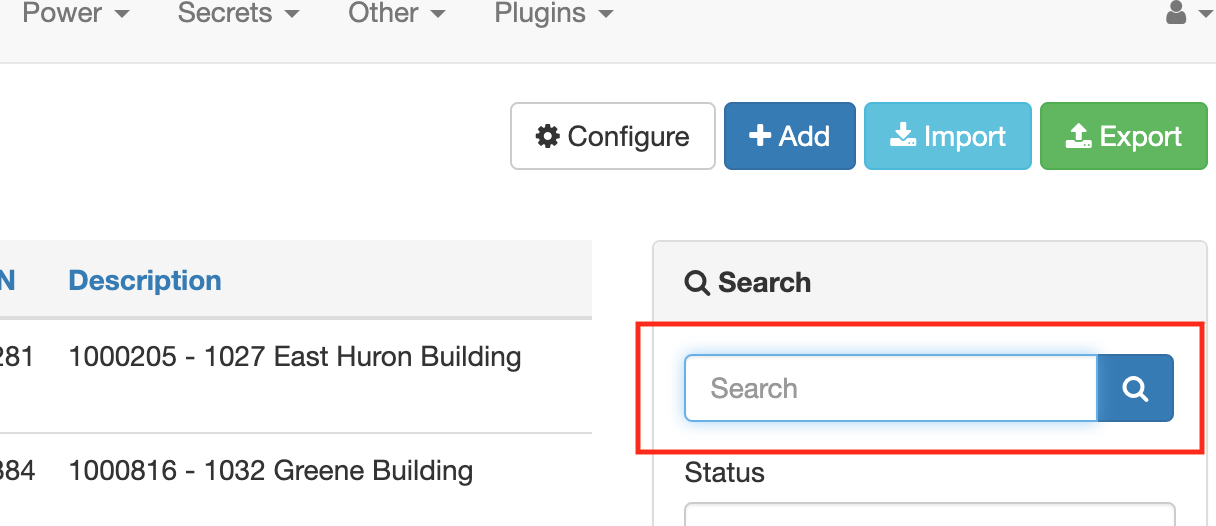
- Enter the Site name in the Search field, and click the search icon.
- Select the Site where the new Access Point will be installed.
- Under the Stats section, select Racks to see the list of rooms in the building.
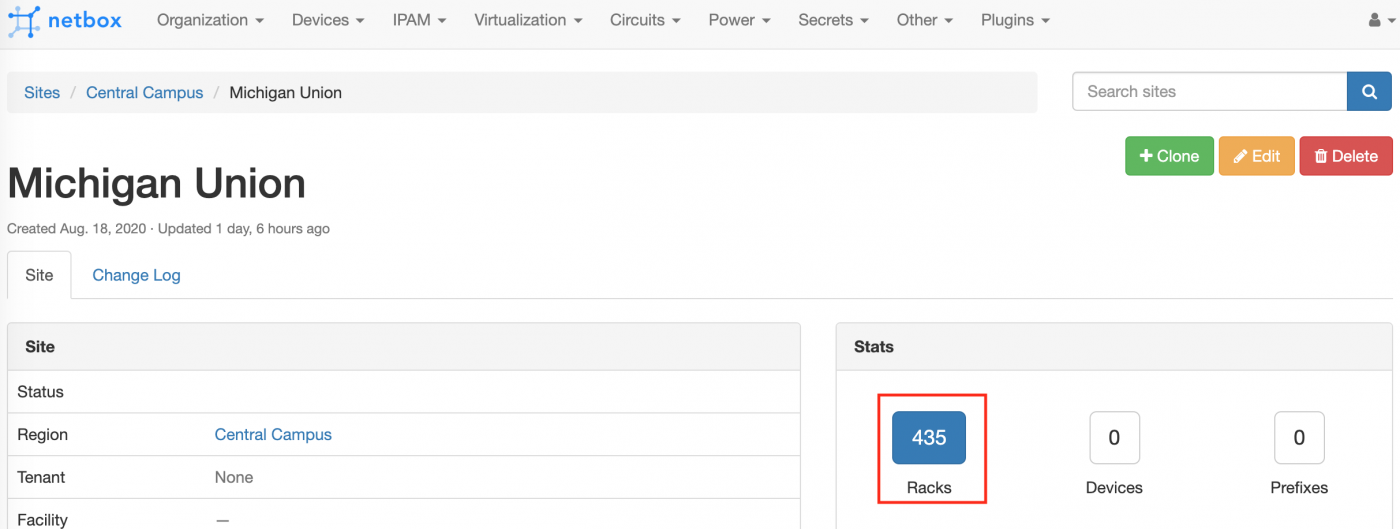
- Click the name of the room where the new Access Point will be installed, which will open the Racks page.
Add the Access Point
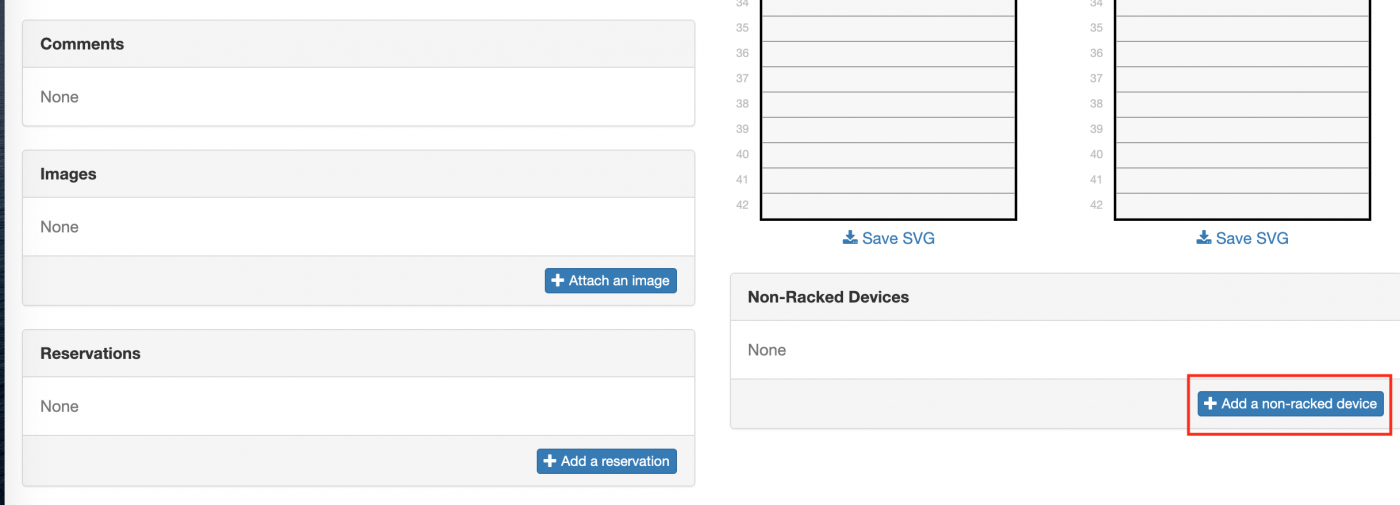
- Scroll down to the bottom of the page, and select Add a non-racked device.
- Enter the required fields with the Access Point information on the Add a new device page by following the example below:
- Device:
- Name: ap-UNYN-1001-NW
- Device Role: WIFI/AP
- Hardware:
- Manufacturer: Cisco
- Device Type: 2702I
- Location (pre-populated per navigation to this page via Site and Rack):
- Site: Michigan Union
- Rack: 1001 NW
- Management:
- Planned (if the Access Point was added as a result of a Site Survey).
- Active (if the Access Point is currently installed).
- Custom Fields:
- Site Survey Pre-order Num: 78999
- Tags:
- Add the AP group to the “tags” field by entering them directly into the field (i.e., 'Campus-Standard') or selecting them from the list of existing tags.
- Comments:
- Enter any specific location details for the Access Point.
- Device:
- Click Create at the bottom of the window to add the new Access Point or click Create and Add Another to add a radio for the Access Point.
Note: If you clicked Create and Add Another, you would be directed to the Add a new device page, which is pre-populated based on the information you just entered for the new Access Point. Follow the directions in the next section for adding the additional radio.
Add Radios for Access Points
Notes:
- The Access Point must be created prior to adding the radios/antennas.
- Repeat this section for each radio and antenna.
- Enter the required fields with the specific device information by following the example below:
Note: Some of the fields will be pre-populated based on the AP information.
- Device:
- Name: Enter a radio device Name in the format below:
“ap-”Access Point Name:#, where the number is a unique identifier for each radio (e.g., ap-UNYN-1000-NW:1). - Device Role: WIFI/RADIO
- Name: Enter a radio device Name in the format below:
- Hardware:
- Manufacturer: Cisco
- Device Type: AIR-CAP1532E-B-K9
- Location:
- Site: Michigan Union
- Rack: 1001 NW
- Management:
- Planned (if the Access Point was added as a result of a Site Survey).
- Staged (if the Access Point has been ordered via BoM).
- Active (if the Access Point is currently installed).
- Custom Fields:
- Site Survey Pre-order Num
- Local Config Context Data:
- Copy and paste as plain text the format below and update per the specific device.
{
"antenna_type": "Integrated",
"channel": "RRM",
"power_level": "RRM",
"radio": "802.11an (40MHz)"
}
- Click Create at the bottom of the window if you are finished adding all the devices or click Create and Add Another to add another radio for the Access Point.
Create Device Bays and Connect Them to Devices
After the radio devices are created, each radio will need to be associated with a Device Bay.
- Click netbox at the top of the window. You will be redirected to the NetBox home page.
- Enter the Access Point Name in the Search field and then click Search.
- Click on the Access Point Name and you will be redirected to the Access Point Name page.
- Scroll down to the Device Bays section and click Add Device Bays.
- Click in the Device field for a list of recent devices. Select the Access Point Name. If you do not see it, enter it in manually.
- Enter the Name using the naming convention “Radio[1-x]” for the number of radio devices and click Create. The Module rows will be created on the Access Point page.
Note: Only radios get dedicated bays. Everything else is an inventory item.
- Scroll down to the Device Bays section and click the + on the first row to connect a device.
- Select the radio from the drop-down list of devices you previously added and click Save.
- Repeat the above steps for each radio and antenna you need to connect. The Device Bay section will be updated.
Add Inventory Item
- Click netbox at the top of the window.
- Enter the Access Point Name in the Search field and then click Search.
- Click on the Access Point Name. You will be redirected to the Access Point Name page.
- Click the Inventory tab and click +Add Inventory Item.

- Complete the item fields.
Notes:
- Name is the only required field, which could be the part number.
- Antennas would be added here.
- Click Create or Create More to add additional inventory parts.
View a Full List of Devices
- Click netbox at the top of the window.
- Enter the Access Point Name in the Search field and then click Search.
- Click on the Access Point Name. You will be redirected to the Access Point Name page.
- Scroll down to Radio Information to see the list of the radios associated with the Access Point.
- Click on Inventory tab to see the list of inventory parts associated with the Access Point.
Last Updated
Wednesday, September 1, 2021