
Overview
If you want to add a voiceover narration to a video you are creating, Descript is a great software that converts text to natural spoken narration.
Step-by-Step
Download Descript
- Perform a Google Search for Descript or click here to visit the Descript site.
- Click the Get started for free button on the homepage.
- You will need to create an account with Descript or you can link it to the Google account associated with your U-Mich gmail.
- The download will begin shortly. Open the download when it is ready.
- Sign in to your Descript account.
Creating a New Voiceover
- Open Descript on your computer.
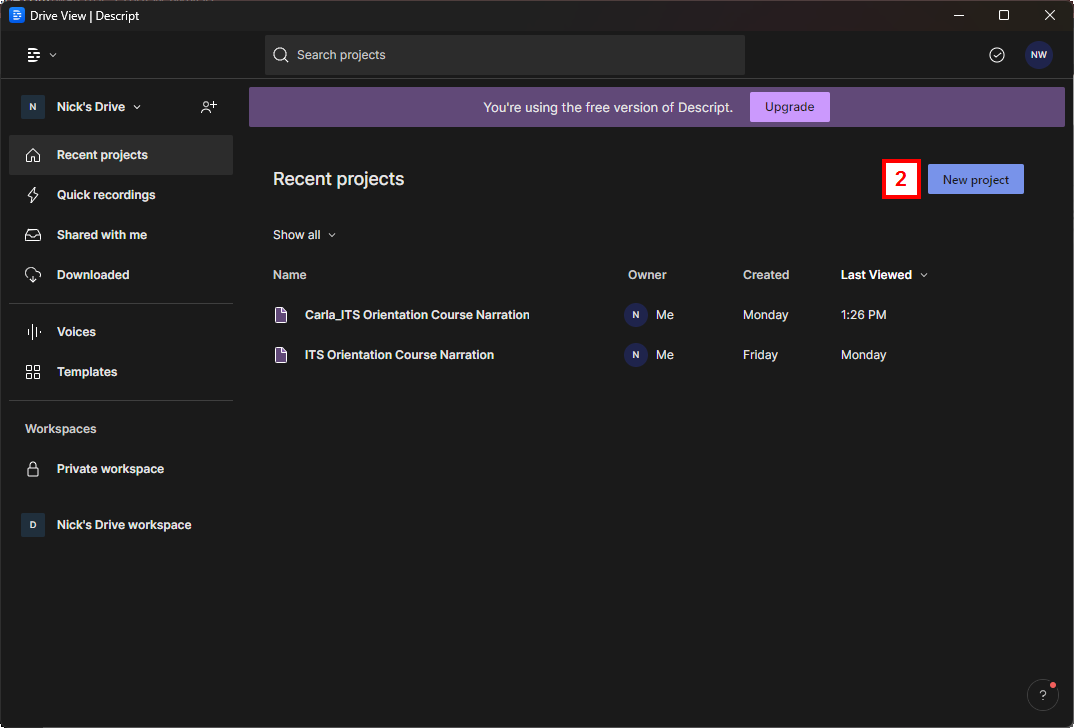
- Click the New project button on the homepage.
- A blank project will open and you will be provided with the following options:
- Start writing: Start typing in the project file and the software will convert the text into speech. This will most likely be your preferred method.
Note If you upload an audio file to Descript or record yourself, you only have 1 hour of free transcription on the basic plan. - Choose a file to transcribe: this will take an existing audio file and transcribe it into text.
- Start recording: record yourself and the software will transcribe what you say.
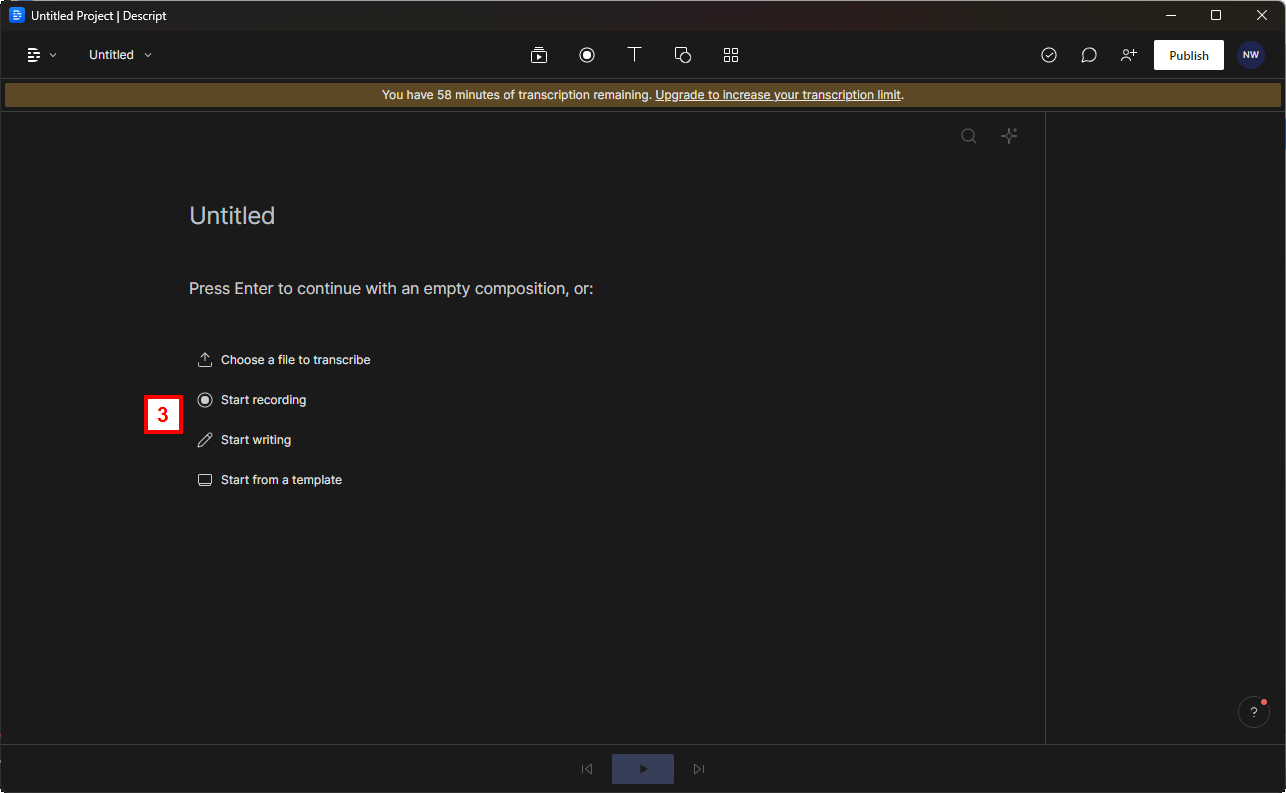
- Start writing: Start typing in the project file and the software will convert the text into speech. This will most likely be your preferred method.
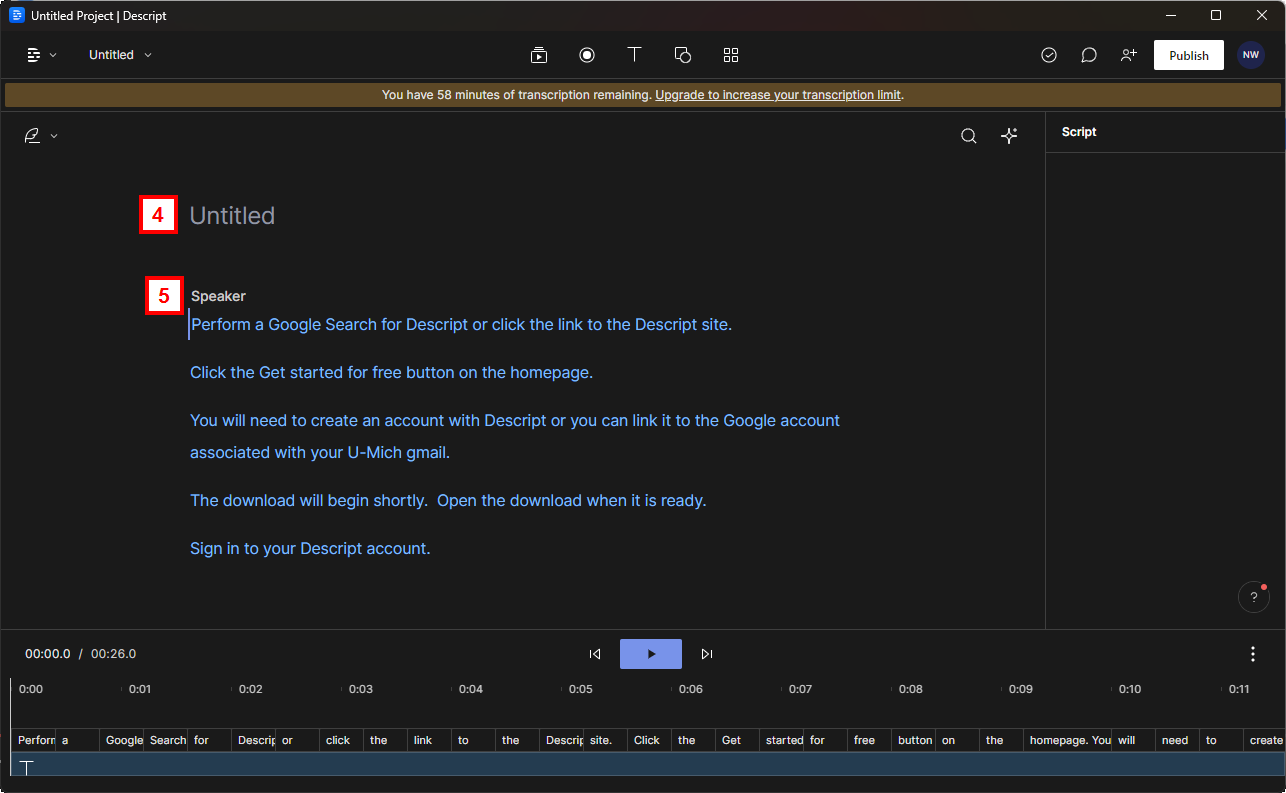
- Once your text is in the project, you will need to add a title to your project. Enter your title name in the Untitled field.
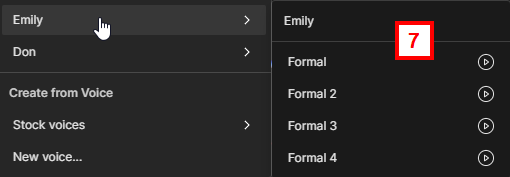
- To add a voiceover to your text, click Speaker to select your voice and then click Stock voices to choose from a list of options.
Note You can preview each voice by click the play button next to each.
- Select the voice you want to read your text and give it a minute for the software to process the text in your script
Note If your script is longer, the software will take longer to process it. - If the tone of the voice you selected isn't to your liking, you have the ability to change that as well. Click on the speaker you have chosen and an arrow will appear next to them. New options will appear for you to preview and select from.
- If at anytime you want to swap the voice for the text, repeat steps 5-7 or click the X next to the name of the current speaker selected.
Before you publish keep in mind the following:
- Experiment with voices as some do a better job reading certain words than others.
- If you are including an acronym in your text, break up the letters individually. For example, write ITS as I T S to avoid the voiceover from saying its.
- Listen to your entire script before publishing to make sure everything is read properly by the software.
- If you want to learn more, click here to watch this YouTube video.
Publishing Your Voiceover
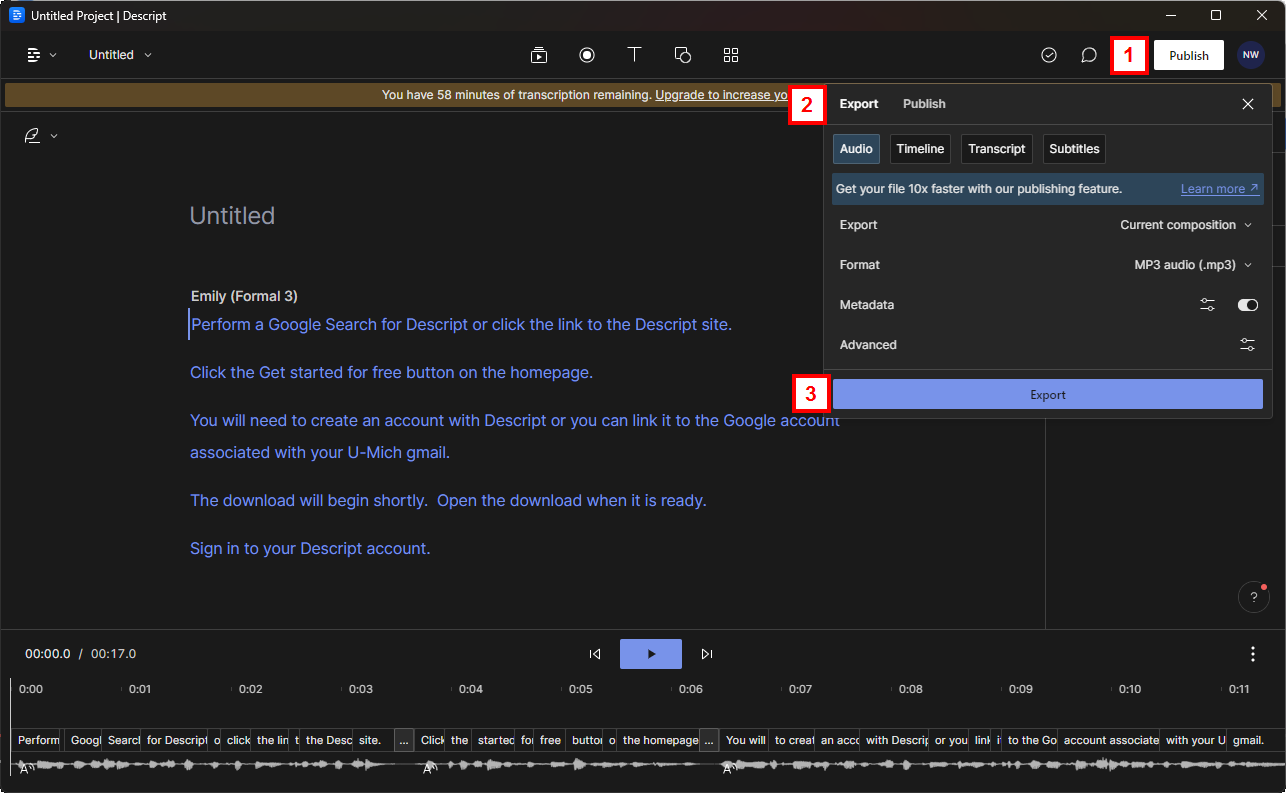
- Once your script and voiceover are ready, click the Publish button.
Note You will be given a list of options for publishing or exporting. I personally have found exporting as an MP3 file is the easiest for uploading to other software or editing in Audacity. - Click Export and then select MP3 in the Format options.
- Click the Export button.
- Create a name for your file and click Save.
Editing in Audacity
Sometimes Descript will read sentences too quickly or will have long pauses in sentences, this can easily be remedied by editing the MP3 file in Audacity.
- Open Audacity and select the MP3 file you want to edit.
- Locate where you want to edit the voiceover.
Adding more space on audio track
- Place your cursor between the sound clips and click to place the playbar there.
- Press Ctrl + I to split the sound clip.
- Click on the sound clip on the right and drag it on the audio track to your desired location.
Deleting empty space on audio track
- Drag your cursor over the empty space on the audio track.
- Press Ctrl + K or the Delete button on your keyboard.
Exporting your new audio track
To finalize your new audio track, you must export it. Saving the file in Audacity saves it as a project file; it does NOT save it as an MP3 file.
- Click File > Export > Export as MP3.
- Create a name for your file and click Save.
Last Updated:
Thursday, September 21, 2023