Overview
This documentation details how to create a new user in the U-M Informatica Cloud service.
Create a New User
-
Select Users from the left-side Administrator section.
-
Click Add User from the top-right corner of the screen.
-
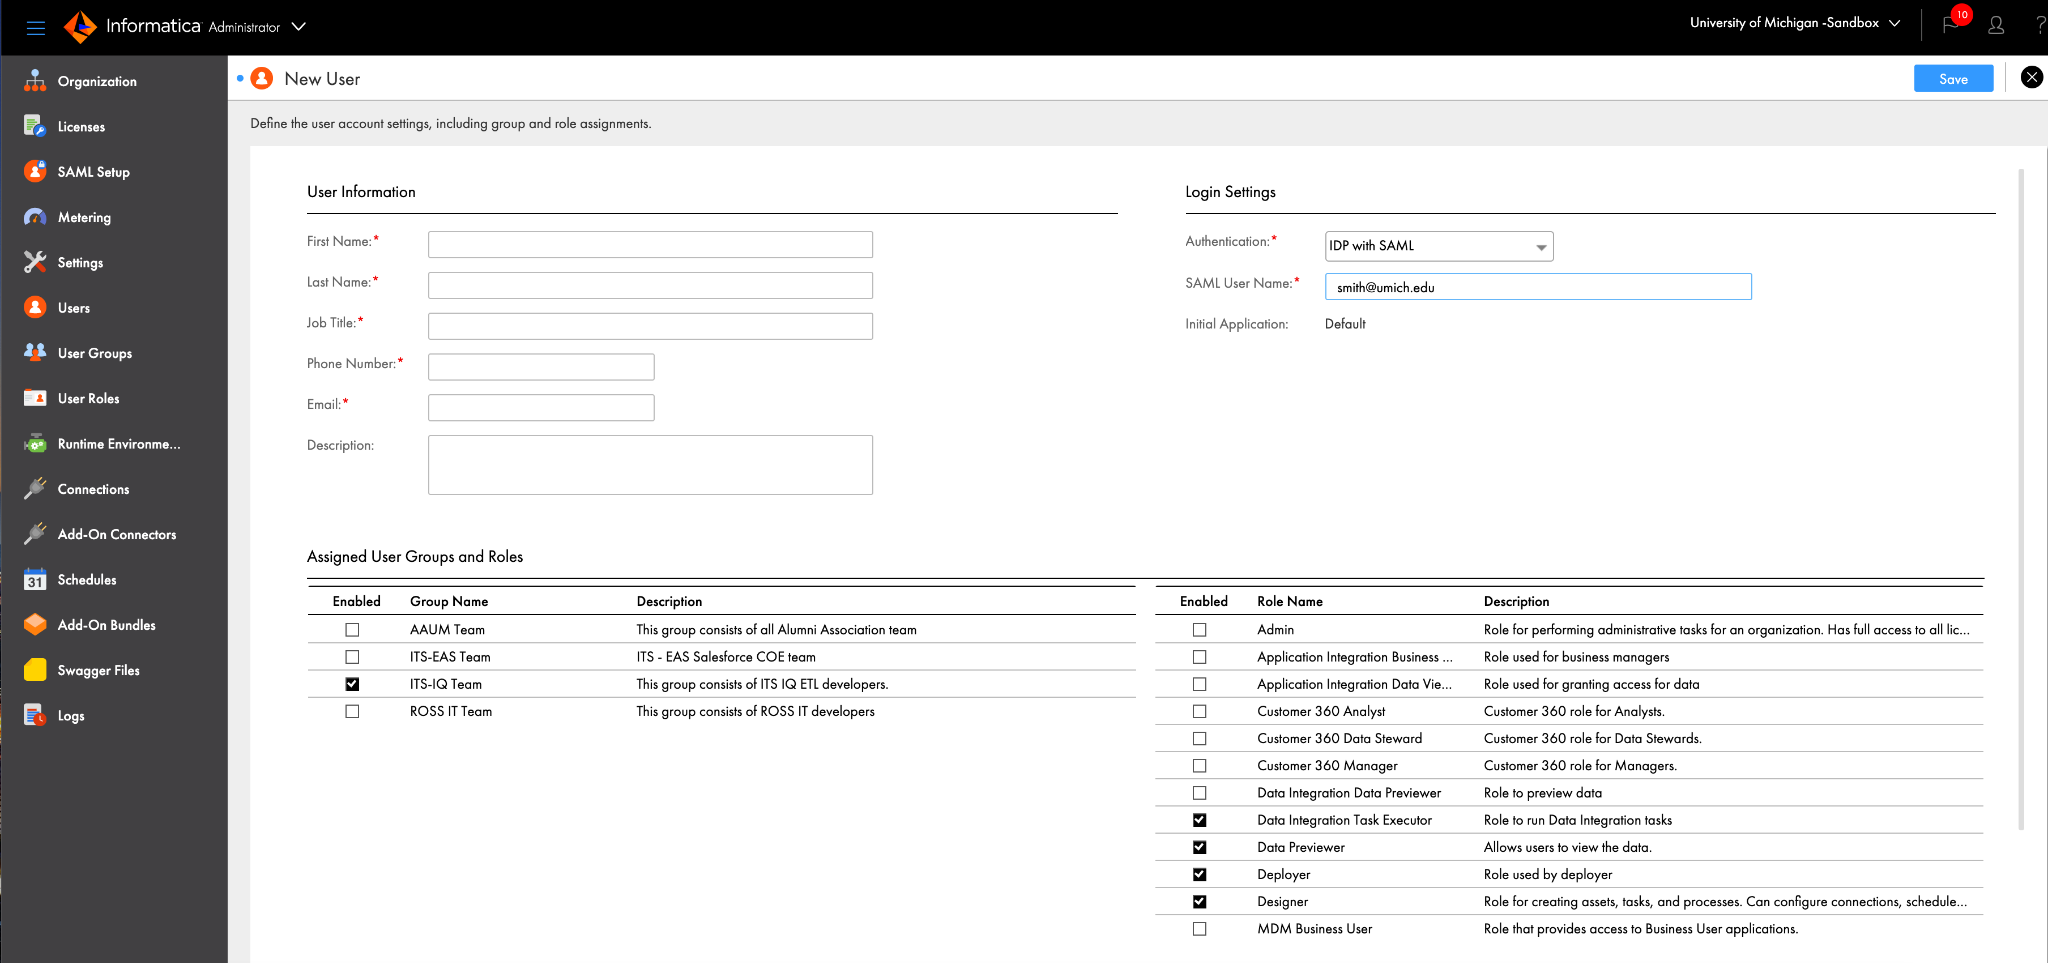
Enter the user information and login settings in the [NAMES] fields.
Note: You can configure user details such as user name, email, login settings, and assigned user groups and roles on the User Details page. Select IDP with SAML for authentication. The username should be a U-M email address.
-
Select the user groups and roles you want to assign to the user in the Assigned User Groups and Roles section.You can also assign system-defined and custom roles to a user. If a group is assigned, the user inherits all roles that are associated with the group. ITS-DISC will create a user group for each unit and assign roles to the group. Afterward, select the group created for your unit.
-
Click Save.
Note: After a user is created, the user appears on the Users page with the status “Pending Activation.” The user will receive an email to confirm the account. When the user clicks the Confirm Account link, they are prompted to set up a password and security question. When the user configures a password and security question, their status changes to “Active.” The user can then log in to Informatica Intelligent Cloud Services.
Note: You cannot change the username after you create a user.